
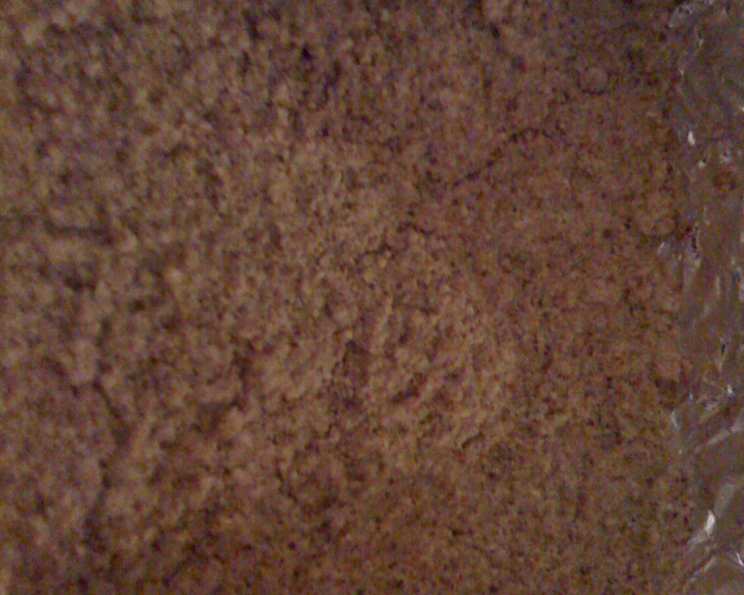
The Guilt-Free Indulgence: Low Carb Cheesecake Nut Crust
I’ll never forget my grandmother’s cheesecakes. They were towering monuments of creamy perfection, the kind of dessert that stopped conversations and induced blissful sighs. However, as much as I adore those memories, my modern palate (and waistline!) crave something a little lighter. This low-carb cheesecake nut crust is my love letter to those classic flavors, reimagined for a healthier lifestyle. It brings the nutty, comforting base I crave while letting the cheesecake filling truly shine, all without the carb overload.
Recipe Overview
- Prep Time: 15 minutes
- Cook Time: 10 minutes
- Total Time: 25 minutes
- Servings: 8
- Yield: 1 pie crust
- Dietary Type: Keto, Low Carb, Gluten-Free
Ingredients
- 2 1/2 cups ground almonds (or pecans or walnuts)
- 2 tablespoons Splenda sugar substitute
- 4 tablespoons melted butter
- 2 tablespoons unsweetened cocoa powder, for a chocolate nut crust (optional)
Equipment Needed
- Food Processor
- 9-inch Springform Pan
- Mixing Bowl
- Measuring cups and spoons
- Oven
Instructions
-
Preheat your oven to 350 degrees Fahrenheit (175 degrees Celsius). This ensures the crust bakes evenly.
-
Place the nuts in the bowl of a food processor. It’s important to use a food processor instead of a blender for this step as the food processor helps to grind the nuts into a meal-like consistency.
-
Pulse the nuts until they are ground into a meal. You want a fine, sand-like texture. Be careful not to over-process, as the nuts can release their oils and become pasty. If you prefer a crunchier crust, chop the nuts rather than grinding them into a fine meal. This will give your crust a more rustic texture.
-
Add the Splenda, melted butter, and the unsweetened cocoa powder (if using) to the food processor. The cocoa powder adds a delicious chocolate note that complements many cheesecake fillings.
-
Pulse again until all the ingredients are thoroughly combined. The mixture should resemble damp sand and hold together when pressed.
-
Transfer the nut mixture to a 9-inch springform pan. A springform pan is essential for easy removal of the finished cheesecake.
-
Gently press the nut mixture to form a crust on the bottom of the pan. Use your fingers or the back of a spoon to create an even, compact layer. Make sure to press the mixture firmly against the bottom of the pan to prevent the crust from crumbling.
-
Bake at 350 degrees Fahrenheit (175 degrees Celsius) for 10 minutes. The crust should be lightly golden and fragrant.
-
Remove the crust from the oven and allow it to cool completely. This is crucial for the crust to set properly.
-
Fill the cooled crust with your favorite low-carb cheesecake batter and bake according to your cheesecake recipe directions. The baking time will depend on your specific cheesecake recipe.
Expert Tips & Tricks
- For a richer flavor, consider using brown butter instead of regular melted butter. Simply melt the butter in a saucepan over medium heat, swirling occasionally, until it turns golden brown and smells nutty. Let it cool slightly before adding it to the nut mixture.
- If you find that the crust is sticking to the springform pan, you can lightly grease the bottom with butter or line it with parchment paper before pressing in the nut mixture.
- To prevent the crust from becoming soggy, you can brush it with a thin layer of melted chocolate or egg wash before adding the cheesecake filling. This creates a barrier that prevents moisture from seeping into the crust.
- If you want to add a touch of spice to your crust, try incorporating a pinch of cinnamon, nutmeg, or cardamom into the nut mixture.
- For a chocolate cheesecake, increase the cocoa powder to 1/4 cup. You can also add sugar-free chocolate chips to the crust for an extra chocolatey flavor.
- If the crust seems too dry, add a tablespoon of melted coconut oil. This will help bind the ingredients together and create a more cohesive crust.
- Make sure the butter is completely melted before mixing with the other ingredients to ensure even distribution and binding.
- If you’re in a hurry, you can skip the baking step and simply chill the crust in the refrigerator for at least 30 minutes to allow it to set.
Serving & Storage Suggestions
Serve your cheesecake chilled for the best flavor and texture. A dollop of whipped cream or a sprinkle of berries makes a beautiful and delicious garnish.
Store leftover cheesecake in the refrigerator, covered, for up to 5 days. The crust may soften slightly over time, but it will still be delicious. For longer storage, you can freeze the cheesecake for up to 2 months. Wrap it tightly in plastic wrap and then in aluminum foil to prevent freezer burn. Thaw the cheesecake in the refrigerator overnight before serving.
The baked crust itself can be stored at room temperature for up to 2 days in an airtight container, or in the refrigerator for up to a week.
Nutritional Information
(Estimated values per serving, based on 8 servings using almond flour and Splenda)
| Nutrient | Amount per Serving | % Daily Value |
|---|---|---|
| Calories | 270 kcal | 14% |
| Total Fat | 22g | 34% |
| Saturated Fat | 8g | 40% |
| Cholesterol | 30mg | 10% |
| Sodium | 50mg | 2% |
| Total Carbohydrate | 12g | 4% |
| Dietary Fiber | 6g | 24% |
| Sugars | 2g | – |
| Protein | 8g | 16% |
Variations & Substitutions
- Coconut Flour Crust: Substitute half of the ground almonds with unsweetened shredded coconut or coconut flour for a tropical twist.
- Spice It Up: Add a pinch of cinnamon, nutmeg, or ginger to the nut mixture for a warmer, more festive flavor.
- Sweetener Options: Erythritol or monk fruit sweetener can be used in place of Splenda. Adjust the amount to your desired sweetness level.
- Dairy-Free Option: Use melted coconut oil or a vegan butter substitute in place of the melted butter.
- Different Nuts: Experiment with different combinations of nuts, such as a blend of walnuts, pecans, and hazelnuts.
- Lemon Zest: Add 1 tablespoon of lemon zest to the nut mixture for a bright, citrusy flavor.
- Herbaceous Crust: For a savory cheesecake, omit the sweetener and cocoa powder and add a tablespoon of chopped fresh rosemary or thyme to the nut mixture.
- Seed Crust: Replace the nuts with a mix of ground sunflower seeds, pumpkin seeds, and flax seeds for a nut-free option.
FAQs (Frequently Asked Questions)
Q: Can I make this crust ahead of time?
A: Yes, you can bake the crust ahead of time and store it in an airtight container at room temperature for up to 2 days, or in the refrigerator for up to a week. This is a great way to break up the preparation process.
Q: Can I use a different size pan?
A: This recipe is designed for a 9-inch springform pan. If you use a smaller or larger pan, you may need to adjust the baking time and ingredient quantities accordingly.
Q: What can I use instead of Splenda?
A: You can substitute Splenda with any other low-carb sweetener, such as erythritol, monk fruit sweetener, or stevia. Adjust the amount to your desired sweetness level.
Q: My crust is too crumbly. What did I do wrong?
A: The crust may be too dry. Try adding a tablespoon of melted coconut oil or an extra tablespoon of melted butter to help bind the ingredients together.
Q: Can I freeze the baked crust?
A: Yes, you can freeze the baked crust for up to 2 months. Wrap it tightly in plastic wrap and then in aluminum foil to prevent freezer burn. Thaw the crust in the refrigerator overnight before using.
Final Thoughts
This low-carb cheesecake nut crust is more than just a base; it’s a blank canvas for your culinary creativity. Whether you’re a seasoned baker or a kitchen novice, I encourage you to give this recipe a try and experience the joy of guilt-free indulgence. Don’t be afraid to experiment with different nuts, spices, and flavor combinations to create your own signature crust. Share your creations and feedback – I’d love to see what you come up with! This crust pairs perfectly with a classic vanilla cheesecake, a tangy lemon cheesecake, or even a rich chocolate cheesecake. Enjoy!