
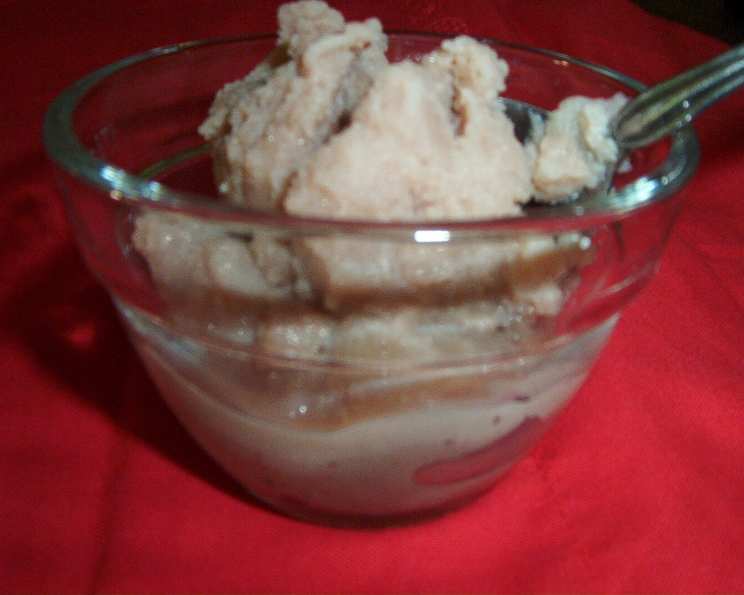
Chocolate Ice Cream in a Baggie: A Culinary Adventure
There’s something truly magical about making ice cream. I remember, as a kid, eagerly awaiting the church picnics where we’d take turns cranking the old-fashioned ice cream maker. The rhythmic churn, the anticipation building with each rotation, and the sweet, creamy reward at the end – those are flavors of childhood that I cherish. While that antique ice cream maker is long gone, the thrill of homemade ice cream is easily recreated with this fun and surprisingly simple method: ice cream in a bag! It’s the perfect activity for a hot summer day, a classroom science experiment, or just a spontaneous sweet treat.
Recipe Overview
- Prep Time: 5 minutes
- Cook Time: 10-15 minutes
- Total Time: 15-20 minutes
- Servings: 1-2
- Yield: Approximately 1 cup
- Dietary Type: Not suitable for lactose intolerance. Can be modified with dairy-free chocolate milk.
Ingredients
- 2 cups chocolate milk
- ¾ – 1 cup sodium chloride rock salt (NaCl)
- 3 cups ice
- 1 quart-sized Ziploc bag
- 1 gallon-sized Ziploc bag
Equipment Needed
- Quart-sized Ziploc bag
- Gallon-sized Ziploc bag
Instructions
- Pour the chocolate milk into the quart-sized Ziploc bag. Make sure to select a sturdy, good-quality bag to minimize the risk of leaks.
- Seal the bag securely, pressing out as much air as possible. The less air, the better the contact with the ice and salt mixture. A good seal is crucial to prevent salty water from contaminating your ice cream!
- Place the 3 cups of ice into the gallon-sized Ziploc bag.
- Add the ¾ cup to 1 cup of rock salt (sodium chloride) to the bag of ice. The amount of salt affects the freezing point of the ice bath; more salt will result in a colder temperature and faster freezing.
- Carefully place the sealed quart bag (containing chocolate milk) inside the gallon bag (containing ice and salt). Again, try to remove any excess air from the larger bag.
- Seal the gallon bag securely. A double seal, if possible, will add an extra layer of protection against leaks.
- Now comes the fun part! Rock and squish the gallon bag from side to side. Be gentle; avoid being too rough to prevent the bag from breaking. You want to agitate the mixture, not explode it!
- If the outside bag springs a leak, immediately place it inside another gallon bag. If you don’t have another bag handy, you’ll need to start over with fresh ice and salt. It’s essential to maintain the cold temperature for proper freezing.
- Hold the bag by the top seal, or use gloves or a cloth between the bag and your hands, as the bag will become extremely cold and can damage your skin. The salt lowers the freezing point of water, creating a super-cooled environment.
- Continue to rock the bag for 10-15 minutes, or until the contents of the quart bag have solidified into ice cream. The time may vary depending on the ambient temperature and the amount of salt used.
- If the chocolate milk does not harden within 15 minutes, add more ice and salt to the bag and continue mixing. Sometimes, the ice melts faster than expected, requiring a boost to maintain the freezing process.
- Once the ice cream has reached your desired consistency, carefully remove the quart bag from the gallon bag.
- Enjoy your freshly made chocolate ice cream!
Expert Tips & Tricks
- Bag Quality Matters: Invest in heavy-duty Ziploc bags. Thin bags are prone to leaking, leading to a salty mess and ruining your ice cream.
- Pre-Chill: For faster freezing, pre-chill the chocolate milk in the refrigerator before starting.
- Salt Quantity: Adjust the amount of salt based on your preference. Using a little more salt will lower the temperature further and potentially result in a smoother ice cream. However, be cautious not to use too much, as it could cause the ice cream to freeze too quickly and become icy.
- Agitation is Key: The constant rocking and squishing prevent large ice crystals from forming, resulting in a creamier texture.
- Add-ins: Get creative! Once the ice cream is partially frozen, gently open the quart bag and add chocolate chips, sprinkles, crushed cookies, or other favorite mix-ins. Reseal the bag and continue rocking until fully frozen.
- Double Bag It: To further minimize the risk of leaks, consider double-bagging the chocolate milk in two quart-sized bags.
- Flavor Boost: A teaspoon of vanilla extract or a pinch of cinnamon added to the chocolate milk will enhance the flavor of the ice cream.
- Milk Fat Content: A higher fat content in the chocolate milk will result in a richer, creamier ice cream.
Serving & Storage Suggestions
Serve your homemade chocolate ice cream immediately for the best taste and texture. You can enjoy it straight from the bag (carefully!), in a bowl, or on a cone. Top it with your favorite ice cream toppings like sprinkles, chocolate syrup, whipped cream, or fresh fruit.
Because this ice cream doesn’t contain stabilizers or preservatives, it will melt relatively quickly. If you have leftovers, store them in an airtight container in the freezer. However, be aware that the texture may change upon refreezing, becoming slightly icier. It’s best consumed within a day or two for optimal quality.
Nutritional Information
| Nutrient | Amount per Serving | % Daily Value |
|---|---|---|
| Calories | 250 kcal | 13% |
| Total Fat | 10g | 15% |
| Saturated Fat | 6g | 30% |
| Cholesterol | 30mg | 10% |
| Sodium | 200mg | 9% |
| Total Carbohydrate | 30g | 11% |
| Dietary Fiber | 1g | 4% |
| Sugars | 25g | N/A |
| Protein | 5g | 10% |
Nutritional information is an estimate and may vary depending on the specific ingredients used.
Variations & Substitutions
- Dairy-Free Option: Substitute the chocolate milk with your favorite non-dairy chocolate milk alternative, such as almond milk, soy milk, or coconut milk. Be aware that the texture may be slightly different.
- Vanilla Ice Cream: Use plain milk (or non-dairy milk) and add vanilla extract for a classic vanilla ice cream.
- Strawberry Ice Cream: Blend fresh or frozen strawberries with the milk before freezing.
- Mint Chocolate Chip: Add mint extract and chocolate chips for a refreshing treat.
- Coffee Ice Cream: Add strong brewed coffee or coffee extract to the milk.
- Fruit Purees: Experiment with different fruit purees like mango, raspberry, or banana for unique and delicious ice cream flavors.
- Lower Sugar: Use a sugar-free chocolate milk or add a sugar substitute to plain milk for a lower-sugar version.
FAQs (Frequently Asked Questions)
Q: Why do I need to use rock salt instead of regular table salt?
A: Rock salt is preferred because its larger granules help lower the freezing point of the ice water more effectively than finely ground table salt.
Q: Can I use a smaller or larger bag?
A: You can adjust the bag sizes, but ensure the smaller bag (containing the ice cream mixture) fits comfortably inside the larger bag with enough room for the ice and salt mixture to surround it.
Q: Is it safe to eat the ice cream if some salty water gets into the bag?
A: No, it’s not recommended to eat the ice cream if salty water has contaminated it. The salt will significantly alter the flavor and may not be palatable.
Q: My ice cream is still too soft after 15 minutes. What should I do?
A: Add more ice and salt to the outer bag and continue rocking. Ensure the ice surrounds the entire quart bag for optimal freezing.
Q: Can I make this recipe ahead of time and store it in the freezer?
A: While you can store the ice cream in the freezer, its texture may change and become icier over time. It’s best enjoyed immediately for the creamiest results.
Final Thoughts
This chocolate ice cream in a baggie recipe is a fantastic way to create a simple, delicious, and engaging treat. It’s a perfect activity for kids and adults alike, offering a fun and educational experience. Don’t be afraid to experiment with different flavors and add-ins to create your own signature ice cream creation! I encourage you to give this recipe a try and share your creations and experiences with others. Perhaps you’ll even pair it with some warm brownies for an extra special treat! Happy ice cream making!