
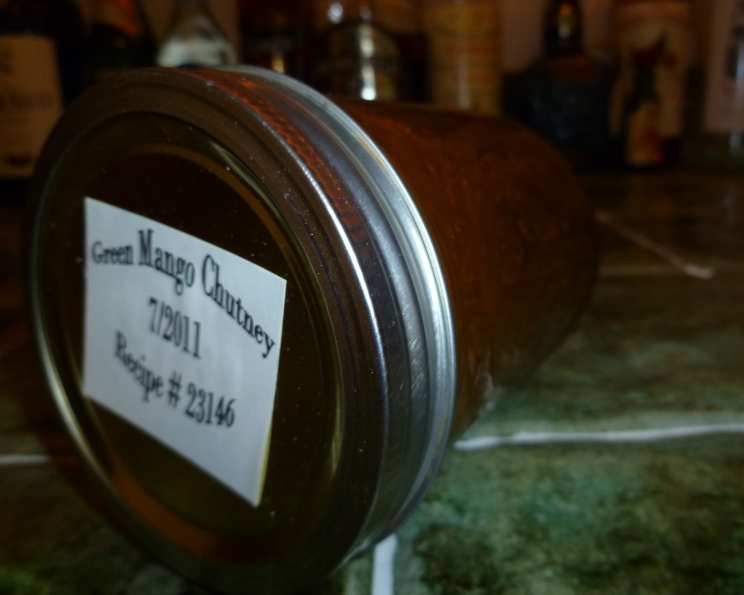
The Sweet Heat of Homemade Mango Chutney
The first time I tasted mango chutney, I was backpacking through India. It wasn’t in a fancy restaurant, but at a roadside dhaba, a simple eatery with plastic chairs and the scent of wood smoke. The roti was charred and perfect, the dal fragrant, but it was the small bowl of vibrant orange chutney that truly captivated me. The burst of sweet mango, the playful zing of ginger, and the subtle whisper of chili – it was a revelation that turned a simple meal into an unforgettable experience. Ever since, I’ve been chasing that perfect balance of flavors, experimenting until I landed on this recipe, a tribute to that memory and the complex, delightful world of Indian cuisine.
Recipe Overview
- Prep Time: 20 minutes
- Cook Time: 35 minutes
- Total Time: 55 minutes
- Yield: 5 cups
- Dietary Type: Gluten-Free
Ingredients
- 1 kg very firm mango, peeled
- 2 cups sugar
- 625 ml vinegar
- 1 (5 cm) piece ginger, peeled
- 4 cloves garlic, peeled
- 2-4 teaspoons chili powder (adjust to your spice preference)
- 4 teaspoons mustard seeds
- 8 teaspoons salt
- 1 cup raisins or 1 cup sultanas
Equipment Needed
- Large, heavy-bottomed saucepan
- Food processor or blender
- Sterilized jars
- Cellophane covers (or jar lids)
Instructions
-
Begin by preparing the mangoes. Peel them carefully and then cut the flesh into small, uniform pieces. Set the mango pieces aside in a bowl. Consistency in size will ensure even cooking.
-
In a large, heavy-bottomed saucepan, combine the sugar and almost all of the vinegar, reserving about 20 ml of the vinegar. Simmer the mixture over medium heat for 10 minutes, stirring occasionally to ensure the sugar dissolves completely. This initial simmering creates a simple syrup base for the chutney.
-
While the sugar and vinegar are simmering, prepare the spice paste. Place the peeled ginger, peeled garlic, and the reserved 20 ml of vinegar into a food processor or blender. Process the ingredients until you have a smooth, consistent paste. The small amount of vinegar helps to emulsify the mixture.
-
Add the ginger-garlic paste to the saucepan with the simmering sugar and vinegar. Cook for another 10 minutes, stirring frequently. This allows the flavors of the ginger and garlic to meld with the sugar and vinegar, creating a foundational flavor profile.
-
Now it’s time to introduce the mango. Add the mango pieces to the saucepan, along with the remaining ingredients: the chili powder, mustard seeds, salt, and raisins (or sultanas).
-
Cook the mixture uncovered over medium-low heat for approximately 25 minutes. It’s crucial to stir the chutney frequently during this stage, as it will thicken as it cooks. The sugar will caramelize, and the mango will soften.
-
Pay close attention during the last 10 minutes of cooking. The chutney can easily catch and burn at this stage, so keep a close eye on it and stir constantly, scraping the bottom of the pan. You’ll know it’s ready when it has thickened to a jam-like consistency and a spoon leaves a clear trail on the bottom of the pan.
-
While the chutney is cooking, ensure your jars are sterilized. You can do this by boiling them in water for 10 minutes or running them through a hot cycle in your dishwasher. Sterilizing the jars is essential for preserving the chutney and preventing spoilage.
-
Once the chutney is ready, carefully pour it into the sterilized jars, leaving about 1/2 inch of headspace at the top.
-
Immediately seal the jars with cellophane covers or jar lids. If using cellophane covers, secure them tightly with rubber bands. If using jar lids, follow the manufacturer’s instructions for sealing.
-
Finally, label each jar with the date. This will help you keep track of how long the chutney has been stored.
Expert Tips & Tricks
- Mango Selection: Choosing the right mango is crucial. You want mangoes that are very firm, but ripe. Overripe mangoes will become too mushy during cooking.
- Spice Level: The amount of chili powder can be adjusted to your preference. Start with 2 teaspoons and taste as it cooks, adding more if you desire a spicier chutney. Remember that the flavor will intensify as it sits.
- Preventing Burning: To prevent the chutney from burning, use a heavy-bottomed saucepan. This will distribute the heat more evenly. Also, stir frequently, especially during the last 10 minutes of cooking.
- Texture: If you prefer a smoother chutney, you can use an immersion blender to slightly blend the mixture after cooking. However, I personally prefer the rustic texture with visible chunks of mango.
- Jar Sealing: For optimal preservation, you can process the filled jars in a boiling water bath for 10 minutes. This creates a tighter seal. Always check the seal before storing.
Serving & Storage Suggestions
Mango chutney is incredibly versatile. It’s a classic accompaniment to Indian curries, but it also shines with grilled meats, cheeses, and even sandwiches. I particularly love it with roast pork or as a glaze for baked ham.
Store sealed jars of mango chutney in a cool, dark place. Properly sealed jars can last for several months. Once opened, refrigerate the chutney and consume it within a few weeks. While the chutney can technically be frozen, the texture might be slightly affected upon thawing.
Nutritional Information
Please note that this is an estimated nutritional breakdown. Actual values may vary.
| Nutrient | Amount per Serving | % Daily Value |
|---|---|---|
| Calories | 314 kcal | 16% |
| Total Fat | 0.5g | 1% |
| Saturated Fat | 0.1g | 0% |
| Cholesterol | 0mg | 0% |
| Sodium | 1874mg | 78% |
| Total Carbohydrate | 77g | 26% |
| Dietary Fiber | 3.5g | 14% |
| Sugars | 71g | 284% |
| Protein | 2.2g | 4% |
Variations & Substitutions
- Spicier Chutney: For a more intense heat, add a finely chopped fresh chili, such as a serrano or jalapeño, along with the chili powder.
- Vinegar Variety: Experiment with different types of vinegar. Apple cider vinegar adds a slightly fruity note, while rice vinegar offers a milder tang.
- Dried Fruit: Instead of raisins or sultanas, try dried cranberries or chopped dried apricots for a different flavor profile.
- Seed Selection: Try black mustard seeds for a slightly different flavor and visual appeal.
- Add Onion: For a bolder flavor, sauté a finely chopped onion in the pan before adding the sugar and vinegar.
FAQs (Frequently Asked Questions)
Q: How do I know if my mango chutney is ready?
A: The chutney is ready when it has thickened to a jam-like consistency and a spoon leaves a clear trail on the bottom of the pan when dragged across.
Q: Can I use frozen mango for this recipe?
A: While fresh mango is ideal, you can use frozen mango. Make sure to thaw it completely and drain any excess liquid before adding it to the pan. Be aware that the texture might be slightly softer.
Q: How long will the mango chutney last?
A: Properly sealed jars of mango chutney can last for several months in a cool, dark place. Once opened, refrigerate and consume within a few weeks.
Q: My chutney is too thick. What can I do?
A: If your chutney is too thick, add a tablespoon or two of water or vinegar to thin it out. Stir well and continue cooking for a few minutes until it reaches the desired consistency.
Q: What is the best way to sterilize jars?
A: The best way to sterilize jars is to boil them in water for 10 minutes or run them through a hot cycle in your dishwasher.
Final Thoughts
Making mango chutney is a rewarding experience. The aroma that fills your kitchen as it simmers is intoxicating, and the final product is a testament to the magic of simple ingredients transformed into something truly special. Don’t be afraid to experiment with the spice levels and fruit combinations to create a chutney that perfectly suits your palate. I encourage you to try this recipe and share your feedback! It’s a wonderful accompaniment to so many dishes, and I hope it brings as much joy to your table as it does to mine. Enjoy!