
The Fastest Route to Fun: Microwave Play Dough
I remember rainy afternoons as a child, the kind where the sky wept relentlessly and all outdoor adventures were off the table. My grandmother, a woman whose kitchen was a sanctuary of warmth and delicious smells, always had a trick up her sleeve to chase away the gloom. One of her best was homemade play dough. I can still vividly recall the warm, slightly salty aroma as she stirred the mixture on the stove. The soft, pliable texture was infinitely more satisfying than anything store-bought. And, of course, the endless possibilities for creation – from wobbly, multi-colored snakes to lopsided, yet lovingly crafted, animals. Today, the memory of those simple moments is a cherished one, and this microwave play dough recipe brings back all the cozy nostalgia, with the added bonus of speed and simplicity!
Recipe Overview
- Prep Time: 5 minutes
- Cook Time: 3-4 minutes
- Total Time: Less than 10 minutes
- Servings: Variable, depends on use
- Yield: About 1 large ball of play dough
- Dietary Type: Not Intended for Consumption
Ingredients
- 1 cup all-purpose flour
- 1/2 cup salt
- 2 teaspoons cream of tartar
- 1 cup water
- 1 tablespoon oil (vegetable, canola, or coconut oil work well)
- Food coloring (gel or liquid)
Equipment Needed
- Microwave-safe bowl
- Measuring cups and spoons
- Spoon or spatula for mixing
- Airtight container for storage
Instructions
-
In a microwave-safe bowl, combine all the dry ingredients: 1 cup all-purpose flour, 1/2 cup salt, and 2 teaspoons cream of tartar. Make sure to break up any clumps of flour or salt. The cream of tartar is important as it helps with the play dough’s elasticity and longevity, preventing it from becoming too crumbly.
-
Add the wet ingredients to the bowl: 1 cup water and 1 tablespoon oil. At this point, also add your desired food coloring. A few drops of gel food coloring will give you a vibrant color, while liquid food coloring may require a bit more to achieve the same intensity. Remember, you can always add more color later, so it’s best to start with a small amount.
-
Thoroughly mix the dry and wet ingredients together until a smooth batter forms. Ensure there are no lumps of flour or salt remaining. The consistency will be quite liquidy at this stage, which is perfectly normal.
-
Microwave on HIGH for 3 to 4 minutes, stirring every 30 seconds. This is crucial! The play dough cooks very quickly, and stirring prevents it from burning or becoming unevenly cooked. After each 30-second interval, carefully remove the bowl from the microwave (it will be hot!), stir well to incorporate any cooked bits, and then return it to the microwave.
-
Continue this process until the mixture starts to pull away from the sides of the bowl and forms a ball. The exact cooking time will depend on your microwave’s power, so keep a close eye on it. If it still seems too sticky after 4 minutes, microwave in additional 15-second intervals, stirring each time, until the desired consistency is reached.
-
Once the play dough has formed a ball and is no longer sticky, carefully remove it from the bowl (it will be very hot). Let it cool slightly until it’s cool enough to handle.
-
Knead the play dough on a clean surface until it is smooth and pliable. Kneading helps to further develop the gluten in the flour, resulting in a more elastic and enjoyable texture. If the play dough is still slightly sticky, you can knead in a small amount of additional flour, one tablespoon at a time, until it reaches the desired consistency.
-
Let the play dough cool completely before storing it.
-
Store the cooled play dough in an airtight container when not in use. This will prevent it from drying out and becoming hard.
Expert Tips & Tricks
- For extra-soft play dough: Add an extra teaspoon of oil to the mixture.
- To avoid a salty residue: Ensure the salt is completely dissolved during the mixing stage.
- Troubleshooting sticky play dough: If the play dough remains sticky after cooking, continue kneading in small amounts of flour until it reaches the right consistency.
- Reviving dry play dough: If your play dough becomes dry and crumbly, try kneading in a few drops of water to rehydrate it.
- Adding scent: A drop or two of essential oil (lavender, lemon, or peppermint) can make your play dough even more appealing.
- Natural Food Coloring: Beet juice can give a vibrant red or pink, turmeric powder a sunny yellow, and spinach juice a subtle green.
Serving & Storage Suggestions
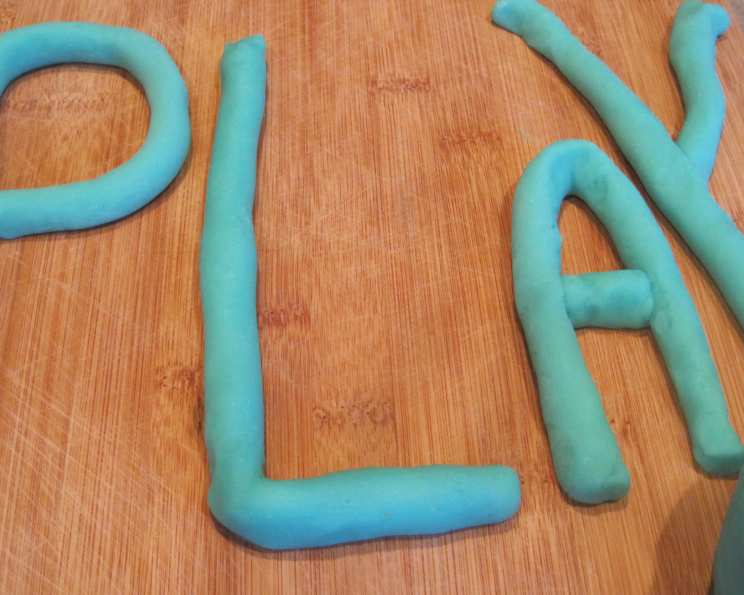
This microwave play dough is best enjoyed immediately after it has cooled completely. Encourage children to get creative with cookie cutters, rolling pins, and other play dough tools.
To store, place the play dough in an airtight container, such as a plastic storage bag or a reusable container with a tight-fitting lid. Store at room temperature. Properly stored play dough should last for several weeks. If it begins to dry out or becomes hard, it’s time to make a fresh batch. It is not recommended to refrigerate or freeze this play dough.
Nutritional Information
Note: Play dough is not intended for consumption. The following nutritional information is an estimate based on the ingredients and is for informational purposes only.
| Nutrient | Amount per Serving (Estimated) | % Daily Value (Estimated) |
|---|---|---|
| Calories | ~150 kcal | ~7% |
| Total Fat | ~2g | ~3% |
| Saturated Fat | ~0g | ~0% |
| Cholesterol | 0mg | 0% |
| Sodium | ~2500mg | ~104% |
| Total Carbohydrate | ~30g | ~10% |
| Dietary Fiber | ~1g | ~4% |
| Sugars | ~0g | ~0% |
| Protein | ~3g | ~6% |
Variations & Substitutions
- Gluten-Free Play Dough: Substitute the all-purpose flour with a gluten-free flour blend. You may need to adjust the amount of water slightly to achieve the desired consistency.
- Salt-Free Play Dough: This is not recommended as the salt acts as a preservative and also affects the texture. However, if necessary, you can try reducing the amount of salt significantly, but the play dough will not last as long.
- Scented Play Dough: Add a few drops of essential oils, such as lavender, lemon, or peppermint, for a delightful aroma.
- Sparkly Play Dough: Mix in some glitter for a touch of sparkle and fun. Be sure to use non-toxic glitter that is safe for children.
- Edible Play Dough Alternative: While this is not edible, you can search for edible play dough recipes online that use ingredients like peanut butter and powdered sugar if you are concerned about children tasting the play dough.
FAQs (Frequently Asked Questions)
Q: How long does the play dough last?
A: Properly stored in an airtight container, this play dough should last for several weeks. Keep an eye on it; if it dries out, it’s time to make a fresh batch.
Q: Can I use different types of flour?
A: All-purpose flour works best, but you can experiment with other flours like whole wheat or gluten-free blends, though the texture might vary.
Q: Is cream of tartar necessary?
A: Yes, cream of tartar acts as a stabilizer and helps give the play dough its elasticity. Without it, the play dough can be crumbly and won’t last as long.
Q: Can I use gel or liquid food coloring?
A: Both gel and liquid food coloring work. Gel food coloring is more concentrated, so you’ll need less to achieve vibrant colors. Liquid food coloring is more diluted, so use a bit more to get the desired shade.
Q: What if my play dough is too sticky?
A: Continue kneading in small amounts of flour, one tablespoon at a time, until it reaches the desired consistency. Be careful not to add too much flour, as this can make the play dough dry and crumbly.
Final Thoughts
This microwave play dough recipe is a fantastic way to unleash creativity and have some fun with your kids – or even just indulge your own inner child! It’s quick, easy, and requires minimal ingredients, making it a perfect activity for a rainy day or a spontaneous afternoon of crafting. Don’t be afraid to experiment with different colors, scents, and textures to create your own unique play dough creations. Share your experiences and creations – and any variations you discover – with friends and family! Let the fun begin!