
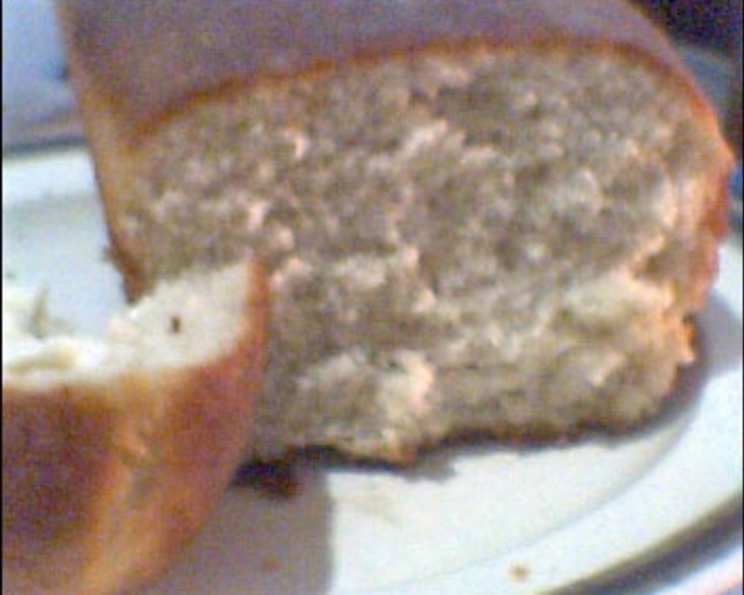
Moroccan Bread: A Taste of Tradition
The scent of anise and warm bread always transports me back to a small riad in Marrakech. I remember stepping in from the bustling souk, the air thick with spices, and being greeted by the comforting aroma wafting from the kitchen. A simple, rustic loaf, slightly speckled with whole wheat, was always present, ready to be torn apart and used to scoop up flavorful tagines. It wasn’t just bread; it was an invitation to share a meal, a story, and a piece of Moroccan hospitality. The memory of that simple bread, shared with friends under a star-filled sky, continues to inspire my baking today.
Recipe Overview
- Prep Time: 20 minutes
- Rise Time: 1 hour – 2 hours
- Cook Time: 42-52 minutes
- Total Time: Approximately 3 hours
- Yields: 2 loaves
- Dietary Type: Vegetarian
Ingredients
- 18 g active dry yeast
- 1 teaspoon granulated sugar
- 500 g unbleached flour
- 150 g whole wheat flour
- 2 teaspoons salt
- 8 tablespoons lukewarm milk
- 1 teaspoon sesame seeds
- 1 tablespoon anise seed (optional)
- Cornmeal, for sprinkling
- Lukewarm water (amount will vary)
Equipment Needed
- Mixing bowls
- Measuring cups and spoons
- Baking sheets
- Damp kitchen towel
- Fork
- Electric mixer with dough hook (optional)
Instructions
- Begin by softening the yeast. In a small bowl, combine the active dry yeast with the granulated sugar and 1 tablespoon of lukewarm water.
- Let the mixture stand for a few minutes, then stir it gently. Set it aside in a warm place until the yeast mixture froths up, indicating that the yeast is active and ready to use.
- In a large mixing bowl, combine the flours and salt. Whisk together the unbleached flour, whole wheat flour, and salt to ensure even distribution. This will help with gluten development and flavor in the final bread.
- Incorporate the yeast mixture into the flour. Pour the frothy yeast mixture into the bowl with the flour. Add the lukewarm milk to the flour and yeast.
- Add lukewarm water gradually. Begin adding lukewarm water, a little at a time, to form a stiff dough. The amount of water needed will vary depending on the humidity and the type of flour used. I typically use about a cup of water. Add the water no more than 1/4 cup at a time until the dough starts to come together.
- Knead the dough. If kneading by hand, turn the dough out onto a lightly floured board and knead hard, adding water if necessary to prevent it from sticking. Knead for 10-15 minutes until the dough becomes smooth and elastic. The dough should be firm but pliable.
- Use an electric mixer (optional). Alternatively, you can use an electric mixer fitted with a dough hook. Knead the dough at a slow speed for 7-8 minutes. This method is faster and requires less effort.
- Incorporate the spices. Towards the end of the kneading process, add the sesame seeds and anise seed (if using). Knead briefly to distribute the spices evenly throughout the dough.
- Divide the dough. Divide the dough into two equal balls. Let the dough balls rest for 5 minutes. This brief rest period allows the gluten to relax, making the dough easier to shape.
- Prepare the mixing bowl. Lightly grease a large mixing bowl with oil. This will prevent the dough from sticking during its first rise.
- Shape the first loaf. Transfer one ball of dough into the greased bowl. Form a cone shape by holding the dough in one hand and rotating it against the side of the bowl. This helps to create tension on the surface of the dough.
- Prepare the baking sheet. Turn the shaped dough out onto a baking sheet that has been generously sprinkled with cornmeal. The cornmeal will prevent the bread from sticking to the baking sheet and add a subtle, rustic flavor.
- Flatten the dough. Flatten the cone with the palm of your hand to make a disc that is about 5-6 inches across. The disc should be slightly raised in the center.
- Repeat for the second loaf. Repeat the shaping process with the second dough ball, placing it on the same baking sheet or a separate one.
- Let the dough rise. Cover the baking sheet with a damp towel. This will prevent the surface of the dough from drying out as it rises. Let the dough rise in a warm place for 1 to 2 hours, or until it has nearly doubled in size. The rising time will depend on the temperature of your kitchen.
- Preheat the oven. Preheat your oven to 200°C (400°F). Make sure the oven is fully preheated before baking the bread.
- Prick the dough. Using a fork, prick the bread around the sides 3-4 times. This will help prevent the bread from puffing up too much during baking.
- Bake the bread. Bake the bread on the center shelf of the preheated oven for 12 minutes.
- Reduce the oven temperature. After 12 minutes, reduce the oven temperature to 150°C (300°F) and bake for an additional 30-40 minutes, or until the bread is golden brown and sounds hollow when tapped on the bottom.
- Cool the bread. Remove the bread from the oven and let it cool completely on a wire rack before slicing and serving.
Expert Tips & Tricks
- Adjust hydration: The amount of water needed can vary significantly based on your flour. Start with less and add more, a tablespoon at a time, until the dough just comes together.
- Proofing Environment: A warm, humid environment is ideal for proofing. If your kitchen is cold, try placing the dough in a slightly warmed oven (turned off!) with a bowl of hot water.
- Scoring: While this recipe uses a fork to prick the bread, you can also score the top with a sharp knife for a more artisan look.
- Steam: For a crustier loaf, place a pan of hot water on the bottom rack of the oven during the first 15 minutes of baking.
Serving & Storage Suggestions
Serve this Moroccan bread warm, cut into wedges, alongside your favorite tagine, soup, or stew. It’s also delicious simply with olive oil and za’atar. Leftover bread can be stored at room temperature in an airtight container for up to 2 days or frozen for up to 2 months. To reheat, wrap the bread in foil and warm it in a 350°F (175°C) oven for 10-15 minutes.
Nutritional Information
| Nutrient | Amount per Serving | % Daily Value |
|---|---|---|
| Calories | 622.75 kcal | N/A |
| Fat | 3.6g | N/A |
| Saturated Fat | 1.1g | N/A |
| Cholesterol | 4.25mg | N/A |
| Sodium | 1184.4mg | N/A |
| Carbohydrates | 126.85g | N/A |
| Fiber | 8.95g | N/A |
| Sugar | 1.55g | N/A |
| Protein | 20.9g | N/A |
Variations & Substitutions
- Gluten-Free: Substitute a gluten-free flour blend for the unbleached and whole wheat flours. You may need to adjust the amount of water.
- Spices: Experiment with different spices, such as cumin, coriander, or fennel seeds, to customize the flavor profile.
- Herbs: Add fresh herbs like rosemary or thyme to the dough for an aromatic twist.
- Sweet Version: Add a touch more sugar and some raisins or dried cranberries for a sweeter bread that’s delicious with tea or coffee.
FAQs (Frequently Asked Questions)
Q: Can I use instant yeast instead of active dry yeast?
A: Yes, you can substitute instant yeast. You can add it directly to the flour without proofing it first. Use the same amount as specified in the recipe.
Q: Why is my dough not rising?
A: Several factors can affect rising: the yeast might be old or inactive, the liquid might be too hot or too cold, or the environment might be too cold. Ensure your yeast is fresh, the liquid is lukewarm, and the rising environment is warm.
Q: Can I freeze the dough instead of baking it immediately?
A: Yes, you can freeze the dough after shaping it. Wrap it tightly in plastic wrap and then foil. Thaw it overnight in the refrigerator before letting it rise and baking as directed.
Q: How do I know when the bread is done?
A: The bread is done when it’s golden brown and sounds hollow when you tap it on the bottom. An internal temperature of 200-210°F (93-99°C) also indicates doneness.
Q: Can I make this bread without whole wheat flour?
A: Yes, you can use all unbleached flour. The texture will be slightly softer, but the flavor will still be delicious.
Final Thoughts
This Moroccan bread is more than just a recipe; it’s an invitation to connect with a culture and create lasting memories. Whether you’re a seasoned baker or just starting out, I encourage you to try this recipe and experience the warmth and comfort of homemade bread. Share it with friends and family, and don’t hesitate to experiment with different spices and herbs to make it your own. I hope this bread brings as much joy to your table as it has to mine!