
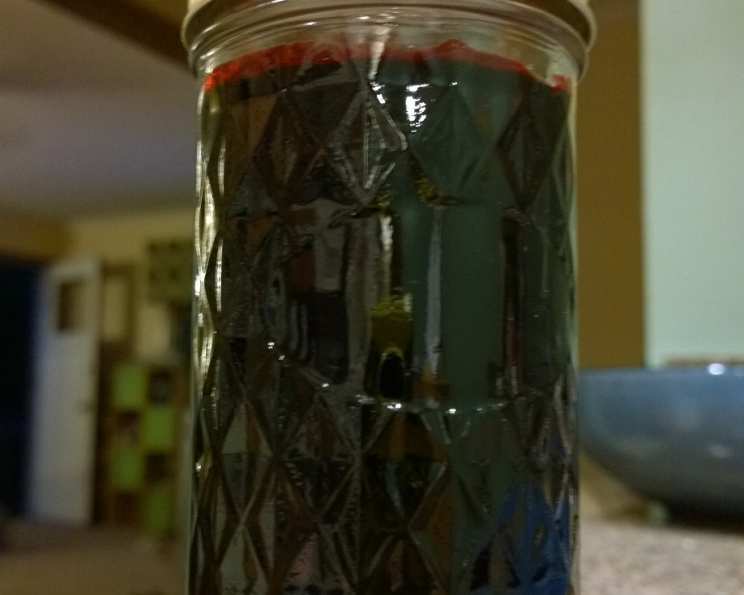
Capturing Summer’s Essence: Homemade Mulberry Jam
The taste of mulberries always transports me back to my childhood summers. We had a sprawling mulberry tree in our backyard, its branches laden with the dark, juicy berries. Stained fingers and purple-smeared faces were the norm as we kids scrambled to gather the sweet treasure before the birds got to them all. My grandmother would then transform our bounty into jars of the most delicious, jewel-toned jam, a taste of sunshine we could savor all year round.
Recipe Overview
- Prep Time: 30 minutes
- Cook Time: 60 minutes
- Total Time: 1 hour 30 minutes
- Yield: 8 (1/2 pint) jars
- Dietary Type: Vegetarian
Ingredients
- 3 lbs mulberries, ripe
- 1/2 cup lemon juice
- 7 cups sugar
- 1 bottle liquid pectin
Equipment Needed
- Large saucepan
- Potato masher or similar tool for crushing berries
- Jelly bag or cheesecloth-lined colander
- Very large saucepan or preserving pan
- Metal spoon
- Sterilized jars and lids
- Jar lifter
Instructions
-
Begin by preparing the mulberries. Rinse them thoroughly under cold water to remove any dirt or debris. Pick over the berries, removing any stems or leaves.
-
Place the cleaned mulberries in a large saucepan. Using a potato masher or similar tool, crush the berries to release their juices.
-
Heat the crushed berries gently over medium-low heat until the juice begins to flow freely. Be careful not to scorch the berries.
-
Once the juice is flowing, simmer the berries, covered, for 15 minutes. This will further soften the fruit and extract more juice. Stir occasionally to prevent sticking.
-
After simmering, transfer the berry mixture to a jelly bag or a colander lined with several layers of cheesecloth. Allow the juice to drip through naturally, or gently squeeze the bag to extract as much juice as possible. Be patient; avoid excessive squeezing, as this can result in cloudy jam.
-
Measure out 3 cups of the extracted mulberry juice into a very large saucepan or preserving pan. Using a large pan is crucial to prevent the jam from boiling over later.
-
Add the sugar and lemon juice to the mulberry juice in the saucepan. Mix well to ensure the sugar is evenly distributed. The lemon juice helps to brighten the flavor and aids in the setting process.
-
Place the saucepan over high heat and bring the mixture to a full rolling boil, stirring constantly. A full rolling boil is one that cannot be stirred down. This is critical for achieving the proper setting point for the jam.
-
Once a full rolling boil is reached, immediately stir in the liquid pectin. Work quickly to ensure the pectin is evenly distributed.
-
Return the mixture to a full rolling boil and boil hard for 1 minute, stirring constantly. This step is crucial for activating the pectin and ensuring the jam sets properly. Use a timer to ensure accuracy.
-
Remove the saucepan from the heat. Use a metal spoon to skim off any foam that has formed on the surface of the jam. Skimming helps to create a clearer, more appealing finished product.
-
Quickly pour the hot jam into hot, sterilized jars, leaving about 1/4 inch of headspace at the top. Wipe the rims of the jars clean with a damp cloth.
-
Place the lids on the jars and screw on the bands until fingertip tight.
-
Process the filled jars in a boiling water bath for the time recommended based on your altitude and jar size, generally 10 minutes for half-pint jars at altitudes below 1,000 feet. Refer to canning guidelines for accurate processing times.
-
Carefully remove the jars from the water bath using a jar lifter and place them on a towel-lined surface to cool. As the jars cool, you should hear a “pop” sound, indicating that the lids have sealed properly.
-
After the jars have cooled completely (about 12-24 hours), check the seals. If any jars did not seal, refrigerate the jam and use it within a few weeks, or reprocess the jars with new lids.
Expert Tips & Tricks
- Test for a Set: Before jarring, place a small spoonful of the hot jam on a chilled plate and refrigerate for a minute. If it wrinkles when you push it with your finger, it’s ready. If not, continue to cook for a few more minutes and test again.
- Prevent Crystals: Avoid overcooking the jam, as this can lead to sugar crystals forming. The lemon juice also helps to prevent crystallization.
- Sterilize Jars Properly: Proper sterilization is crucial to prevent spoilage. Jars and lids should be sterilized by boiling them in water for 10 minutes before filling.
- Work Quickly: Once the jam reaches the setting point, work quickly to fill the jars to prevent the jam from cooling and thickening in the pot.
- Altitude Adjustment: If you live at a high altitude, you may need to adjust the cooking time and processing time to ensure a proper set and seal. Consult canning guidelines for specific recommendations.
Serving & Storage Suggestions
Mulberry jam is delicious spread on toast, biscuits, or scones. It can also be used as a filling for cakes and pastries or as a glaze for meats. Serve it alongside a cheese board or use it to create a flavorful vinaigrette.
Store unopened jars of mulberry jam in a cool, dark place for up to one year. Once opened, refrigerate the jam and use it within a few weeks. Properly sealed jars will be shelf-stable until opened.
Nutritional Information
(Note: Values are approximate and may vary depending on specific ingredients and portion size.)
| Nutrient | Amount per Serving (1 tbsp) | % Daily Value* |
|---|---|---|
| Calories | 94 kcal | 5% |
| Total Fat | 0.08 g | 0% |
| Saturated Fat | 0.01 g | 0% |
| Cholesterol | 0 mg | 0% |
| Sodium | 2 mg | 0% |
| Total Carbohydrate | 24.1 g | 9% |
| Dietary Fiber | 0.4 g | 1% |
| Sugars | 23.3 g | N/A |
| Protein | 0.07 g | 0% |
*Percent Daily Values are based on a 2,000 calorie diet.
Variations & Substitutions
- Spice it Up: Add a pinch of ground cinnamon, nutmeg, or cloves to the jam during the simmering process for a warm, spiced flavor.
- Berry Medley: Combine mulberries with other berries, such as raspberries or blackberries, for a more complex flavor profile.
- Citrus Zest: Add the zest of a lemon or orange to the jam for a brighter, more aromatic flavor.
- Low-Sugar Option: Use a sugar substitute specifically designed for jam making, but be aware that this may affect the setting properties of the jam. You may need to use a low-sugar pectin.
- Mulberry Jelly: If you prefer a smoother texture, strain the cooked mulberry mixture through a jelly bag or several layers of cheesecloth without pressing to make jelly.
FAQs (Frequently Asked Questions)
Q: Why is my jam too runny?
A: Runny jam is often caused by not cooking it to a high enough temperature or not using enough pectin. Be sure to use a thermometer and cook the jam to at least 220°F (104°C), or use the chilled plate test to check for a set.
Q: Can I use frozen mulberries?
A: Yes, you can use frozen mulberries. Thaw them completely before using and drain off any excess liquid.
Q: How long does homemade jam last?
A: Properly sealed jars of homemade jam can last for up to one year in a cool, dark place. Once opened, refrigerate the jam and use it within a few weeks.
Q: Do I have to use lemon juice?
A: Lemon juice is important for both flavor and acidity. It helps to brighten the flavor of the mulberries and also aids in the setting process.
Q: What can I do if my jam has sugar crystals?
A: Sugar crystals can form if the jam is overcooked or if too much sugar is used. Unfortunately, there’s not much you can do to remove the crystals once they’ve formed. To prevent them in the future, avoid overcooking and ensure the sugar is fully dissolved before boiling.
Final Thoughts
Making your own mulberry jam is a rewarding experience that allows you to capture the taste of summer in a jar. The deep, rich flavor of mulberries combined with the bright acidity of lemon creates a jam that is both sweet and tart, perfect for spreading on toast, biscuits, or scones. So, gather your mulberries, roll up your sleeves, and enjoy the process of creating this delicious homemade treat. I encourage you to share your experiences and variations in the comments – happy jamming!