
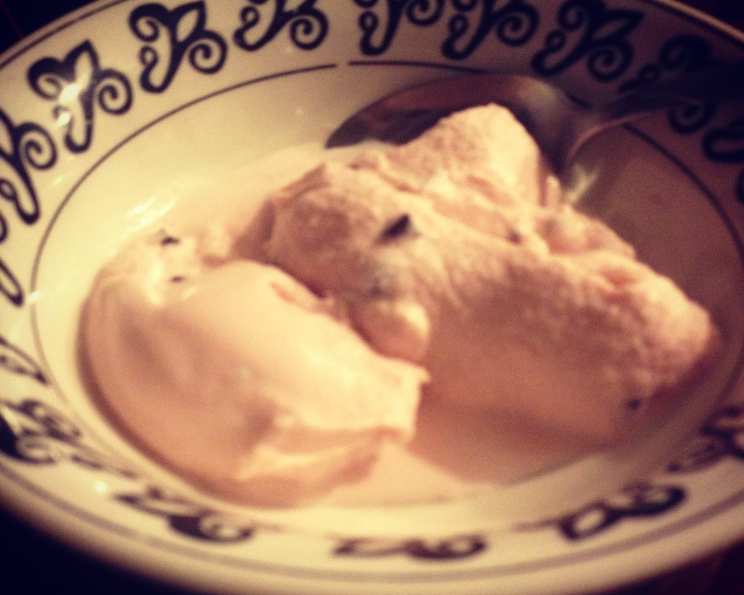
Non-Dairy Peppermint Ice Cream: A Winter Wonderland in Every Scoop
The first time I tasted peppermint ice cream, I was a kid bundled up in a snowsuit, rosy-cheeked and shivering, after a particularly epic snowball fight. My grandma, with her ever-present twinkle in her eye, handed me a small bowl. The cool, creamy sweetness, punctuated by the sharp, refreshing burst of peppermint, was pure magic. It wasn’t just dessert; it was a moment, a memory of winter joy and the warmth of family. Now, years later, I’ve perfected a dairy-free version that captures all that nostalgic bliss, and I’m thrilled to share it with you.
Recipe Overview
- Prep Time: 15 minutes
- Cook Time: 30 minutes
- Total Time: 45 minutes
- Servings: 6
- Yields: 1 quart
- Dietary Type: Vegan, Dairy-Free
Ingredients
- 2 cups Silk Original Soy Coffee Creamer, cooled for at least 8 hours
- 1 cup Original Soymilk, cooled for at least 8 hours
- 1/2 cup Sugar
- 1 teaspoon Mint Extract
- 1/2 cup Mini Chocolate Chips (optional, but highly recommended!)
- 1 cup Broken Candy Canes or 1 cup Peppermint Candy
Equipment Needed
- Ice cream maker
- Large mixing bowl
- Whisk or electric mixer
- Ziploc bag (for crushing candy)
- Hammer or rolling pin (for crushing candy)
- Measuring cups and spoons
- Freezer-safe container
Instructions
- Begin by ensuring your Silk Original Soy Coffee Creamer and Original Soymilk have been chilling in the refrigerator for at least 8 hours. This is crucial for achieving the right consistency in your ice cream.
- Next, prepare the peppermint candy. The easiest method is to place the candy canes or peppermint candy in a Ziploc bag. Seal the bag tightly, removing as much air as possible.
- Using a hammer or rolling pin, crush the candy into small pieces. Don’t aim for a powder; you want a mix of small and slightly larger chunks for a delightful texture in the ice cream. Be careful not to break the bag!
- In a large mixing bowl, combine the chilled Silk Original Soy Coffee Creamer, chilled Original Soymilk, and sugar.
- Using a whisk or electric mixer, beat the ingredients together until the sugar is completely dissolved and the mixture is well combined. This should take only a minute or two.
- Add the mint extract to the mixture. Be careful not to add too much, as mint extract can be quite potent.
- Gently fold in the crushed candy canes or peppermint candy, along with the mini chocolate chips (if using). Distribute them evenly throughout the mixture.
- Pour the mixture into your ice cream maker. Follow the manufacturer’s instructions for your specific model. Generally, this involves churning the mixture for about 30 minutes.
- The ice cream should have a soft-serve consistency after churning. For a firmer texture, transfer the ice cream to a freezer-safe container.
- Place the container in the freezer for at least 2-3 hours to allow the ice cream to fully harden.
- Before serving, let the ice cream sit at room temperature for a few minutes to soften slightly, making it easier to scoop.
Expert Tips & Tricks
- For an extra layer of flavor and to prevent the ice cream from becoming too icy, consider adding a tablespoon of peppermint schnapps or vodka to the mixture before churning. The alcohol will help to lower the freezing point, resulting in a smoother texture.
- If you don’t have an ice cream maker, you can try the “no-churn” method. Pour the prepared mixture into a freezer-safe container and freeze for about 30 minutes. Then, using a fork, break up any ice crystals that have formed. Repeat this process every 30 minutes for the first 2-3 hours of freezing. This helps to create a smoother, less icy texture.
- Experiment with different types of non-dairy milk and creamers to find your favorite flavor combination. Coconut milk or cashew cream can add extra richness.
- For a festive presentation, garnish the ice cream with extra crushed candy canes or a sprig of fresh mint before serving.
- To prevent freezer burn, press a piece of plastic wrap directly onto the surface of the ice cream before sealing the container. This helps to minimize air exposure.
Serving & Storage Suggestions
Serve this Non-Dairy Peppermint Ice Cream in bowls, cones, or alongside your favorite holiday desserts. It pairs perfectly with warm brownies, chocolate cookies, or a slice of vegan chocolate cake.
Store leftover ice cream in an airtight, freezer-safe container in the freezer. It will keep for up to 2 weeks, although the texture may change slightly over time. If the ice cream becomes too hard, let it thaw in the refrigerator for about 15-20 minutes before scooping. Avoid storing it at room temperature for extended periods, as this can affect the texture and flavor.
Nutritional Information
Note: Nutritional information is an estimate and can vary based on specific ingredients and portion sizes.
| Nutrient | Amount per Serving | % Daily Value |
|---|---|---|
| Calories | 313.6 kcal | N/A |
| Calories from Fat | 184g | 59% |
| Total Fat | 20.5 g | 31% |
| Saturated Fat | 12.3 g | 61% |
| Cholesterol | 52.8 mg | 17% |
| Sodium | 54.5 mg | 2% |
| Total Carbohydrate | 31.4 g | 10% |
| Dietary Fiber | 1.1 g | 4% |
| Sugars | 26.3 g | 105% |
| Protein | 4.1 g | 8% |
Variations & Substitutions
- Extra Chocolatey: Add a tablespoon or two of unsweetened cocoa powder to the mixture for a richer chocolate flavor.
- Peppermint Bark Ice Cream: Swirl in melted vegan chocolate and extra crushed candy canes at the end of churning for a delightful peppermint bark variation.
- Coconut Peppermint Ice Cream: Substitute coconut milk for the soymilk and soy coffee creamer for a creamier, more tropical twist.
- Nut-Free Option: Use oat milk and oat creamer as a substitute for the soy products.
- Adjust Sweetness: Modify the amount of sugar to suit your personal preference. You can also use a sugar substitute like agave or maple syrup, but be aware that this may affect the texture of the ice cream.
FAQs (Frequently Asked Questions)
Q: Can I use regular milk instead of soy milk and creamer?
A: While you can, this recipe is specifically designed to be dairy-free. Using regular dairy products will change the flavor and texture.
Q: My ice cream is too hard. What can I do?
A: Let it sit at room temperature for 10-15 minutes before scooping. Adding a tablespoon of alcohol to the mixture before churning can also help to prevent it from freezing too solid.
Q: Can I use peppermint oil instead of peppermint extract?
A: Peppermint oil is much more concentrated than extract, so use it sparingly. Start with just a drop or two and taste before adding more.
Q: How long does this ice cream last in the freezer?
A: Properly stored in an airtight container, this ice cream will last for up to 2 weeks in the freezer.
Q: Can I make this recipe without an ice cream maker?
A: Yes, follow the “no-churn” method described in the Expert Tips & Tricks section.
Final Thoughts
There you have it: a decadent, dairy-free peppermint ice cream that’s sure to bring a touch of winter magic to your kitchen. I encourage you to give this recipe a try and let me know what you think! Whether you’re enjoying it on a cozy night in, sharing it with loved ones during the holidays, or simply craving a refreshing treat, this ice cream is guaranteed to be a hit. Don’t be afraid to experiment with variations and make it your own! Perhaps pair it with a warm mug of dairy-free hot chocolate for the ultimate winter indulgence. Happy scooping!