
The Art of Homemade Non-Fat Paneer: A Culinary Journey
The scent of simmering milk always transports me back to my grandmother’s kitchen in India. I remember sitting on a small stool, mesmerized as she transformed simple milk into creamy, melt-in-your-mouth paneer. It wasn’t just about the cheese; it was about the love and patience she poured into every step. I remember thinking that it was such a simple food, yet it was included in the most exquisite of dishes. Today, I’m excited to share a lighter, healthier take on this classic, allowing you to enjoy the authentic flavors without the extra fat.
Recipe Overview
- Prep Time: 10 minutes
- Cook Time: 25 minutes
- Total Time: 35 minutes
- Servings: 5
- Yield: About 1 pound of paneer
- Dietary Type: Vegetarian, Gluten-Free, Low-Fat
Ingredients
- 8 cups nonfat milk
- 4 tablespoons lemon juice
Equipment Needed
- Large saucepan
- Large bowl
- Strainer
- Cheesecloth (or new, unused HandiWipe)
- Heavy pan or cast-iron skillet
Instructions
-
Prepare your straining station: Place a large strainer lined with cheesecloth in a large bowl. If you don’t have cheesecloth, a brand-new, unused HandiWipe can also work, but be aware that it might tear a bit more easily.
-
Heat the milk: In a large saucepan, use low to medium heat to slowly bring the nonfat milk to a boil. It’s crucial to stir the milk occasionally to prevent it from scorching at the bottom of the pan. Patience is key here; a slow, gentle heat is better than a rapid boil.
-
Curdle the milk: Once the milk reaches a boil, add the lemon juice and begin stirring gently. Almost immediately, you’ll notice the milk beginning to curdle. The cheesy lumps will separate from the whey (the watery part) and start to sink to the bottom of the pan.
-
Rest and separate: Remove the saucepan from the heat and allow it to stand for about five minutes. This allows the curdling process to complete. After five minutes, pour the curdled milk into the prepared strainer lined with cheesecloth.
-
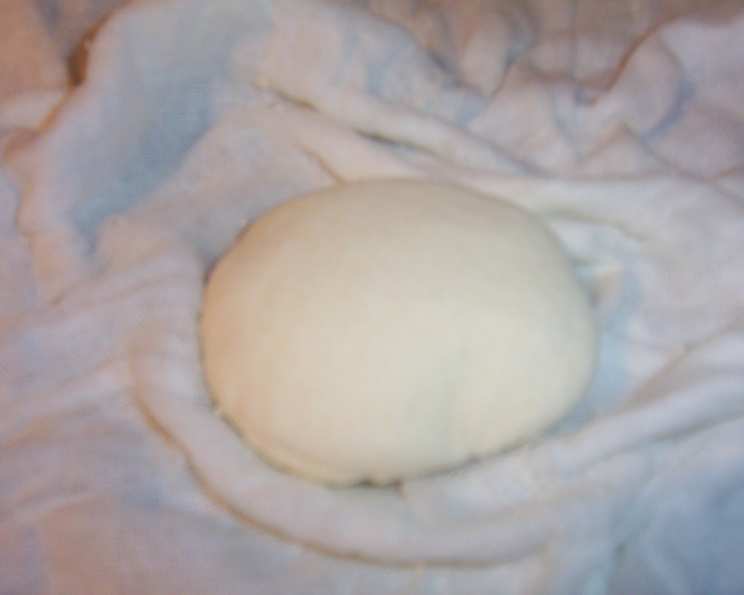
Shape the paneer: Use the cheesecloth to gather the curdled milk and begin shaping the paneer cheese into a ball. Gently squeeze out some of the excess liquid.
-
Press the paneer: Fold the cheesecloth over the ball of cheese and place it on a flat surface. Now, place a heavily weighted pan or a cast iron skillet on top of the cheese. This will help drain out any remaining liquid (whey). Press down lightly on the weighted pan to further encourage liquid removal. Let it press for at least 20 minutes. The longer you press, the firmer the paneer will become.
-
Ready to use: After 20 minutes (or longer, depending on your desired firmness), your non-fat paneer is ready to be used in your favorite dishes.
Expert Tips & Tricks
- Milk Matters: Using the freshest nonfat milk possible will yield the best results. Avoid milk that is nearing its expiration date.
- Acid Adjustment: If you find the lemon juice flavor too strong, you can use a combination of lemon juice and vinegar. Start with a 3:1 ratio of lemon juice to white vinegar (e.g., 3 tablespoons lemon juice, 1 tablespoon white vinegar).
- Whey is Gold: Don’t discard the whey! It’s packed with nutrients and can be used in soups, stews, or even to knead dough for roti or bread.
- Firmness Factor: For a softer paneer, reduce the pressing time. For a firmer paneer, increase the pressing time. You can even refrigerate the pressed paneer for a few hours to further firm it up.
- Rinse for Mildness: Some people prefer to rinse the paneer curds with cold water after separating them from the whey. This helps remove any lingering lemon juice flavor.
Serving & Storage Suggestions
Serve your homemade non-fat paneer fresh in your favorite Indian dishes, such as palak paneer (spinach and paneer), paneer tikka masala, or matar paneer (peas and paneer). You can also cube it and add it to salads, skewers, or even grilled sandwiches.
To store, wrap the paneer tightly in plastic wrap or place it in an airtight container in the refrigerator. It will stay fresh for up to 3-4 days. For longer storage, you can freeze the paneer. Cut it into cubes or slices before freezing, and store it in a freezer-safe bag or container. Frozen paneer may become slightly crumbly upon thawing, but it’s still perfectly suitable for cooking.
Reheat refrigerated paneer gently in a skillet or microwave. If using frozen paneer, thaw it in the refrigerator overnight before use.
Nutritional Information
| Nutrient | Amount per Serving | % Daily Value |
|---|---|---|
| Calories | 136 kcal | N/A |
| Calories from Fat | 3 g | 2% |
| Total Fat | 0.3 g | 0% |
| Saturated Fat | 0.2 g | 1% |
| Cholesterol | 7.8 mg | 2% |
| Sodium | 164.8 mg | 6% |
| Total Carbohydrate | 20.3 g | 6% |
| Dietary Fiber | 0 g | 0% |
| Sugars | 20.3 g | N/A |
| Protein | 13.2 g | 26% |
Note: Nutritional information is an estimate and may vary based on specific ingredients and preparation methods.
Variations & Substitutions
- Acid Options: Instead of lemon juice, you can use white vinegar, lime juice, or even citric acid to curdle the milk. Start with the same amount (4 tablespoons) and adjust to taste.
- Flavor Infusions: Get creative by adding herbs or spices to the milk while it’s simmering. Try adding a bay leaf, a cinnamon stick, or a few cardamom pods for a subtle flavor infusion.
- Vegan Paneer: For a dairy-free alternative, try making tofu paneer! Press extra-firm tofu to remove excess moisture, then marinate it in a mixture of yogurt, ginger-garlic paste, and spices before grilling or pan-frying.
FAQs (Frequently Asked Questions)
Q: Can I use ultra-pasteurized milk for making paneer?
A: Ultra-pasteurized milk may not curdle as easily as regular pasteurized milk. If you’re using it, you might need to add a little extra lemon juice.
Q: How do I know when the milk has curdled enough?
A: The milk has curdled enough when the whey is clear and the curds have separated into distinct lumps. If the whey is still milky, add a little more lemon juice and stir gently.
Q: My paneer is too crumbly. What did I do wrong?
A: Crumbly paneer is usually a result of over-cooking the milk or using too much acid. Next time, reduce the heat and add the lemon juice gradually. You can also try reducing the pressing time.
Q: Can I freeze the paneer?
A: Yes, you can freeze paneer. Cut it into cubes or slices before freezing, and store it in a freezer-safe bag or container. Thaw it in the refrigerator overnight before using. The texture might be slightly different after freezing, but it’s still suitable for cooking.
Q: How can I make sure my paneer is perfectly smooth?
A: For smoother paneer, avoid over-boiling the milk. Gently stir the milk while it curdles and avoid excessive pressing.
Final Thoughts
Making your own non-fat paneer is a rewarding experience that allows you to control the ingredients and create a healthier version of this beloved Indian cheese. Don’t be intimidated by the process; it’s simpler than you might think. So, gather your ingredients, put on some music, and embark on this culinary adventure. I encourage you to experiment with different flavors and variations to make it your own. Share your creations and experiences – happy cooking!