
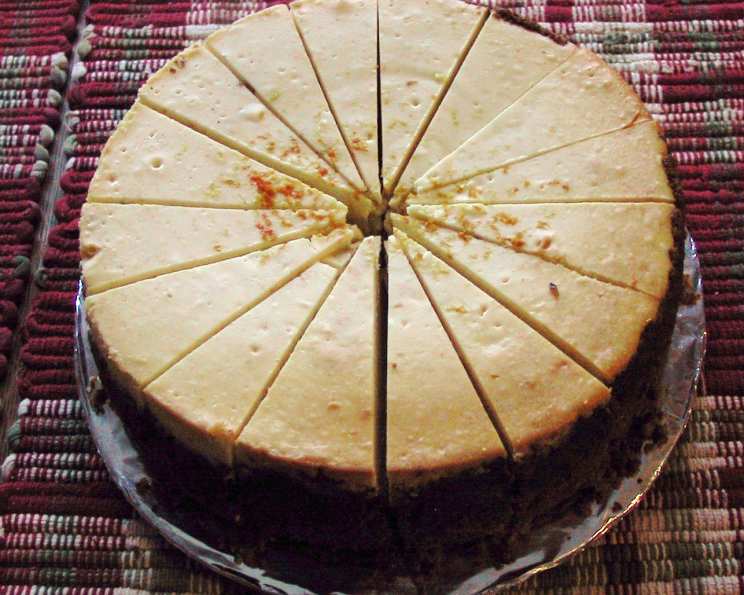
The Irresistible Allure of Nut Crust: A Chef’s Secret
My grandmother, Nana Rose, was a wizard with pies. Her apple pie was legendary, but it was her pecan-crusted chocolate silk pie that truly stole my heart. I remember sitting at her kitchen table, the aroma of toasted nuts filling the air, as she patiently showed me how to grind the pecans just right. That slightly salty, deeply nutty crust, paired with the decadent chocolate filling, was pure magic. Even now, decades later, the taste transports me back to her warm, loving kitchen. This nut crust recipe, a close cousin to Nana Rose’s, is my attempt to recapture a little of that magic.
Recipe Overview
- Prep Time: 10 minutes
- Cook Time: 0 minutes
- Total Time: 10 minutes
- Servings: 6-8
- Yields: 1 pie crust
- Dietary Type: Gluten-Free (naturally)
Ingredients
- 2 cups walnuts or 2 cups pecans (or a combination!)
- ¼ cup unsalted butter, melted
- 3 tablespoons granulated sugar
- ¼ teaspoon salt
Equipment Needed
- Food processor or blender
- 9-inch pie plate
- Measuring cups and spoons
Instructions
-
Begin by chopping your nuts. The easiest way to do this evenly is to use a food processor or blender. Pulse the walnuts or pecans until they are finely ground, but be careful not to over-process them into a nut butter! You want a crumbly texture, not a paste. Alternatively, you can finely chop the nuts by hand if you prefer a slightly coarser crust.
-
Next, melt the butter. You can do this in the microwave in 30-second intervals or in a small saucepan over low heat. Be careful not to brown the butter, as we want its richness without the toasted flavor.
-
In a 9-inch pie plate, combine the melted butter with the chopped nuts. Stir well to ensure all the nuts are evenly coated with the butter. This is what will bind the crust together.
-
Add the granulated sugar and salt to the mixture. The sugar provides a touch of sweetness to complement the nutty flavor, while the salt enhances all the other flavors. Stir everything together thoroughly to ensure even distribution.
-
Now comes the fun part! Pat the nut mixture into the bottom and up the sides of the pie pan. Use your fingers or the back of a spoon to firmly press the mixture into an even layer. The firmer you pack it, the better it will hold its shape. Make sure the crust is uniform in thickness to ensure even baking (if you choose to bake it, see expert tips).
-
And that’s it! Your nut crust is now ready to be filled. This recipe yields a no-bake crust, perfect for fillings that don’t require further baking, such as chocolate mousse, chilled cheesecakes, or fruit tarts.
Expert Tips & Tricks
-
Toast the nuts: For a deeper, more complex flavor, lightly toast the nuts before chopping them. Spread them on a baking sheet and bake at 350°F (175°C) for 5-7 minutes, or until fragrant and lightly browned. Let them cool completely before chopping.
-
Baking the crust: While this recipe is designed as a no-bake crust, you can bake it for a crispier texture. Bake in a preheated oven at 350°F (175°C) for 8-10 minutes, or until lightly golden. Let it cool completely before filling. Watch it carefully as nut crusts can burn easily.
-
Nut variations: Feel free to experiment with different nuts. Almonds, hazelnuts, macadamia nuts, or even a mixture of nuts all work beautifully. Each nut will impart its unique flavor to the crust.
-
Adding spices: For an extra layer of flavor, consider adding a pinch of ground cinnamon, nutmeg, or cardamom to the nut mixture. These spices pair particularly well with pecans and walnuts.
-
Sweetening the crust: Adjust the amount of sugar to your liking. If you prefer a less sweet crust, reduce the sugar to 2 tablespoons. You can also substitute brown sugar for a richer, more molasses-like flavor.
-
Pressing the crust: Use the bottom of a measuring cup to press the nut mixture firmly into the pie plate. This will help create a more compact and stable crust.
Serving & Storage Suggestions
Serve your nut-crusted pie chilled for the best texture and flavor. This crust is particularly delicious with creamy fillings like chocolate mousse, cheesecake, or custard. You can also use it as a base for fruit tarts, topping it with fresh berries, whipped cream, and a drizzle of honey.
Leftover pie can be stored in the refrigerator for up to 3 days. Cover it loosely with plastic wrap to prevent it from drying out. If you want to store the pie for longer, you can freeze it for up to 2 months. Thaw it in the refrigerator overnight before serving. Note that the crust might become slightly softer after freezing and thawing.
An unfilled nut crust can be stored at room temperature for up to 2 days, or in the refrigerator for up to 5 days, as long as it’s tightly covered to prevent it from absorbing moisture.
Nutritional Information
(Estimated, based on pecans and 8 servings)
| Nutrient | Amount per Serving | % Daily Value |
|---|---|---|
| Calories | 347 kcal | 17% |
| Total Fat | 33.1 g | 42% |
| Saturated Fat | 7.2 g | 36% |
| Cholesterol | 20.3 mg | 7% |
| Sodium | 98.7 mg | 4% |
| Total Carbohydrate | 11.7 g | 4% |
| Dietary Fiber | 2.6 g | 9% |
| Sugars | 7.3 g | 15% |
| Protein | 6 g | 12% |
Variations & Substitutions
- Vegan Nut Crust: Substitute the butter with melted coconut oil or a vegan butter alternative. Ensure that your chosen butter alternative is solid when chilled, as some can make the crust too soft.
- Chocolate Nut Crust: Add 2 tablespoons of unsweetened cocoa powder to the nut mixture for a chocolatey twist.
- Spice it up: Add a pinch of cayenne pepper to the nut mixture for a subtly spicy crust that pairs well with chocolate or caramel fillings.
- Citrus Zest: Add the zest of one lemon or orange to the nut mixture for a bright, citrusy flavor.
- Add Oats: For a heartier crust, add 1/2 cup of rolled oats to the nut mixture. Pulse briefly in the food processor to combine.
FAQs (Frequently Asked Questions)
Q: Can I use salted butter instead of unsalted?
A: Yes, you can, but omit or reduce the added salt in the recipe to avoid an overly salty crust.
Q: My crust is too crumbly and won’t hold together. What did I do wrong?
A: You may not have used enough butter, or the nuts might be too finely ground. Try adding a tablespoon or two of melted butter and press the crust firmly into the pie plate.
Q: Can I make this crust ahead of time?
A: Absolutely! You can prepare the crust up to 2 days in advance and store it, tightly covered, in the refrigerator.
Q: Can I freeze the nut crust?
A: Yes, you can freeze either an unbaked or baked nut crust. Wrap it tightly in plastic wrap and then foil to prevent freezer burn. It can be frozen for up to 2 months.
Q: Can I use a different sweetener besides granulated sugar?
A: Yes, you can substitute brown sugar, maple syrup, or honey. If using a liquid sweetener, reduce the amount of butter slightly to compensate for the added moisture.
Final Thoughts
This nut crust is a game-changer, a simple yet elegant alternative to traditional pie crusts. It adds a depth of flavor and a delightful textural contrast to any filling you choose. So go ahead, unleash your inner baker, and whip up this incredibly easy and delicious nut crust. I hope this recipe brings as much joy to your kitchen as it does to mine. Don’t forget to share your creations and feedback – I can’t wait to see what delicious pies you come up with! Consider pairing it with a smooth coffee liqueur for an after-dinner treat.