
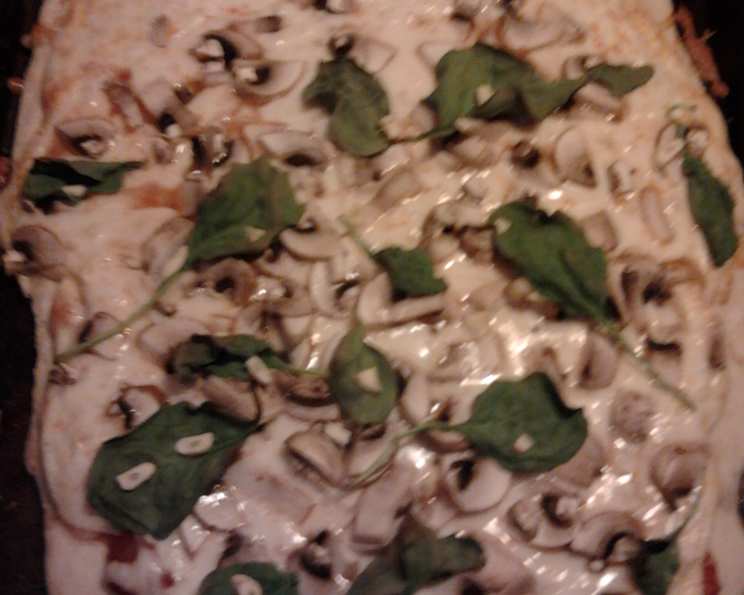
Pantry Pizza Crust: The Easiest Homemade Pizza You’ll Ever Make
I’ll never forget the first time I made pizza from scratch. I was a broke college student, staring into a nearly empty refrigerator. My friends were coming over, and the thought of ordering delivery felt like a luxury I couldn’t afford. That’s when I rummaged through my pantry and found flour, baking powder, and a forgotten carton of milk. What followed was a surprisingly delicious pizza crust – a testament to the fact that sometimes, the best meals are born out of necessity. To this day, the comforting aroma of baking pizza dough transports me back to that tiny apartment, filled with laughter and the joy of sharing a homemade meal.
Recipe Overview
- Prep Time: 10 minutes
- Cook Time: 15 minutes
- Total Time: 25 minutes
- Servings: 4
- Yield: 1 pizza crust
- Dietary Type: Vegetarian
Ingredients
- 2 ½ cups all-purpose flour
- 2 teaspoons baking powder
- 1 teaspoon salt
- 1 cup milk
- 4 tablespoons vegetable oil
Equipment Needed
- Large mixing bowl
- Measuring cups and spoons
- Cookie sheet or pizza pan
- Rolling pin (optional)
Instructions
-
Preheat your oven to 425°F (220°C). This high heat is crucial for achieving a crispy crust.
-
In a large mixing bowl, combine the flour, baking powder, and salt. Whisk these dry ingredients together to ensure the baking powder is evenly distributed, which will help the crust rise properly.
-
Add the milk and vegetable oil to the dry ingredients. Stir until the mixture starts to come together and form a shaggy dough that pulls away from the sides of the bowl.
-
Lightly flour your hands and knead the dough about 10 times directly in the bowl. This brief kneading helps to develop the gluten, giving the crust a slightly chewier texture. Don’t over-knead, as this will result in a tough crust.
-
Flour a flat surface, such as a counter or a large cutting board. Transfer the dough to the floured surface and roll it out into a free-form shape that roughly corresponds to the size and shape of your cookie sheet. Don’t strive for perfection; a rustic, uneven shape is part of the charm of this recipe. A rolling pin makes this easier, but you can also press and stretch the dough with your hands.
-
Carefully transfer the dough to a cookie sheet or pizza pan. If needed, gently press and stretch the dough to fill the pan. Remember, this crust is meant to be quick and easy, so don’t worry about it looking perfect!
-
Bake the crust in the preheated oven for 5 minutes. This initial bake helps to set the crust and prevent it from becoming soggy when you add the toppings.
-
Remove the crust from the oven and add your favorite sauce, cheese, and toppings. Get creative! This is your chance to customize your pizza to your liking.
-
Return the pizza to the oven and bake for another 10 minutes, or until the cheese is melted and bubbly and the crust is golden brown. Keep a close eye on it, checking after about 8 minutes, as oven temperatures can vary.
-
Remove the pizza from the oven, let it cool for a few minutes, then cut and serve immediately. Enjoy!
Expert Tips & Tricks
- For a crispier crust: After the initial 5-minute bake, brush the crust with a little olive oil before adding your toppings. This will create a barrier that prevents the sauce from soaking into the crust.
- To prevent sticking: Make sure your cookie sheet is well-greased or lined with parchment paper.
- Add flavor to the dough: Mix in some dried herbs, such as oregano or basil, to the dough for extra flavor.
- Pre-baking for later: If you want to make the crust ahead of time, you can pre-bake it for the initial 5 minutes, let it cool completely, and then wrap it tightly in plastic wrap and store it in the refrigerator for up to 2 days.
- Troubleshooting a tough crust: If your crust turns out tough, it’s likely because you over-kneaded the dough. Be gentle when kneading, and avoid working the dough too much. Next time, use a bit less flour to create a softer dough.
Serving & Storage Suggestions
Serve your freshly baked pizza immediately for the best flavor and texture. The combination of warm, melted cheese, savory sauce, and crispy crust is simply irresistible.
Leftover pizza can be stored in an airtight container in the refrigerator for up to 3 days. To reheat, you can use the oven, a toaster oven, or a skillet.
- Oven: Preheat the oven to 350°F (175°C) and bake the pizza slices for about 5-10 minutes, or until heated through and the crust is crispy.
- Toaster Oven: This is a great option for reheating a single slice of pizza. Bake for a few minutes until heated through.
- Skillet: Heat a skillet over medium heat and add the pizza slices. Cover the skillet and cook for a few minutes, or until the cheese is melted and the crust is crispy. This method helps to crisp up the bottom of the crust.
Freezing is not recommended for this pizza crust, as the texture can change upon thawing. It’s best enjoyed fresh or stored in the refrigerator for a short period.
Nutritional Information
| Nutrient | Amount per Serving | % Daily Value |
|---|---|---|
| Calories | 380 kcal | 19% |
| Total Fat | 18g | 28% |
| Saturated Fat | 3g | 15% |
| Cholesterol | 5mg | 2% |
| Sodium | 600mg | 25% |
| Total Carbohydrate | 50g | 17% |
| Dietary Fiber | 2g | 8% |
| Sugars | 3g | 6% |
| Protein | 8g | 16% |
Note: Nutritional information is an estimate and may vary depending on specific ingredients and portion sizes.
Variations & Substitutions
- Gluten-Free Crust: Substitute the all-purpose flour with a gluten-free all-purpose flour blend. You may need to add a little more liquid to achieve the right consistency.
- Whole Wheat Crust: Replace half of the all-purpose flour with whole wheat flour for a nuttier flavor and added fiber.
- Dairy-Free Crust: Use plant-based milk alternatives like almond milk, soy milk, or oat milk instead of cow’s milk.
- Herb Infused: Add 1-2 teaspoons of your favorite dried herbs, such as Italian seasoning, oregano, basil, or rosemary, to the flour mixture for an extra layer of flavor.
- Garlic Crust: Mix 1-2 teaspoons of garlic powder into the flour mixture for a savory garlic flavor.
FAQs (Frequently Asked Questions)
Q: Can I use bread flour instead of all-purpose flour?
A: While you can use bread flour, it will result in a slightly chewier crust. All-purpose flour is recommended for a more tender crust.
Q: Can I make this dough ahead of time and refrigerate it?
A: Yes, you can make the dough ahead of time and refrigerate it for up to 24 hours. Be sure to wrap it tightly in plastic wrap to prevent it from drying out. Let it come to room temperature before rolling it out.
Q: My crust is too sticky. What should I do?
A: If your crust is too sticky, add a little more flour, one tablespoon at a time, until it reaches a manageable consistency.
Q: Can I use different toppings?
A: Absolutely! This pizza crust is a blank canvas for your culinary creativity. Feel free to experiment with different sauces, cheeses, vegetables, and meats.
Q: The crust is browning too quickly. What should I do?
A: If the crust is browning too quickly, you can tent it with aluminum foil to protect it from the heat.
Final Thoughts
This Pantry Pizza Crust is a testament to the fact that delicious, homemade pizza doesn’t have to be complicated. With just a few simple ingredients that you probably already have on hand, you can create a satisfying and customizable meal that the whole family will love. So, gather your ingredients, preheat your oven, and get ready to enjoy the simple pleasure of homemade pizza. Don’t be afraid to experiment with different toppings and variations to find your perfect pizza creation. I encourage you to share your pizza-making adventures and any variations you try. Happy cooking!