
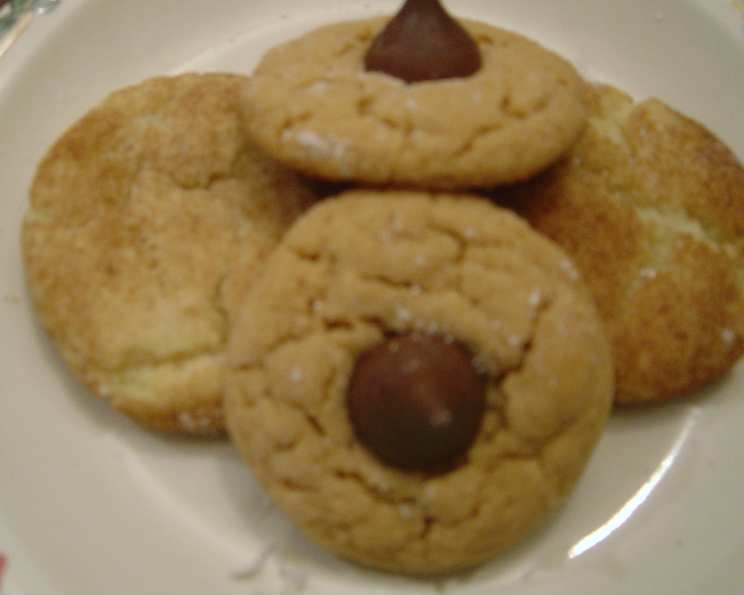
Peanut Butter Kisses: A Sweet Nostalgic Treat
The aroma of peanut butter cookies baking always transports me back to my grandmother’s cozy kitchen. She had a knack for making simple moments feel incredibly special, and her Peanut Butter Kisses were a prime example. I remember sitting at her wooden kitchen table, impatiently waiting as the warm cookies emerged from the oven, their tops glistening and ready to be adorned with those iconic chocolate kisses. The combination of the salty-sweet peanut butter cookie and the smooth, melting chocolate was pure magic – a little bite of happiness that always brought a smile to my face.
Recipe Overview
- Prep Time: 15 minutes
- Cook Time: 10-12 minutes
- Total Time: 25-27 minutes
- Servings: 48-60 cookies
- Yield: 4-5 dozen cookies
- Dietary Type: Not Gluten-Free
Ingredients
- 1 ¾ cups flour
- ½ cup sugar
- ½ cup brown sugar
- ½ cup butter (softened)
- ½ cup peanut butter
- 1 teaspoon baking soda
- 1 teaspoon vanilla extract
- ½ teaspoon salt
- 1 egg
- 2 tablespoons milk
- 48-60 Hershey’s Chocolate Kisses, unwrapped
Equipment Needed
- Mixing bowls
- Electric mixer (optional, but helpful)
- Measuring cups and spoons
- Cookie sheets
- Parchment paper or silicone baking mats (optional, for easier cleanup)
- Cooling rack
Instructions
- Before you even begin mixing, ensure your Hershey’s Chocolate Kisses are unwrapped. This is crucial, as you’ll need them immediately after the cookies come out of the oven. Trust me, wrestling with foil wrappers while the cookies cool is a recipe for sticky, melty disaster!
- In a large mixing bowl, cream together the ½ cup of sugar, ½ cup of brown sugar, ½ cup of softened butter, and the egg. Beat until the mixture is light and fluffy. This step is important for achieving a tender cookie texture.
- Add the ½ cup of peanut butter and 2 tablespoons of milk to the creamed mixture. Mix until well combined. The batter should be smooth and consistent.
- In a separate bowl, whisk together the 1 ¾ cups of flour, 1 teaspoon of baking soda, ½ teaspoon of salt, and 1 teaspoon of vanilla extract. This ensures the dry ingredients are evenly distributed throughout the batter.
- Gradually add the dry ingredients to the wet ingredients, mixing until just combined. Be careful not to overmix, as this can lead to tough cookies.
- Using a spoon, drop spoonfuls of the dough onto an ungreased cookie sheet. Alternatively, you can roll the dough into small balls and coat them with granulated sugar for a slightly sweeter and more visually appealing cookie.
- Bake in a preheated oven at 375°F (190°C) for 10-12 minutes. Keep a close eye on the cookies, as baking times may vary depending on your oven. The cookies are done when the edges are lightly golden brown and the tops are set.
- Remove the cookies from the oven and immediately press a Hershey’s Chocolate Kiss into the center of each cookie while they are still hot. The heat from the cookie will gently melt the bottom of the kiss, securing it in place.
- Let the cookies cool completely on the baking sheet before transferring them to a wire rack to cool further. This will prevent them from breaking apart.
Expert Tips & Tricks
- For chewier cookies, stick with butter as the recipe calls for. If you prefer a slightly crunchier texture, you can replace the butter with an equal amount of shortening.
- Don’t overbake the cookies! They should be slightly soft in the center when you remove them from the oven, as they will continue to firm up as they cool.
- For a more intense peanut butter flavor, use a natural-style peanut butter that contains only peanuts and salt.
- To prevent the cookies from spreading too much, chill the dough for 30 minutes before baking.
- If your Hershey’s Kisses start to melt excessively while you’re attaching them, pop the cookies (with the Kisses already attached) into the refrigerator for a few minutes to firm them up.
Serving & Storage Suggestions
These Peanut Butter Kisses are perfect served as a snack, dessert, or as part of a holiday cookie platter. They pair beautifully with a glass of cold milk, a cup of hot cocoa, or even a scoop of vanilla ice cream.
To store, keep the cookies in an airtight container at room temperature. They will stay fresh for up to 5 days. For longer storage, you can freeze the cookies for up to 2 months. Thaw them at room temperature before serving.
Nutritional Information
Here’s an estimate of the nutritional information per cookie:
| Nutrient | Amount per Serving | % Daily Value |
|---|---|---|
| Calories | 146.8 kcal | N/A |
| Calories from Fat | N/A | 47% |
| Total Fat | 7.6g | 11% |
| Saturated Fat | 3.5g | 17% |
| Cholesterol | 16.9mg | 5% |
| Sodium | 132.2mg | 5% |
| Total Carbohydrate | 17.6g | 5% |
| Dietary Fiber | 0.7g | 2% |
| Sugars | 10.9g | N/A |
| Protein | 2.6g | 5% |
Variations & Substitutions
- Chocolate Peanut Butter Kisses: Add 2 tablespoons of cocoa powder to the dry ingredients for a chocolate peanut butter cookie.
- Gluten-Free Peanut Butter Kisses: Substitute the all-purpose flour with a gluten-free all-purpose flour blend. You may need to add a binder like xanthan gum to help with the texture.
- Different Chocolate Toppings: Experiment with different flavors of Hershey’s Kisses, such as caramel or dark chocolate. You can also use other small chocolate candies, like mini peanut butter cups.
- Nut-Free Version: Substitute the peanut butter with sunflower seed butter (sunbutter) for a nut-free alternative. Be sure to check all other ingredients for potential allergens.
FAQs (Frequently Asked Questions)
Q: Why are my cookies spreading too thin?
A: This can happen if the butter is too soft or if the oven temperature is too low. Make sure your butter is softened but not melted, and that your oven is properly preheated. Chilling the dough before baking can also help.
Q: Can I use a different type of sugar?
A: While granulated and brown sugar are recommended for the best texture, you can experiment with other types of sugar like coconut sugar or maple sugar. Keep in mind that this may slightly alter the flavor and texture of the cookies.
Q: How can I prevent the Hershey’s Kisses from melting too much?
A: Make sure the cookies are only slightly warm when you press the Kisses into them. If they start to melt excessively, put the cookies in the refrigerator for a few minutes to firm them up.
Q: Can I freeze the cookie dough?
A: Yes, you can freeze the cookie dough for up to 2 months. Wrap the dough tightly in plastic wrap and then place it in a freezer-safe bag. Thaw in the refrigerator overnight before baking.
Q: What can I do if I don’t have Hershey’s Kisses?
A: While Hershey’s Kisses are traditional, you can use any small chocolate candy, like mini peanut butter cups or chocolate squares.
Final Thoughts
Peanut Butter Kisses are more than just cookies; they’re little bites of comfort and nostalgia. With their perfect balance of salty and sweet, chewy and chocolatey, they’re sure to be a hit with everyone who tries them. So, gather your ingredients, preheat your oven, and get ready to create some sweet memories of your own. And don’t forget to share them – because everything tastes better when shared with loved ones! Happy Baking!