
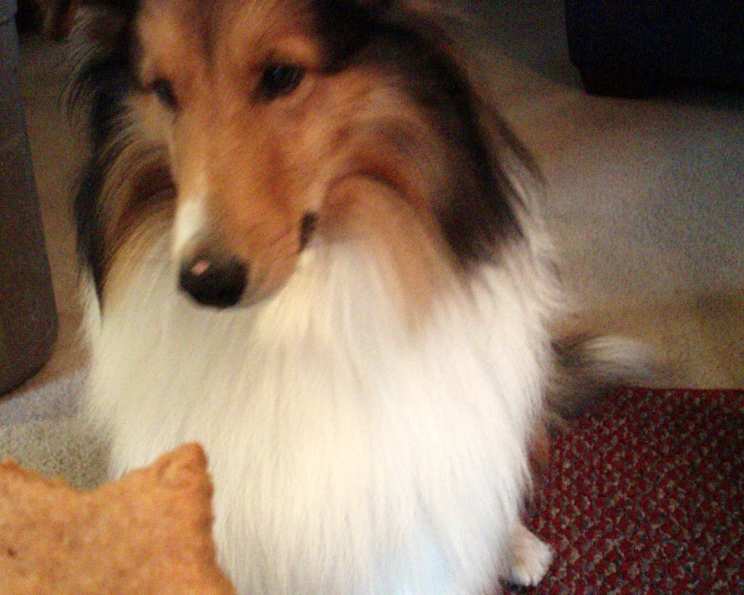
Peanut Butter Bliss: Homemade Dog Treats Your Furry Friend Will Love
My old golden retriever, Buddy, was the pickiest eater imaginable. Store-bought dog biscuits were met with a sniff and a disdainful turn of his head. Desperate to find something he actually enjoyed, I started experimenting in the kitchen. One afternoon, fueled by the memory of Buddy’s love for sneaking licks of my peanut butter toast, I whipped up a batch of these simple peanut butter treats. The tail wags and happy barks that followed were all the reward I needed. These treats became a staple in our household, a testament to the power of a little homemade love.
Recipe Overview
- Prep Time: 15 minutes
- Cook Time: 20 minutes
- Total Time: 35 minutes
- Yield: Varies depending on cookie cutter size (approximately 20-30 medium treats)
- Dietary Type: Suitable for dogs (check for allergies)
Ingredients
- 1 cup peanut butter (make sure it’s xylitol-free!)
- 1 cup milk (dairy or unsweetened plant-based milk)
- 1 tablespoon molasses
- 2 cups whole wheat flour
- 1 tablespoon baking powder
Equipment Needed
- Large mixing bowl
- Small mixing bowl
- Measuring cups and spoons
- Cookie cutters
- Rolling pin
- Greased cookie sheet
- Oven
Instructions
-
Begin by preheating your oven to 375 degrees Fahrenheit (190 degrees Celsius). Ensuring the oven is properly preheated is crucial for even baking and achieving the desired texture.
-
In a large mixing bowl, combine the peanut butter, milk, and molasses. Mix these ingredients thoroughly until you achieve a smooth and well-incorporated mixture. The molasses not only adds a touch of sweetness but also contributes to the treats’ appealing color.
-
In a separate, smaller bowl, whisk together the whole wheat flour and baking powder. This ensures that the baking powder is evenly distributed throughout the flour, which will result in a lighter and more palatable treat.
-
Gradually add the dry ingredients (flour and baking powder mixture) to the wet ingredients (peanut butter, milk, and molasses). Mix until a dough forms. You may need to use your hands towards the end to fully incorporate all the ingredients.
-
Turn the dough out onto a lightly floured surface. Knead it gently until it forms a cohesive ball. Avoid over-kneading, as this can make the treats tough.
-
Using a rolling pin, roll out the dough to your desired thickness – about ¼ to ½ inch is ideal. Thicker treats will be softer, while thinner treats will be crunchier.
-
Get creative! Use cookie cutters to cut out shapes. Bones, hearts, stars, or even simple circles will work. If you don’t have cookie cutters, you can use a knife to cut the dough into squares or rectangles.
-
Carefully place the cut-out shapes onto a greased cookie sheet. Make sure there is a little space between each treat to allow for even baking.
-
Bake in the preheated oven for approximately 20 minutes. The treats are done when they are lightly golden brown around the edges and firm to the touch. Keep a close eye on them, as baking times can vary depending on your oven.
-
Once baked, remove the cookie sheet from the oven and let the treats cool completely on the sheet before transferring them to a cooling rack. Cooling them on the sheet first prevents them from breaking while they are still warm and fragile.
-
Ensure the treats are completely cool before serving them to your furry friend.
Expert Tips & Tricks
- Peanut Butter Perfection: Always use xylitol-free peanut butter. Xylitol is highly toxic to dogs. Opt for natural peanut butter with no added sugars or salt for a healthier option.
- Dough Consistency: If the dough is too sticky, add a little more flour, one tablespoon at a time, until it reaches a workable consistency. If it’s too dry, add a splash more milk.
- Baking Time Adjustments: Ovens vary. Start checking the treats at 18 minutes. If they’re browning too quickly, lower the oven temperature slightly.
- Batch Baking: Double or triple the recipe for larger batches. These treats freeze well, so you can always have some on hand.
- Grain-Free Option: Substitute the whole wheat flour with an equal amount of oat flour for dogs with wheat sensitivities. Be mindful that this might affect the texture.
Serving & Storage Suggestions
Once completely cooled, these peanut butter dog treats can be served to your dog as a reward or snack. Serve in moderation as part of a balanced diet.
- Storage: Store the cooled treats in an airtight container at room temperature for up to one week. For longer storage, freeze them in a freezer-safe bag or container for up to three months.
- Thawing: Thaw frozen treats in the refrigerator or at room temperature before serving.
- Reheating: Reheating is not necessary. However, you can warm them slightly in the oven or microwave for a few seconds to enhance the aroma.
Nutritional Information
Please note that these values are estimates and may vary based on specific ingredients used.
| Nutrient | Amount per Treat (estimated) |
|---|---|
| Calories | 50-75 kcal |
| Protein | 2-3g |
| Total Fat | 3-5g |
| Carbohydrates | 5-8g |
| Fiber | 1-2g |
Variations & Substitutions
- Sweet Potato Surprise: Add ½ cup of mashed cooked sweet potato to the wet ingredients for added nutrients and a hint of sweetness. Adjust the amount of milk to maintain the correct dough consistency.
- Pumpkin Power: Similar to sweet potato, ½ cup of pumpkin puree can be added to the wet ingredients. Again, adjust the liquid as needed.
- Cheesy Delight: Add ½ cup of shredded cheddar cheese to the dough for a savory twist.
- Apple Cinnamon: Incorporate ½ cup of finely chopped apple and ½ teaspoon of cinnamon for a festive flavor.
- Beef Broth Boost: Substitute the milk with unsalted beef broth for a meaty aroma that dogs adore.
FAQs (Frequently Asked Questions)
Q: Can I use creamy or chunky peanut butter?
A: Either creamy or chunky peanut butter works, but creamy will result in a smoother treat. Chunky peanut butter adds a bit of texture.
Q: My dog has a wheat allergy. What can I use instead of whole wheat flour?
A: You can substitute the whole wheat flour with oat flour, brown rice flour, or a gluten-free flour blend. Keep in mind that the texture might vary.
Q: How do I know when the treats are done baking?
A: The treats are done when they are lightly golden brown around the edges and firm to the touch. Start checking them at 18 minutes to avoid over-baking.
Q: Can I add any other ingredients to these treats?
A: Yes! Many dog-safe ingredients can be added, such as cooked carrots, blueberries, or a sprinkle of flaxseed. Be mindful of potential allergies.
Q: How long do these treats last?
A: These treats will last for up to a week in an airtight container at room temperature or up to three months in the freezer.
Final Thoughts
Making these peanut butter dog treats is a simple yet rewarding way to show your furry friend some love. With just a few basic ingredients and minimal effort, you can create a delicious and healthy snack that your dog will adore. Experiment with different variations, tailoring the recipe to your dog’s preferences and dietary needs. Don’t hesitate to share your creations with other dog owners – spreading the joy of homemade treats is always a good idea! So, get baking and prepare for some happy tail wags!