
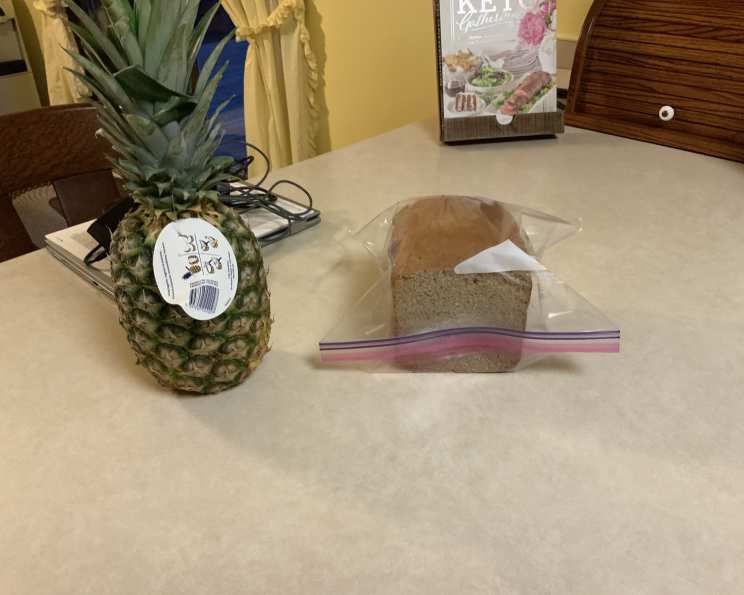
Perfect Bread Machine Spelt Bread
The aroma of freshly baked bread has always transported me back to my grandmother’s kitchen. I remember the comforting warmth radiating from the oven as she pulled out loaves, their golden crusts crackling softly. While her repertoire consisted mostly of traditional wheat breads, I often wondered if I could achieve that same level of comforting deliciousness with spelt, an ancient grain known for its nutty flavor and health benefits. It seemed like a challenge, especially using a bread machine, but the quest for a light and fluffy spelt loaf became my mission – one that ultimately led to this consistently successful recipe.
Recipe Overview
- Prep Time: 10 minutes
- Cook Time: 4 hours
- Total Time: 4 hours 10 minutes
- Servings: 12
- Yield: 1 loaf
- Dietary Type: Vegetarian
Ingredients
- 2 cups white spelt flour
- 2 cups wholemeal spelt flour
- 2 ½ teaspoons (6g) fast-rising active dry yeast
- 1 ½ cups tepid water
- 1 teaspoon salt
- 2 tablespoons sugar
- 2 tablespoons vegetable oil
Equipment Needed
- Bread Machine
Instructions
- Begin by adding the tepid water to the bread machine pan.
- Pour in the vegetable oil on top of the water.
- Next, add both the white spelt flour and the wholemeal spelt flour to the pan, ensuring they cover the liquids.
- Carefully add the salt to one corner of the pan. It’s important to keep the salt separate from the yeast initially, as direct contact can inhibit the yeast’s activity.
- Place the sugar in another corner of the pan, away from the salt and yeast. Sugar provides food for the yeast, helping it to rise effectively.
- Finally, add the fast-rising active dry yeast to the center of the flour, ensuring it’s as far away as possible from the salt.
- Place the bread machine pan into the bread machine.
- Set the bread machine to the “Normal” setting (which typically runs for approximately 4 hours).
- Select the “Small Loaf” size setting. This helps prevent the loaf from collapsing.
- Choose the “Light Crust” setting. This will result in a softer, less dense crust.
- Start the bread machine. Let the bread machine run its cycle.
- Once the bread machine cycle is complete, carefully remove the bread pan from the machine using oven mitts. The pan will be hot.
- Gently remove the loaf of bread from the pan. You may need to loosen it with a spatula.
- Place the loaf on a wire rack to cool completely before slicing and serving. This allows excess moisture to escape, preventing a gummy texture.
Expert Tips & Tricks
- Flour Power: The combination of white and wholemeal spelt flour provides the best texture and flavor. Using only wholemeal can result in a denser loaf. If you only have one type of spelt flour, adjust the recipe accordingly.
- Yeast Matters: Ensure your yeast is fresh and active. Expired yeast won’t provide the necessary lift. If you’re unsure, proof the yeast by dissolving it in a small amount of warm water with a pinch of sugar. If it foams within 5-10 minutes, it’s good to go.
- Water Temperature: Tepid water is crucial for activating the yeast without killing it. Aim for a temperature between 105°F and 115°F (40°C and 46°C). Too hot, and you’ll destroy the yeast; too cold, and it won’t activate properly.
- The Right Machine: Bread machine models can vary in their settings and performance. Monitor the dough during the kneading process. If it appears too dry, add a tablespoon of water at a time until it forms a smooth, elastic ball. If it’s too sticky, add a tablespoon of flour at a time.
- Adjusting for Whole Grain Spelt: If using wholegrain spelt flour instead of wholemeal, reduce the yeast to 1.5 slightly rounded teaspoons (about 3.5g). Wholegrain spelt can be more dense, and too much yeast can cause the loaf to rise too quickly and then collapse.
- Troubleshooting Density: If your bread consistently turns out heavy, ensure you are using white spelt flour and fast-action dried yeast suitable for bread makers. Try slightly increasing the yeast amount, or the water. Try each solution separately first.
Serving & Storage Suggestions
This spelt bread is delicious served warm with butter, jam, or your favorite spread. It’s also excellent for sandwiches, toast, or alongside soups and salads.
- Storage: Store the cooled loaf in an airtight container at room temperature for up to 3 days.
- Refrigeration: For longer storage, wrap the loaf tightly in plastic wrap and refrigerate for up to a week.
- Freezing: To freeze, slice the loaf and wrap each slice individually in plastic wrap. Place the wrapped slices in a freezer bag and freeze for up to 2 months. Thaw individual slices at room temperature or in the toaster.
- Reheating: To reheat the entire loaf, wrap it in foil and bake at 350°F (175°C) for 10-15 minutes, or until warmed through. You can also reheat slices in a toaster or under a broiler.
Nutritional Information
| Nutrient | Amount per Serving | % Daily Value* |
|---|---|---|
| Calories | 150 kcal | 8% |
| Total Fat | 3g | 4% |
| Saturated Fat | 0g | 0% |
| Cholesterol | 0mg | 0% |
| Sodium | 150mg | 7% |
| Total Carbohydrate | 27g | 10% |
| Dietary Fiber | 3g | 11% |
| Sugars | 3g | |
| Protein | 5g | 10% |
- Percent Daily Values are based on a 2,000 calorie diet. Your daily values may be higher or lower depending on your calorie needs.
Variations & Substitutions
- Sweet Spelt Bread: Add 1/4 cup of honey or maple syrup to the recipe for a sweeter loaf. You can also add dried fruits like raisins or cranberries.
- Herb and Garlic Spelt Bread: Add 2 tablespoons of chopped fresh herbs like rosemary, thyme, or oregano, along with 1 clove of minced garlic, to the dough for a savory twist.
- Seeded Spelt Bread: Add 1/4 cup of mixed seeds like flax, sunflower, or pumpkin seeds to the dough for added texture and nutritional value.
- Dairy-Free: This recipe is already dairy-free. Ensure the vegetable oil you use is plant-based.
- Gluten-Reduced (Not Gluten-Free): While spelt does contain gluten, it is often tolerated by those with mild gluten sensitivities. However, this recipe is not suitable for individuals with celiac disease or severe gluten allergies. There are no gluten free substitutions for this bread.
FAQs (Frequently Asked Questions)
Q: Can I use all white spelt flour or all wholemeal spelt flour?
A: Yes, but the texture will change. Using all white spelt flour will result in a lighter, less dense loaf. Using all wholemeal spelt flour will result in a denser, more nutritious loaf. You may need to adjust the liquid accordingly.
Q: Why is my bread dense and heavy?
A: This could be due to several factors: using old or inactive yeast, using too much wholemeal spelt flour, not using enough liquid, or over-kneading the dough. Check the expiration date of your yeast, adjust the flour ratio, and monitor the dough consistency.
Q: Can I add other grains or seeds to this recipe?
A: Absolutely! Adding grains or seeds like flaxseed, sunflower seeds, or oats can enhance the flavor and nutritional value of the bread. Add them in moderation (about 1/4 cup) to avoid affecting the texture.
Q: My bread machine has a “Whole Wheat” setting. Should I use that?
A: While you could try the “Whole Wheat” setting, the “Normal” setting with the adjustments for loaf size and crust color is generally more reliable for spelt bread. Spelt behaves differently than wheat, so the specific settings may not be optimal.
Q: How do I know when the bread is done if I don’t trust my bread machine?
A: While you should not open the bread machine during baking, the crust color should be a light golden brown. If you can remove the loaf, the internal temperature should be between 200-210°F (93-99°C).
Final Thoughts
I truly hope you find this spelt bread recipe as rewarding as I have. It’s more than just a recipe; it’s a pathway to creating something comforting and nourishing from scratch. Don’t be afraid to experiment with different variations to find your perfect loaf. I encourage you to share your experiences and feedback – baking is a journey best shared! This spelt bread is fantastic paired with a hearty soup on a chilly evening, or simply enjoyed with a smear of butter and a cup of tea. Happy baking!