
Homemade Pickled Olives: A Taste of the Mediterranean
I’ll never forget the scent of my grandmother’s pantry – a cool, dark haven filled with jars of treasures. Jams, chutneys, and, most memorably, her homemade pickled olives. As a child, reaching for one of those salty, briny orbs felt like stealing a tiny jewel. The intense flavor, a world away from the bland olives I knew from the supermarket, sparked a lifelong obsession with preserving and pickling. That first bite ignited my culinary journey, and to this day, I strive to recreate that magic in my own kitchen.
Recipe Overview
- Prep Time: 30 minutes
- Cook Time: 10 minutes
- Total Time: 840 hours 40 minutes (including curing time)
- Servings: 10
- Yield: 50 olives
- Dietary Type: Vegan, Gluten-Free
Ingredients
- 1 ½ kg green olives (or black)
- ⅓ cup fine sea salt
- 1 liter water
- ½ cup olive oil (approximately)
Equipment Needed
- Large bowl
- Paring knife
- 2-liter (8-cup) sterilized jars
- Small plastic bags (ziplock or sandwich bags)
- Saucepan
Instructions
-
Begin by meticulously picking over the olives. Discard any olives that have significant blemishes or signs of damage. This step ensures that only the best olives make it into your finished product.
-
Using a paring knife, carefully cut down the side of each olive, making sure the cut goes all the way through to the stone. Turn the olive over and repeat the cut on the opposite side. This scoring process helps the brine penetrate the olive, drawing out bitterness and allowing the flavors to infuse properly.
-
Place the prepared olives in sterilized 2-liter (8-cup) jars. Fill the jars until they are approximately two-thirds full. Do not overpack the jars; this allows for adequate water circulation during the curing process.
-
Cover the olives completely with cold water. Ensure that all the olives are submerged to prevent spoilage.
-
To keep the olives fully submerged throughout the curing process, fill a small plastic bag with water and place it on top of the olives inside the jar. A ziplock or sandwich bag works perfectly for this purpose. The weight of the water-filled bag will prevent the olives from floating.
-
This is where the patience comes in! Change the water daily. You might notice a scum forming on the surface – this is perfectly normal and just a byproduct of the curing process.
-
Continue changing the water for 4 days if you are using black olives, or for 6 days if you are using green olives. This extended soaking helps to remove the natural bitterness inherent in fresh olives.
-
Now, prepare the brine. In a saucepan, combine the salt and water. Stir the mixture over medium heat until the salt has completely dissolved.
-
Remove the saucepan from the heat and allow the brine to cool completely. Using a warm brine can negatively affect the texture of the olives.
-
Drain and discard the water from the jars containing the olives.
-
Fill the jars with enough of the cooled salted water (brine) to completely cover the olives. Again, ensure that all olives are fully submerged.
-
Pour enough olive oil into the jars to create a layer that completely covers the olives. This olive oil layer acts as a protective barrier, preventing mold from forming and adding richness to the final product. Use a good-quality olive oil for the best flavor.
-
Seal the jars tightly. Properly sealed jars are essential for preserving the olives and preventing spoilage.
-
Mark the date on the jars with a permanent marker. This will help you keep track of when the olives were pickled and when they will be ready to eat.
-
Store the jars in a cool, dark place for 5 weeks. A pantry or cellar is ideal. This extended storage period allows the olives to fully cure and develop their characteristic pickled flavor.
-
After 5 weeks, the olives are ready to eat! However, you have the option of marinating them for an additional 2 weeks for even more flavor.
-
To marinate, you can add lemon wedges, garlic cloves, or any other herbs and spices you prefer to the jars. Ensure the olives are fully covered with olive oil during this marinating process.
-
Note: It is crucial not to mix different types of olives in the same jar. Green and black olives require slightly different curing times and should be pickled separately.
Expert Tips & Tricks
- Sterilizing the Jars: To properly sterilize the jars, wash them in hot, soapy water, rinse well, and then place them in a preheated oven at 250°F (120°C) for 10 minutes. Let them cool slightly before filling. This ensures a longer shelf life for your pickled olives.
- Olive Variety: Different varieties of olives will yield slightly different flavors and textures. Experiment with different types to find your favorite.
- Brine Strength: Adjust the salt level of the brine to your preference. However, keep in mind that sufficient salt is essential for preservation.
- Flavor Infusion: Get creative with your marinade! Add dried herbs like oregano or thyme, chili flakes for a bit of heat, or even a splash of vinegar for extra tang.
Serving & Storage Suggestions
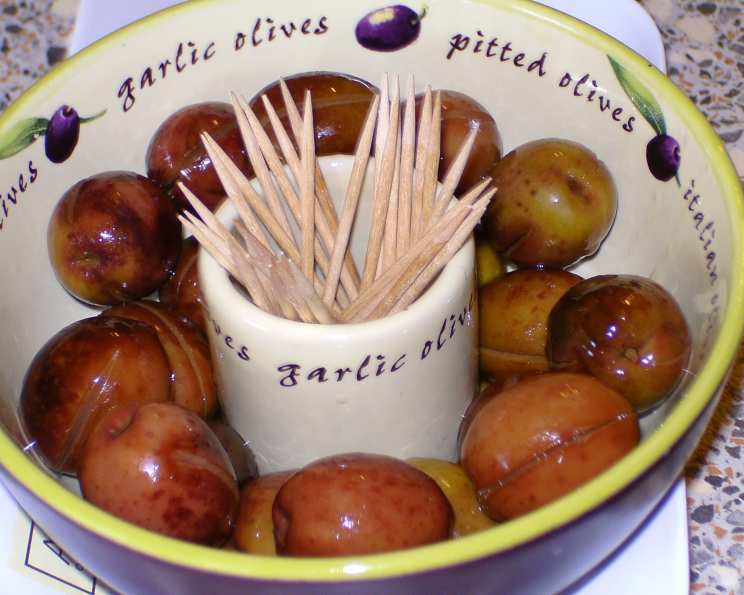
Serve your homemade pickled olives as part of a Mediterranean appetizer platter, alongside cheeses, cured meats, and crusty bread. They also make a delicious addition to salads, pasta dishes, and tapenades.
Once opened, store the pickled olives in the refrigerator, submerged in their brine and olive oil. They will last for several weeks, if properly stored. Unopened jars stored in a cool, dark place can last for several months.
Nutritional Information
| Nutrient | Amount per Serving | % Daily Value |
|---|---|---|
| Calories | 313 kcal | N/A |
| Calories from Fat | 304 g | 97% |
| Total Fat | 33.8 g | 51% |
| Saturated Fat | 4.5 g | 22% |
| Cholesterol | 0 mg | 0% |
| Sodium | 6110 mg | 254% |
| Total Carbohydrate | 5.8 g | 1% |
| Dietary Fiber | 5 g | 19% |
| Sugars | 0.8 g | 3% |
| Protein | 1.6 g | 3% |
Note: Nutritional information is an estimate and can vary based on specific ingredients and preparation methods.
Variations & Substitutions
- Spicy Pickled Olives: Add a pinch of red pepper flakes to the brine for a spicy kick. You can also add a few slices of fresh chili peppers to the jars during the marinating process.
- Herbaceous Pickled Olives: Infuse the brine with fresh herbs like rosemary, thyme, or oregano for a more aromatic flavor.
- Citrusy Pickled Olives: Add lemon or orange zest to the brine for a bright and zesty flavor.
- Garlic Pickled Olives: Add several cloves of garlic to the jars during the pickling process for a pungent and savory flavor.
FAQs (Frequently Asked Questions)
Q: Why do I need to change the water every day?
A: Changing the water daily helps to draw out the bitterness from the olives and prevents them from becoming overly salty.
Q: Can I use table salt instead of sea salt?
A: While you can use table salt, sea salt is generally preferred for pickling as it doesn’t contain additives like iodine, which can affect the flavor and color of the olives.
Q: How long can I store the pickled olives?
A: Unopened jars of pickled olives can be stored in a cool, dark place for several months. Once opened, store them in the refrigerator, submerged in their brine and olive oil, for up to several weeks.
Q: Why is there scum forming on top of the water during the curing process?
A: The scum is a natural byproduct of the curing process and is harmless. Simply remove it when you change the water each day.
Q: Can I reuse the brine after the olives are finished pickling?
A: It’s generally not recommended to reuse the brine, as it may contain impurities and could affect the quality of future batches.
Final Thoughts
Pickling olives at home is a rewarding experience that allows you to create a truly unique and flavorful product. Don’t be intimidated by the seemingly long curing time – the wait is well worth it! So, gather your ingredients, sterilize those jars, and embark on this culinary adventure. I encourage you to experiment with different herbs and spices to create your own signature pickled olive recipe. And be sure to share your creations and feedback – I’d love to hear how they turn out! Pair these olives with a crisp glass of white wine and some artisanal bread for a truly delightful Mediterranean experience.