
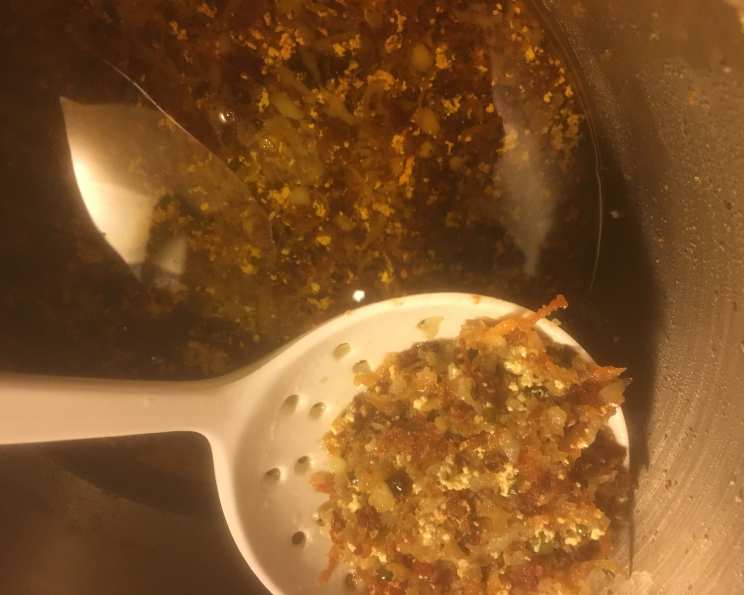
Potato Pampushki: A Taste of Ukrainian Comfort Food
There’s something incredibly comforting about fried dough, isn’t there? My grandmother, Baba Anya, used to make pampushki on special occasions, especially around the holidays. I remember sitting at her kitchen table, the air thick with the aroma of frying potatoes and the sound of her humming old Ukrainian folk songs. She’d let me help shape the dough, my tiny hands struggling to form perfect circles. These weren’t just dumplings; they were edible hugs, each bite filled with love and a taste of home.
Recipe Overview
- Prep Time: 30 minutes
- Cook Time: 20 minutes
- Total Time: 50 minutes
- Servings: 6
- Yield: Approximately 12 pampushki
- Dietary Type: Vegetarian (Can be made vegan with dairy-free cheese)
Ingredients
- 1 1/2 lbs potatoes, peeled
- 2 2/3 cups mashed potatoes, leftovers are good
- 1/2 teaspoon salt
- Black pepper to taste
- 1/2 cup cottage cheese (or dairy-free alternative)
- 2 tablespoons fresh chives, minced
- Oil, for frying (vegetable, canola, or sunflower oil work well)
Equipment Needed
- Box grater
- Large bowl
- Small bowl
- Slotted spoon or spider
- Deep-fat fryer or large, heavy-bottomed pot
- Paper towels
Instructions
- Begin by preparing the raw potatoes. Coarsely grate the peeled potatoes using a box grater.
- Place the grated potatoes in a clean kitchen towel or cheesecloth and squeeze out as much water as possible. This step is crucial to prevent the pampushki from becoming soggy.
- In a large bowl, combine the squeezed grated potatoes with the mashed potatoes, salt, and pepper. Mix thoroughly until well combined. Taste and adjust seasoning as needed.
- In a separate small bowl, prepare the filling. Combine the cottage cheese and minced chives. Mix well. If you’re using a dairy-free cheese alternative, ensure it’s a variety that melts well.
- Now, it’s time to form the pampushki. Using a spoon or your hands, scoop up a portion of the potato mixture – slightly smaller than an egg is a good size. Flatten it into a circle in the palm of your hand.
- Place about 1 teaspoon of the cheese filling in the center of the potato circle.
- Carefully fold over the edges of the potato mixture to enclose the filling, and pinch to seal tightly. Ensure there are no gaps to prevent the filling from leaking out during frying.
- Repeat steps 5-7 with the remaining potato and cheese mixtures until all the pampushki are formed. You should end up with approximately 12 dumplings.
- Heat the oil in a deep-fat fryer or a large, heavy-bottomed pot to 340 degrees Fahrenheit (170 degrees Celsius). Use a thermometer to ensure accurate temperature. If you don’t have a thermometer, test the oil by dropping a small piece of potato into it; it should sizzle gently and turn golden brown within a minute.
- Carefully fry the pampushki in batches, being careful not to overcrowd the fryer or pot. Fry for approximately 10 minutes, or until they are deep brown and crisp on all sides. Turn them occasionally to ensure even cooking.
- Use a slotted spoon or spider to remove the fried pampushki from the oil and place them on a plate lined with paper towels to drain any excess oil.
- Serve hot and enjoy!
Expert Tips & Tricks
- Squeezing the potatoes dry is essential. Don’t skip this step, or your pampushki will be mushy and absorb too much oil.
- If the potato mixture is too wet, you can add a tablespoon or two of flour to help bind it together.
- Don’t overcrowd the fryer. Frying in batches ensures the oil temperature remains consistent and the pampushki cook evenly.
- For extra flavor, try adding a clove of minced garlic to the potato mixture.
- To keep the pampushki warm while frying subsequent batches, place the cooked ones in a warm oven (around 200 degrees Fahrenheit).
Serving & Storage Suggestions
Potato pampushki are best served hot, straight from the fryer. They make a delicious appetizer, side dish, or even a light meal. You can serve them with a dollop of sour cream (or a dairy-free alternative), a sprinkle of fresh herbs, or a side of your favorite dipping sauce.
Leftover pampushki can be stored in an airtight container in the refrigerator for up to 3 days. To reheat, you can bake them in a preheated oven at 350 degrees Fahrenheit for about 10-15 minutes, or until heated through. You can also reheat them in a skillet with a little oil, or in an air fryer for a crispier result. Pampushki can also be frozen for up to 2 months. Thaw them overnight in the refrigerator before reheating.
Nutritional Information
| Nutrient | Amount per Serving | % Daily Value |
|---|---|---|
| Calories | 350 kcal | 18% |
| Total Fat | 18g | 28% |
| Saturated Fat | 5g | 25% |
| Cholesterol | 25mg | 8% |
| Sodium | 400mg | 17% |
| Total Carbohydrate | 40g | 13% |
| Dietary Fiber | 5g | 20% |
| Sugars | 3g | |
| Protein | 8g | 16% |
Note: Nutritional information is an estimate and may vary based on specific ingredients and cooking methods.
Variations & Substitutions
- Vegan Pampushki: Use a dairy-free cottage cheese alternative for the filling. There are many excellent vegan cheese options available that melt well.
- Spicy Pampushki: Add a pinch of red pepper flakes or a dash of hot sauce to the potato mixture for a spicy kick.
- Herbaceous Pampushki: Incorporate other fresh herbs like dill, parsley, or cilantro into the potato mixture for added flavor.
- Garlic Pampushki: Sautee a clove or two of minced garlic in the oil before frying the pampushki for a garlicky flavor.
- Sweet Pampushki: Omit the salt and pepper from the potato mixture and add a tablespoon of sugar. Fill with a sweet cheese filling or fruit preserves for a dessert version.
- Gluten-Free Pampushki: While traditional pampushki use potatoes, you can experiment with adding a small amount of gluten-free flour blend to the potato mixture to help bind it. Be careful not to add too much, as it can make the pampushki dense.
FAQs (Frequently Asked Questions)
Q: Can I use pre-made mashed potatoes for this recipe?
A: Yes, leftover or store-bought mashed potatoes work perfectly well, making this a great way to use up leftovers. Just be sure to adjust the seasoning as needed.
Q: How do I prevent the pampushki from sticking to the bottom of the pot while frying?
A: Ensure the oil is hot enough (340 degrees Fahrenheit) and don’t overcrowd the pot. Also, avoid moving the pampushki around too much in the first few minutes of frying, allowing them to develop a slight crust.
Q: My pampushki are browning too quickly on the outside but are still raw on the inside. What should I do?
A: This usually means the oil is too hot. Lower the heat slightly and continue frying until the pampushki are cooked through.
Q: Can I bake these instead of frying them?
A: While frying is traditional, you can bake them for a healthier option. Brush the pampushki with oil and bake in a preheated oven at 375 degrees Fahrenheit for about 20-25 minutes, or until golden brown. They won’t be as crispy as fried pampushki, but they will still be delicious.
Q: What is the best type of potato to use for this recipe?
A: Russet potatoes are a good choice for both the grated and mashed potatoes due to their high starch content. Yukon Gold potatoes also work well, providing a slightly creamier texture.
Final Thoughts
Now it’s your turn to create some edible memories! Potato pampushki are more than just a recipe; they’re a taste of tradition, a symbol of comfort, and a reminder of simpler times. Gather your ingredients, channel your inner Baba Anya, and get ready to fry up a batch of these delightful dumplings. Don’t be afraid to experiment with different fillings or seasonings to make them your own. And most importantly, share them with the people you love! I hope you enjoy making and eating these as much as my family and I do. смачного! (Bon appétit!)