
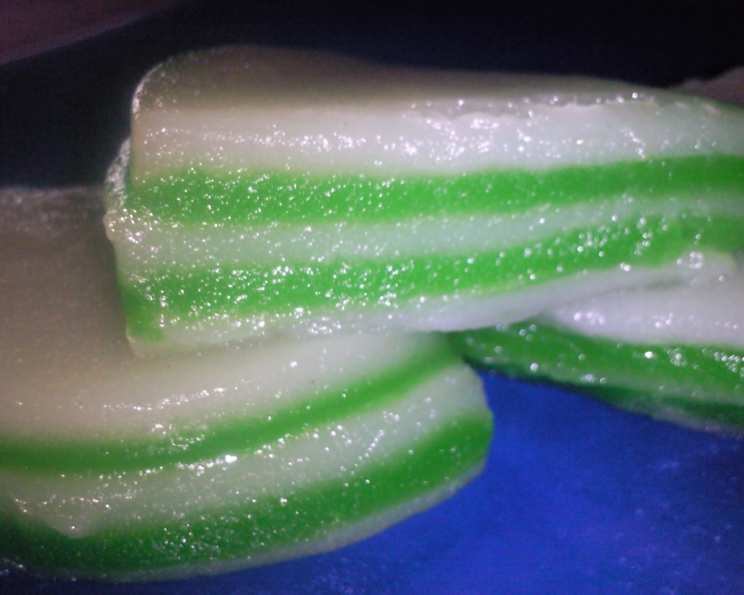
Puto: Sweet Rice Muffins from the Philippines
The scent of warm, sweet rice cakes always takes me back to my Lola’s (grandmother’s) kitchen. Every family gathering was incomplete without a steaming stack of puto, these soft, slightly sweet, cloud-like rice cakes. Lola would spend the morning preparing them, her hands moving with practiced grace, and the whole house would fill with the comforting aroma of cooked rice and coconut. To me, puto is more than just a dessert, it’s a taste of home, a reminder of family, and a symbol of Filipino hospitality.
Recipe Overview
- Prep Time: 15 minutes
- Cook Time: 30 minutes
- Total Time: 45 minutes
- Servings: Varies based on ramekin size
- Yield: Approximately 12 standard muffin-sized puto
- Dietary Type: Gluten-Free
Ingredients
- 2 cups rice flour (mochiko sweet rice flour)
- 3 teaspoons baking powder
- 1 cup sugar
- 2 cups coconut milk
- 1 cup shredded coconut, for topping (optional)
Equipment Needed
- Mixing bowls
- Sifter or fine-mesh sieve
- Whisk
- Ramekins or muffin tins
- Steamer (bamboo steamer or pot with a steamer basket)
- Toothpick
Instructions
- Begin by sifting together the dry ingredients. In a large mixing bowl, sift the rice flour, baking powder, and sugar. This ensures that the baking powder is evenly distributed and that the flour is light and airy, resulting in a smoother puto.
- Gradually add the coconut milk to the dry ingredients. Pour in the coconut milk slowly, whisking continuously until you achieve a smooth batter. Be careful not to overmix, as this can develop the gluten in the rice flour (though there is minimal gluten to begin with), resulting in a tougher texture.
- Prepare your steaming vessels. Grease the ramekins or muffin tins generously. This will prevent the puto from sticking and make them easier to remove once cooked. You can use coconut oil, vegetable oil, or a non-stick cooking spray.
- Pour the batter into the prepared ramekins. Fill each ramekin or muffin tin about ¾ full with the batter. Leave some space at the top for the puto to rise during steaming.
- Steam the puto. Arrange the filled ramekins in your steamer. Ensure that the water in the steamer is boiling gently before you place the ramekins inside. Cover the steamer tightly with a lid to trap the steam.
- Cook the puto for approximately 30 minutes, or until they are set. The steaming time may vary slightly depending on the size of your ramekins and the intensity of the steam.
- Check for doneness. To check if the puto are done, insert a toothpick into the center of one of them. If the toothpick comes out clean, they are ready. If not, continue steaming for a few more minutes and check again.
- Serve and garnish. Once the puto are cooked, carefully remove them from the steamer. Let them cool slightly before removing them from the ramekins. Serve warm, topped with shredded coconut, if desired.
Expert Tips & Tricks
- Achieve the Perfect Texture: The key to a perfect puto is a light and airy texture. Sifting the dry ingredients and avoiding overmixing the batter are crucial steps.
- Steaming Secrets: Ensure that your steamer is tightly covered to prevent condensation from dripping onto the puto, which can make them soggy. You can also wrap the lid of the steamer with a clean kitchen towel to absorb any condensation.
- Flavor Boost: For a richer flavor, try using full-fat coconut milk. You can also add a few drops of coconut extract to the batter.
- Color Variations: To add a touch of color, you can incorporate food coloring into the batter. Traditionally, purple yam (ube) is used to create a vibrant purple puto.
- Make-Ahead Tip: You can prepare the batter ahead of time and store it in the refrigerator for up to 24 hours. However, keep in mind that the baking powder will start to lose its effectiveness over time, so it’s best to steam the puto as soon as possible.
Serving & Storage Suggestions
Puto is best served warm, straight from the steamer. The traditional topping is shredded coconut, but you can also get creative and experiment with other toppings like cheese, salted duck egg (itlog na maalat), or even a drizzle of condensed milk.
Leftover puto can be stored at room temperature for up to 2 days or in the refrigerator for up to 5 days. To reheat, simply steam them for a few minutes until warmed through. You can also microwave them, but be careful not to overheat them, as they can become tough. For longer storage, you can freeze puto for up to 2 months. Wrap them individually in plastic wrap and then place them in a freezer-safe bag or container. To reheat, thaw them overnight in the refrigerator and then steam or microwave them until warmed through.
Nutritional Information
Please note that these values are estimates and can vary based on specific ingredients and portion sizes.
| Nutrient | Amount per Serving | % Daily Value |
|---|---|---|
| Calories | 250 kcal | 13% |
| Total Fat | 10g | 15% |
| Saturated Fat | 8g | 40% |
| Cholesterol | 0mg | 0% |
| Sodium | 50mg | 2% |
| Total Carbohydrate | 40g | 15% |
| Dietary Fiber | 2g | 8% |
| Sugar | 20g | |
| Protein | 3g | 6% |
Variations & Substitutions
- Dairy-Free Option: This recipe is already dairy-free, as it uses coconut milk.
- Sweetness Adjustment: Adjust the amount of sugar to your preference. For a less sweet puto, reduce the sugar to ¾ cup.
- Flavor Infusion: Add other flavorings to the batter, such as vanilla extract, almond extract, or even a pinch of cinnamon.
- Savory Puto: For a savory version, omit the sugar and add a pinch of salt. You can also incorporate ingredients like chopped ham, cheese, or green onions into the batter.
FAQs (Frequently Asked Questions)
Q: Can I use regular rice flour instead of mochiko sweet rice flour?
A: While you can, mochiko sweet rice flour (also known as glutinous rice flour) will yield a softer, chewier texture that is characteristic of puto. Regular rice flour will result in a slightly drier, more crumbly texture.
Q: My puto turned out gummy. What did I do wrong?
A: Overmixing the batter is a common cause of gummy puto. Mix the wet and dry ingredients just until combined. Also, ensure your steamer is properly preheated and that the steam is gentle, not too intense.
Q: Can I bake puto in the oven instead of steaming them?
A: While traditional puto is steamed, you can bake them at 350°F (175°C) for about 20-25 minutes. However, the texture will be different – more like a cake than the soft, cloud-like steamed version.
Q: How do I prevent the puto from sticking to the ramekins?
A: Generously grease the ramekins with coconut oil, vegetable oil, or a non-stick cooking spray. You can also line the ramekins with parchment paper circles for extra insurance.
Q: My puto didn’t rise very much. What happened?
A: Make sure your baking powder is fresh. If it’s old, it may have lost its potency. Also, avoid overmixing the batter, as this can deflate the air bubbles.
Final Thoughts
Making puto is a delightful way to connect with Filipino culinary heritage and create a sweet treat that is both simple and satisfying. Don’t be intimidated by the steaming process; it’s easier than it seems! I encourage you to try this recipe and experience the joy of making your own homemade puto. Experiment with different flavor variations and toppings to create your own signature version. Share your creations with friends and family, and let them experience the taste of Filipino hospitality. And of course, I’d love to hear your feedback and see your own puto masterpieces!