
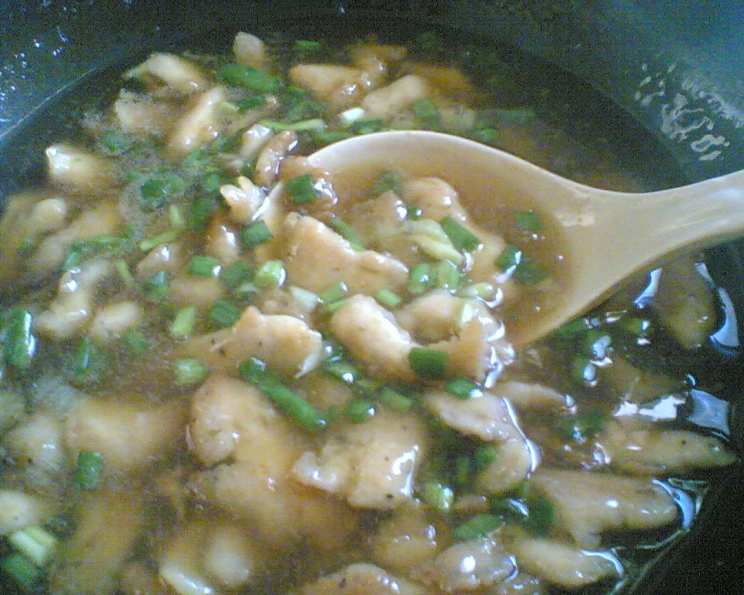
Rita’s Lemon Chicken: A Homemade Favorite
The first time I tasted Rita’s Lemon Chicken, it was at a potluck where I knew absolutely no one. I was a fledgling cook, intimidated by the seasoned pros and their meticulously crafted dishes. But then I spotted it: glistening, golden-brown chicken pieces bathed in a vibrant, tangy sauce. One bite, and I was hooked. It was bright, flavorful, and comforting, a far cry from the often-gloopy lemon chicken I’d had in restaurants. I remember thinking, “This is what I want to be able to make!” Years later, after finally getting my hands on Rita’s recipe, it’s still a dish that consistently impresses, and it always brings me back to that moment of culinary discovery.
Recipe Overview
- Prep Time: 20 minutes
- Cook Time: 25 minutes
- Total Time: 45 minutes
- Servings: 6
- Dietary Type: Not specified (contains egg and is typically served with rice)
Ingredients
- 6 boneless, skinless chicken breasts
- 1/2 cup cornstarch
- 1/2 teaspoon salt
- 1/8 teaspoon pepper
- 1/4 cup water
- 4 egg yolks, slightly beaten
- 3 cups vegetable oil, for frying
- 4 green onions, sliced
Lemon Sauce
- 1 1/2 cups water
- 1/2 cup lemon juice (freshly squeezed is best!)
- 3 1/2 tablespoons brown sugar
- 3 tablespoons cornstarch
- 3 tablespoons honey
- 1 teaspoon grated gingerroot
Equipment Needed
- Large bowl for mixing
- Frying pan or wok
- Paper towels
- Medium saucepan
Instructions
- Begin by preparing the chicken. Cut the chicken breasts into approximately 1 1/2-inch pieces. This size ensures even cooking and a good ratio of chicken to crispy coating.
- In a large bowl, combine the cornstarch, salt, and pepper. Whisk together to ensure there are no lumps of cornstarch.
- In a separate small bowl, whisk together the egg yolks and water.
- Now, create the batter. Add the egg yolk mixture to the cornstarch mixture. Stir until just combined. Be careful not to overmix, as this can develop the gluten in the cornstarch and result in a tougher coating.
- Dip each piece of chicken into the batter, ensuring it’s fully coated. Let any excess batter drip off before frying.
- Heat the vegetable oil in a large frying pan or wok over medium-high heat. The oil is ready when a small piece of batter dropped in sizzles immediately. Be extremely cautious when working with hot oil.
- Carefully add the chicken to the hot oil in batches, being careful not to overcrowd the pan. Overcrowding will lower the oil temperature and result in soggy chicken.
- Fry the chicken until golden brown on all sides, about 4-5 minutes per batch. Turn the pieces occasionally to ensure even browning.
- Remove the fried chicken with a slotted spoon and place it on a plate lined with paper towels to drain excess oil.
- Now, make the lemon sauce. In a medium saucepan, combine the water, lemon juice, brown sugar, cornstarch, honey, and grated gingerroot.
- Whisk the sauce ingredients together until the cornstarch is fully dissolved. This is important to prevent lumps in the finished sauce.
- Place the saucepan over medium heat and cook, stirring constantly, until the sauce comes to a boil and thickens. This should take about 5-7 minutes. The sauce is ready when it coats the back of a spoon.
- Reduce the heat to low and add the fried chicken to the lemon sauce. Gently toss to coat the chicken evenly.
- Add the sliced green onions to the chicken and sauce. Stir gently to combine.
- Serve immediately.
Expert Tips & Tricks
- For extra crispy chicken, consider double-frying. Fry the chicken once as directed, let it cool slightly, then fry it again for 1-2 minutes per batch just before adding it to the sauce.
- If the lemon sauce is too tart, add a little more honey or brown sugar to balance the flavors. If it’s too sweet, add a squeeze of fresh lemon juice.
- Don’t overcrowd the pan when frying. This will lower the oil temperature, resulting in greasy chicken. Fry in batches to maintain a consistent temperature.
- To ensure the chicken is cooked through, use a meat thermometer. The internal temperature should reach 165°F (74°C).
- The ginger adds a wonderful warmth to the sauce. If you don’t have fresh gingerroot, you can substitute 1/2 teaspoon of ground ginger.
Serving & Storage Suggestions
Serve Rita’s Lemon Chicken immediately over a bed of steamed rice. It pairs beautifully with a simple stir-fried vegetable such as broccoli, snow peas, or bok choy. For a complete meal, consider adding an egg roll or spring roll.
Leftovers can be stored in an airtight container in the refrigerator for up to 3 days. The chicken may lose some of its crispness, but the flavor will still be delicious. To reheat, you can microwave it, but for best results, reheat in a skillet over medium heat, stirring occasionally, until heated through. Avoid freezing the dish, as the sauce can separate and the chicken can become soggy upon thawing.
Nutritional Information
Note: These values are estimates and can vary based on specific ingredients and portion sizes.
| Nutrient | Amount per Serving | % Daily Value |
|---|---|---|
| Calories | 520 kcal | 26% |
| Total Fat | 30g | 46% |
| Saturated Fat | 6g | 30% |
| Cholesterol | 150mg | 50% |
| Sodium | 300mg | 13% |
| Total Carbohydrate | 40g | 13% |
| Dietary Fiber | 1g | 4% |
| Sugars | 20g | N/A |
| Protein | 30g | 60% |
Variations & Substitutions
- Gluten-Free: Ensure your cornstarch is certified gluten-free. Serve with gluten-free soy sauce or tamari for the stir-fried vegetables (if serving).
- Spicier Lemon Chicken: Add a pinch of red pepper flakes to the lemon sauce for a hint of heat.
- Orange Chicken: Substitute orange juice for the lemon juice in the sauce for a sweeter, tangier flavor. Add a little orange zest for extra aroma.
- Healthier Option: Instead of deep-frying, try baking the chicken. Coat the chicken pieces with the cornstarch mixture and bake at 400°F (200°C) for 20-25 minutes, or until cooked through and lightly browned.
FAQs (Frequently Asked Questions)
Q: Can I use chicken thighs instead of chicken breasts?
A: Yes, chicken thighs will work well. They may require a slightly longer cooking time to ensure they are fully cooked.
Q: Can I make the lemon sauce ahead of time?
A: Yes, you can make the lemon sauce ahead of time and store it in the refrigerator for up to 2 days. Reheat it gently before adding the chicken.
Q: How do I prevent the chicken from sticking to the pan when frying?
A: Make sure the oil is hot enough before adding the chicken. Avoid overcrowding the pan, and use a non-stick pan if possible.
Q: Can I use a different type of sweetener in the sauce?
A: Yes, you can substitute honey or maple syrup for the brown sugar. Adjust the amount to taste.
Q: My lemon sauce is too thick. What can I do?
A: Add a little water, one tablespoon at a time, until the sauce reaches the desired consistency.
Final Thoughts
Rita’s Lemon Chicken is more than just a recipe; it’s a taste of home, a comforting embrace on a plate. The crispy, golden chicken bathed in that bright, tangy sauce is guaranteed to bring smiles to your table. Don’t be intimidated by the frying – it’s easier than it looks! Gather your ingredients, follow the steps, and prepare to be amazed by the deliciousness you create. And don’t forget to share your culinary masterpiece (and this recipe!) with friends and family. Happy cooking!