
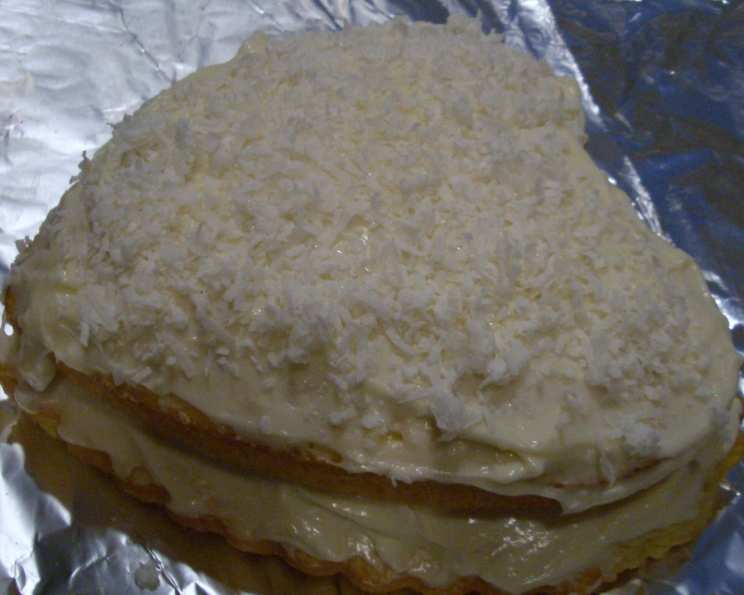
Rum Caramel Cake (Cake Mix)
The scent of rum and caramel instantly transports me back to my grandmother’s kitchen. Every holiday, she would unveil this magnificent cake, its layers glistening under the warm kitchen light. The aroma alone was enough to make your mouth water, but the taste? Utterly divine. Each bite was a perfect balance of moist cake, rich caramel, and a subtle hint of rum – a taste of pure comfort and tradition. Now, I’m excited to share my slightly streamlined version of this cherished recipe, using a cake mix as a convenient shortcut to this classic flavor combination.
Recipe Overview
- Prep Time: 20 minutes
- Cook Time: 18-20 minutes
- Total Time: 45 minutes (plus cooling time)
- Servings: 12
- Yield: 1 three-layer cake
- Dietary Type: Not specified, but contains dairy, eggs, and may contain gluten
Ingredients
For the Cake:
- 1 (18 1/4 ounce) box Better Crocker Yellow Cake Mix
- 1/4 cup dark rum
- 1 cup water
- 3 eggs
- 1/3 cup vegetable oil
For the Icing:
- 1/2 cup (1 stick) unsalted butter
- 1 cup dark brown sugar, firmly packed
- 1/4 cup milk
- 1 teaspoon vanilla extract
- 2 cups powdered sugar
Equipment Needed
- 3 (8-inch) round cake pans
- Non-stick cooking spray
- Large mixing bowl
- Electric mixer
- Medium saucepan
- Measuring cups and spoons
- Cooling rack
Instructions
- Preheat your oven to 350°F (175°C).
- Prepare your cake pans by spraying 3 (8-inch) round cake pans with non-stick cooking spray. Make sure to coat the entire inside surface to prevent the cake from sticking. Set the prepared pans aside.
- Combine the cake ingredients. In a large mixing bowl, beat together the yellow cake mix, dark rum, water, eggs, and vegetable oil on low speed with an electric mixer for 30 seconds. This initial mixing ensures that the dry ingredients are incorporated without overmixing.
- Scrape down the sides of the bowl with a spatula to ensure all ingredients are evenly distributed. Beat the mixture for 2 minutes on medium speed. This step develops the gluten in the flour, resulting in a tender and evenly textured cake.
- Divide the batter evenly between the 3 prepared cake pans. Using a scale or measuring cups can help ensure that each layer is the same thickness, resulting in a more uniform cake.
- Bake in the preheated oven for 18-20 minutes, or until a cake tester (toothpick) inserted into the center of the cake comes away clean. Be careful not to overbake the cake, as this can make it dry.
- Cool the cakes completely in the pans on a cooling rack before icing. This is essential to prevent the icing from melting and to ensure that the cake layers are sturdy enough to stack.
- Prepare the caramel icing. In a medium saucepan, melt the butter with the brown sugar over medium-low heat. Stir constantly to prevent the sugar from burning.
- Bring the mixture to a boil, stirring constantly until the sugar is completely dissolved and the mixture is smooth. This process typically takes a few minutes.
- Add the milk and bring the mixture back to a hard boil, stirring constantly. Continue boiling until the sugar is completely dissolved.
- Remove the saucepan from the heat and stir in the vanilla extract. The vanilla extract enhances the caramel flavor and adds a touch of warmth to the icing.
- Let the icing cool to room temperature. This is a crucial step, as the icing needs to thicken slightly before you can use it to frost the cake. Transfer the cooled icing to a medium bowl.
- Beat in the powdered sugar using an electric mixer on medium speed until the icing is smooth and creamy. If the icing is too thick, add a small amount of milk until you reach the desired consistency. If it’s too thin, add a bit more powdered sugar.
- Assemble the cake. Place one cake round on a serving plate or cake stand. Spread a generous layer of icing on top.
- Stack the second cake round on top of the icing. Spread another layer of icing on top.
- Place the final cake round on top. Ice the sides and top of the cake with the remaining icing.
- Serve and enjoy!
Expert Tips & Tricks
- For a richer rum flavor: Brush the cake layers with a simple syrup made with rum and sugar before icing. This will add an extra layer of flavor and moisture.
- Prevent sticking: Line the bottom of your cake pans with parchment paper rounds for guaranteed release.
- Achieve a smooth icing: Sift your powdered sugar before adding it to the caramel mixture to prevent lumps.
- Make ahead: Bake the cake layers a day in advance and store them wrapped tightly in plastic wrap at room temperature. This will save time on the day you plan to serve the cake.
- Temperature is key: Make sure both the cake layers and the icing are completely cool before assembling the cake. This will prevent the icing from melting and sliding off.
Serving & Storage Suggestions
Serve the Rum Caramel Cake chilled or at room temperature. A scoop of vanilla ice cream or a dollop of whipped cream makes a delightful addition. Leftovers can be stored in an airtight container at room temperature for up to 3 days, or in the refrigerator for up to 5 days. For longer storage, wrap individual slices tightly in plastic wrap and freeze for up to 2 months. Thaw overnight in the refrigerator before serving. The caramel icing may become slightly sticky after refrigeration, but it will still taste delicious.
Nutritional Information
| Nutrient | Amount per Serving | % Daily Value |
|---|---|---|
| Calories | 487.8 kcal | N/A |
| Calories from Fat | 181 g | 37% |
| Total Fat | 20.2 g | 31% |
| Saturated Fat | 6.9 g | 34% |
| Cholesterol | 74.8 mg | 24% |
| Sodium | 312.1 mg | 13% |
| Total Carbohydrate | 71.8 g | 23% |
| Dietary Fiber | 0.5 g | 1% |
| Sugars | 56 g | 224% |
| Protein | 3.7 g | 7% |
Note: Nutritional information is an estimate and may vary depending on specific ingredients and portion sizes.
Variations & Substitutions
- Spice it up: Add 1 teaspoon of ground cinnamon or nutmeg to the cake batter for a warm, comforting flavor.
- Nutty addition: Sprinkle chopped pecans or walnuts between the cake layers or on top of the finished cake for added texture and flavor.
- Boozy boost: Use rum extract instead of vanilla extract in the icing for a more intense rum flavor.
- Caramel sauce drizzle: Drizzle store-bought or homemade caramel sauce over the cake for an extra layer of indulgence.
- Coffee infusion: Add a tablespoon of strong brewed coffee to the caramel icing for a mocha-caramel flavor.
FAQs (Frequently Asked Questions)
Q: Can I use a different type of cake mix?
A: Yes, a butter pecan or even a spice cake mix would work well with the rum caramel flavors. Adjust the amount of rum to your preference.
Q: Can I make this cake without rum?
A: Absolutely! Simply substitute the rum with an equal amount of water or apple juice. You can also add a teaspoon of rum extract for a hint of the flavor without the alcohol.
Q: My caramel icing is too thin. How can I fix it?
A: Gradually add more powdered sugar, a tablespoon at a time, until the icing reaches the desired consistency. Be sure to mix well after each addition.
Q: How do I prevent my cake layers from sticking to the pan?
A: Ensure that you generously spray your cake pans with non-stick cooking spray and consider lining the bottoms with parchment paper rounds.
Q: Can I freeze the finished cake?
A: Yes, you can freeze the finished cake for up to 2 months. Wrap it tightly in plastic wrap and then in aluminum foil to prevent freezer burn. Thaw overnight in the refrigerator before serving.
Final Thoughts
This Rum Caramel Cake, born from a simple cake mix, delivers a sophisticated flavor profile that’s perfect for any occasion. It’s a testament to how a few simple ingredients and techniques can create a truly memorable dessert. I encourage you to try this recipe and make it your own. Feel free to experiment with variations and substitutions to create a cake that perfectly suits your taste. Share your creations and feedback – I’d love to hear how it turns out! Serve it with a cup of freshly brewed coffee or a glass of chilled rum for the ultimate indulgence. Happy baking!