
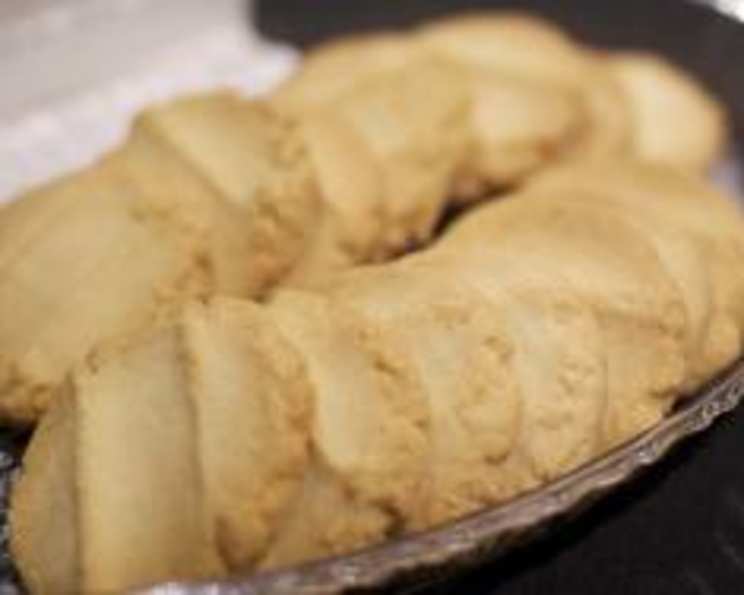
Chicago’s Beloved Butter Cookies: A Taste of Senn High School
My grandmother, a fierce believer in the power of a simple, well-made cookie, always kept a stash of butter cookies. Not just any butter cookies, mind you. These were the kind that practically melted on your tongue, leaving behind a whisper of vanilla and a lingering buttery richness. She swore the secret was in the quality of the butter and the careful, almost reverent, way they were baked. It wasn’t until years later, when I stumbled upon a recipe claiming to be the very one used in Chicago public schools, that I began to wonder if her beloved cookies were, in fact, a local treasure – a slice of Chicago history baked to golden perfection.
Recipe Overview
- Prep Time: 20 minutes
- Cook Time: 12-15 minutes
- Total Time: 35 minutes
- Yields: Approximately 36 cookies
- Dietary Type: Not suitable for vegan or gluten-free diets.
Ingredients
- 2 cups unsalted butter, at room temperature
- 1 1/2 cups sugar, plus extra for topping the cookies
- 1/4 teaspoon salt
- 3 1/2 cups all-purpose flour
- 2 teaspoons vanilla extract
Equipment Needed
- Electric mixer (stand or hand mixer)
- Measuring cups and spoons
- Cookie sheets
- Saucer
- Wire racks
- Spatula
Instructions
- Begin by ensuring your butter is at room temperature. This is crucial for achieving the right texture. In a large bowl, cream the butter with an electric mixer until it is light and fluffy. This process incorporates air, which contributes to the cookies’ delicate crumb.
- Add the sugar and salt to the creamed butter. Continue beating with the mixer until the mixture is no longer grainy. Take your time with this step; thorough creaming is essential for the cookies’ characteristic melt-in-your-mouth quality.
- Gradually add the flour, a little at a time, to the butter and sugar mixture. Beat at low speed until a dough forms. Avoid overmixing, as this can develop the gluten in the flour, resulting in tougher cookies.
- Mix in the vanilla extract. Incorporate it gently until it is evenly distributed throughout the dough.
- Form the dough into balls, using one heaping tablespoon of dough per ball. This ensures uniform cookies that bake evenly.
- Place the dough balls on ungreased cookie sheets, spacing them widely – about 9 cookies per sheet. This prevents the cookies from sticking together as they spread during baking.
- Pour approximately 1/4 cup of sugar onto a saucer. Press the first three fingers of your hand into the sugar, then press down on each dough ball to flatten it into a 3-inch circle, about 1/4 to 1/2 inch thick. The sugar will adhere to the cookie, creating a delightful sugary crust.
- Bake in a preheated 350°F (175°C) oven for 12-15 minutes, or until the cookies are faintly browned around the edges. Keep a close eye on them, as they can burn quickly.
- Gently remove the cookies from the sheet with a spatula and transfer them to wire racks to cool completely. Allowing them to cool on the wire rack prevents them from becoming soggy.
Expert Tips & Tricks
- Butter is King: The quality of your butter will significantly impact the flavor of these cookies. Use the best quality unsalted butter you can find.
- Room Temperature is Key: Make sure your butter is properly softened. If it’s too cold, it won’t cream properly. If it’s melted, the cookies will spread too much.
- Don’t Overmix: Overmixing the dough develops gluten, leading to tough cookies. Mix just until the ingredients are combined.
- Even Baking: Ensure your oven is properly preheated and that your cookie sheets are evenly spaced in the oven for consistent baking. If you suspect your oven has hot spots, rotate the cookie sheets halfway through baking.
- Flattening Technique: For a consistent shape, use a measuring cup or the bottom of a glass to flatten the cookies instead of your fingers. This can help create a smoother, more even surface.
- Make-Ahead Dough: The cookie dough can be made ahead of time and stored in the refrigerator for up to 3 days. Bring it to room temperature slightly before shaping and baking.
- Freezing Dough: For longer storage, the dough balls can be frozen. Freeze them on a baking sheet until solid, then transfer them to a freezer bag. Bake from frozen, adding a few extra minutes to the baking time.
Serving & Storage Suggestions
These butter cookies are best enjoyed fresh, but they also store well. Serve them with a cold glass of milk, a cup of tea, or alongside a scoop of vanilla ice cream. They’re perfect for afternoon snacks, lunchbox treats, or as part of a dessert platter.
Store the cooled cookies in an airtight container at room temperature for up to 5 days. For longer storage, freeze them in an airtight container for up to 2 months. Thaw at room temperature before serving. Reheating is not typically necessary, but a few seconds in the microwave can restore a slightly softer texture if desired.
Nutritional Information
| Nutrient | Amount per Serving | % Daily Value* |
|---|---|---|
| Calories | 168 kcal | 8% |
| Total Fat | 10 g | 13% |
| Saturated Fat | 6 g | 30% |
| Cholesterol | 27 mg | 9% |
| Sodium | 18 mg | 1% |
| Total Carbohydrate | 18 g | 7% |
| Dietary Fiber | 0 g | 0% |
| Sugars | 8 g | N/A |
| Protein | 1 g | 2% |
*Percent Daily Values are based on a 2,000 calorie diet.
Variations & Substitutions
- Lemon Butter Cookies: Add 1 tablespoon of lemon zest to the dough for a bright, citrusy twist.
- Almond Butter Cookies: Substitute 1/2 teaspoon of vanilla extract with 1/2 teaspoon of almond extract.
- Chocolate Chip Butter Cookies: Add 1/2 cup of mini chocolate chips to the dough.
- Spiced Butter Cookies: Add 1/2 teaspoon of ground cinnamon or nutmeg to the dough for a warm, comforting flavor.
- Gluten-Free Adaptation: While not a direct substitute, using a high-quality gluten-free all-purpose flour blend can yield acceptable results. Be mindful that the texture may be slightly different.
- Brown Butter Variation: Brown half of the butter before creaming it with the sugar for a nuttier, richer flavor. Allow the browned butter to cool slightly before incorporating it into the recipe.
FAQs (Frequently Asked Questions)
Q: Why are my cookies spreading too thin?
A: This is often due to the butter being too warm. Make sure your butter is softened, but not melted. Also, ensure your oven temperature is accurate.
Q: Can I use salted butter instead of unsalted butter?
A: Yes, but omit the 1/4 teaspoon of salt in the recipe.
Q: My cookies are burning on the bottom. What can I do?
A: Try using a double cookie sheet or placing a sheet of parchment paper on the baking sheet to insulate the cookies from the direct heat.
Q: How can I make sure my cookies are perfectly round?
A: After flattening the dough, use a round cookie cutter or a small knife to trim the edges for a perfectly circular shape.
Q: Can I add sprinkles to these cookies?
A: Absolutely! Add sprinkles immediately after flattening the cookies, before baking.
Final Thoughts
These Senn High School butter cookies are more than just a recipe; they’re a slice of Chicago nostalgia, a reminder of simpler times, and a testament to the enduring power of a well-made treat. Whether you’re a seasoned baker or a novice in the kitchen, I encourage you to give this recipe a try. Share them with friends and family, and experience the joy of creating something truly special. And if you have any stories or variations of your own, I’d love to hear them! So, gather your ingredients, preheat your oven, and get ready to bake a batch of these irresistibly buttery cookies. Enjoy!