
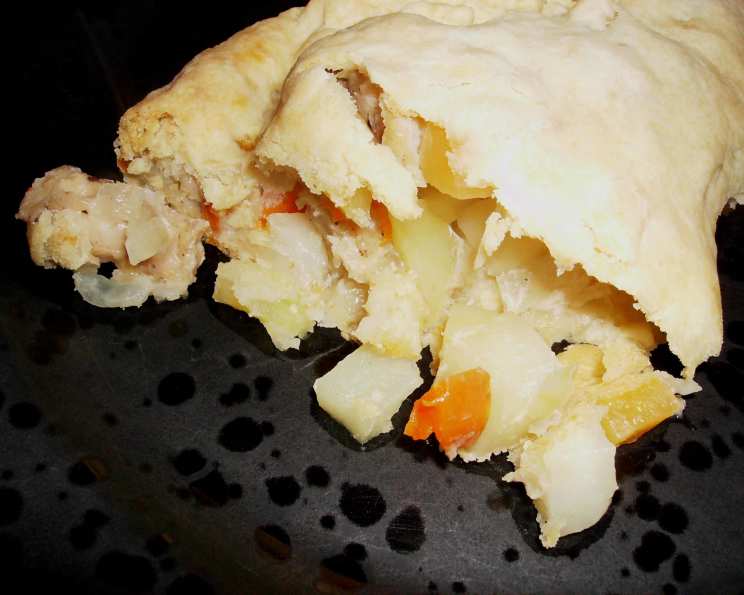
The Perfect Shortcrust Pastry: A Baker’s Essential
The scent of freshly baked shortcrust pastry always transports me back to my grandmother’s kitchen. I remember standing on a stool, barely tall enough to reach the counter, watching her nimble fingers work the butter into the flour. The rhythmic thump, thump, thump of her rolling pin on the floured surface, the satisfying crumble of the dough as she crimped the edges – it was pure magic. That early exposure instilled in me a lifelong love for baking, and shortcrust pastry remains a cornerstone of my culinary repertoire.
Recipe Overview
- Prep Time: 10 minutes
- Cook Time: Variable, depending on the recipe using the pastry
- Total Time: 40 minutes (includes chilling)
- Servings: 8
- Yield: Enough for 2 x 9-inch tart shells or 1 x 9-inch pie (top and bottom)
- Dietary Type: Vegetarian (easily adaptable to vegan – see variations)
Ingredients
- 12 ounces (2 cups) plain flour
- 1 ½ teaspoons baking powder
- 1 teaspoon salt
- 6 ounces butter, cold and cubed
- Chilled water
Equipment Needed
- Food processor (optional, but recommended)
- Mixing bowl (if making by hand)
- Cling wrap
- Rolling pin
- 9-inch tart pan or pie dish
Instructions
-
Sift the plain flour, baking powder, and salt into a bowl. If you’re using a food processor, add these ingredients directly to the bowl of the processor. The baking powder helps create a slightly more tender crust, so don’t skip it!
-
Rub in the butter. If working by hand, use your fingertips to gently rub the cold, cubed butter into the flour mixture. The goal is to break the butter down into smaller pieces until the mixture resembles coarse breadcrumbs. Work quickly to prevent the butter from melting. If using a food processor, pulse the mixture until it reaches the same coarse breadcrumb consistency. Be careful not to over-process.
-
Add water gradually. Start adding chilled water, a tablespoon at a time, to the flour and butter mixture. Mix lightly after each addition. If using a food processor, pulse briefly after each tablespoon. Continue adding water until the dough just comes together to form a ball. Be cautious; you don’t want a sticky dough.
-
Wrap and chill. Remove the dough from the bowl (or food processor) and gently shape it into a disc. Wrap it tightly in cling wrap and refrigerate for at least 30 minutes. This chilling period is crucial; it allows the gluten to relax and the butter to firm up, preventing the pastry from shrinking during baking.
-
Roll out and use. After chilling, the pastry is ready to be rolled out and used in your chosen recipe. On a lightly floured surface, roll out the pastry to the desired thickness. Gently transfer it to your tart pan or pie dish.
Expert Tips & Tricks
- Keep everything cold: This is the most important tip! Cold ingredients prevent the butter from melting prematurely, which results in a flaky and tender crust. Use cold butter, chilled water, and even chill the flour and mixing bowl if possible.
- Don’t overwork the dough: Overworking the dough develops the gluten, which can lead to a tough and chewy crust. Mix the ingredients just until they come together, and handle the dough as little as possible.
- Blind baking: For tarts with wet fillings, blind baking the crust is essential. Line the pastry with parchment paper, fill it with pie weights (or dried beans), and bake until the edges are lightly golden. Remove the weights and parchment, and bake for a few more minutes until the bottom is set. This prevents the crust from becoming soggy.
- For sweet pastry: Add 2 teaspoons of sugar to the flour mixture after rubbing in the butter. The sugar adds a touch of sweetness and helps to tenderize the crust.
- If you have warm hands: The heat from your hands can melt the butter while rubbing it in. If you have warm hands, it’s best to use a food processor to prevent the butter from melting. You can also chill your hands under cold water before handling the butter.
- Preventing a soggy bottom: Aside from blind baking, you can also brush the bottom of the pastry with a beaten egg white before adding the filling. The egg white creates a waterproof barrier that prevents the filling from seeping into the crust.
Serving & Storage Suggestions
Serve your shortcrust pastry creations warm or at room temperature, depending on the filling.
- Unbaked pastry dough: Can be stored in the refrigerator for up to 2 days. For longer storage, wrap it tightly in cling wrap and freeze for up to 3 months. Thaw overnight in the refrigerator before using.
- Baked pastry shell: Can be stored at room temperature in an airtight container for up to 2 days.
- Baked pie or tart: Store in the refrigerator for up to 3 days. Reheat in a preheated oven at 350°F (175°C) until warmed through.
Nutritional Information
Please note that this nutritional information is an estimate and may vary based on specific ingredients and serving sizes.
| Nutrient | Amount per Serving | % Daily Value |
|---|---|---|
| Calories | 307.7 kcal | N/A |
| Calories from Fat | 158 g | N/A |
| Total Fat | 17.7 g | 27% |
| Saturated Fat | 11 g | 54% |
| Cholesterol | 45.7 mg | 15% |
| Sodium | 511.4 mg | 21% |
| Total Carbohydrate | 32.7 g | 10% |
| Dietary Fiber | 1.1 g | 4% |
| Sugars | 0.1 g | 0% |
| Protein | 4.6 g | 9% |
Variations & Substitutions
- Gluten-free pastry: Substitute the plain flour with a gluten-free flour blend. You may need to add a binder like xanthan gum to help hold the dough together.
- Vegan pastry: Substitute the butter with a vegan butter alternative or solid vegetable shortening. Ensure the vegan butter is very cold.
- Whole wheat pastry: Substitute up to half of the plain flour with whole wheat flour for a nuttier flavor and added fiber.
- Herb-infused pastry: Add chopped fresh herbs like rosemary, thyme, or sage to the flour mixture for a savory twist.
- Citrus zest pastry: Add grated citrus zest (lemon, orange, or lime) to the flour mixture for a bright and aromatic flavor.
FAQs (Frequently Asked Questions)
Q: Why is my shortcrust pastry tough?
A: The most common reason for tough pastry is overworking the dough. Overmixing develops the gluten, which makes the crust chewy. Also, ensure you are not adding too much water.
Q: How can I prevent my pastry from shrinking during baking?
A: Chilling the dough for at least 30 minutes is crucial. It relaxes the gluten and allows the butter to firm up. Also, avoid stretching the dough when placing it in the pan.
Q: Can I make shortcrust pastry ahead of time?
A: Absolutely! You can make the dough up to 2 days in advance and store it in the refrigerator, or freeze it for up to 3 months.
Q: What’s the best way to roll out shortcrust pastry?
A: Use a lightly floured surface and a rolling pin. Roll from the center outwards, turning the pastry occasionally to ensure even thickness.
Q: My pastry is cracking when I roll it out. What am I doing wrong?
A: This usually means the dough is too cold or too dry. Let it sit at room temperature for a few minutes to soften slightly, or add a tiny bit more water.
Final Thoughts
Mastering shortcrust pastry is a gateway to endless baking possibilities. From savory pies and quiches to sweet tarts and desserts, this versatile dough is a baker’s essential. Don’t be intimidated by the process; with a few simple techniques and a little practice, you’ll be creating delicious and impressive pastry creations in no time. So, grab your ingredients, channel your inner baker, and enjoy the rewarding experience of making your own homemade shortcrust pastry. I encourage you to experiment with different fillings and flavor combinations, and most importantly, share your creations with loved ones. Bon appétit!