
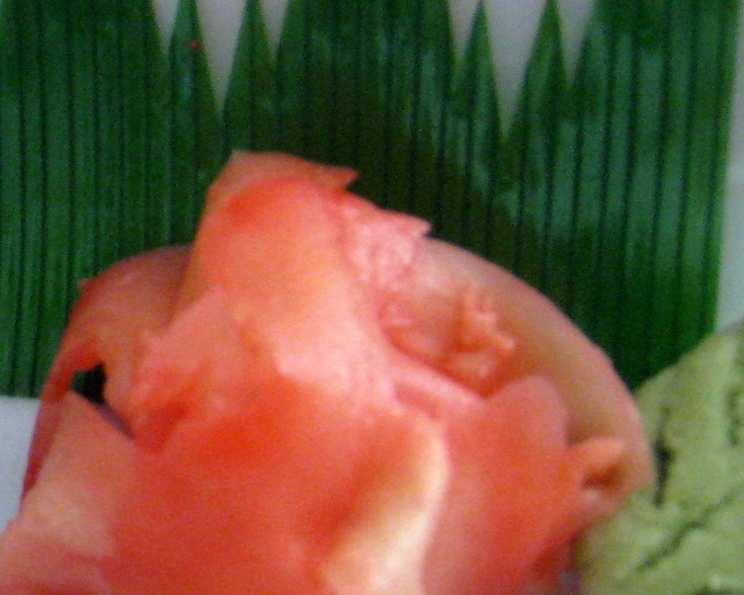
Zing! The Art of Homemade Sushi Ginger
I remember being a young apprentice, utterly mesmerized by the sushi chef’s meticulous preparation. The gleaming fish, the perfectly formed rice, and then… the whisper-thin slices of ginger, neatly arranged on the plate. He explained, with a twinkle in his eye, that this wasn’t just decoration; it was a palate cleanser, a way to fully appreciate the subtle nuances of each nigiri. That was the day I realized the true artistry of sushi extended far beyond the fish itself, and the importance of perfectly balanced gari (sushi ginger) was burned into my culinary consciousness.
Recipe Overview
- Prep Time: 15 minutes
- Cook Time: 5 minutes
- Total Time: 3 hours 20 minutes (including chilling time)
- Servings: Approximately 20 servings
- Yield: About 1 pint
- Dietary Type: Vegan, Gluten-Free
Ingredients
- ½ lb gingerroot, peeled and sliced very thin (a mandoline slicer is highly recommended)
- 1 tablespoon salt
- 1 ¼ cups rice vinegar
- 3 tablespoons water
- ¼ cup honey
Equipment Needed
- Ziplock bag
- Jar with a tight-fitting lid
- Small saucepan
- Stirring spoon
- Mandoline slicer (optional, but highly recommended for even slices)
Instructions
- Begin by preparing the ginger. The key to great sushi ginger is incredibly thin slices. A mandoline slicer will help you achieve this, but careful knife work is also acceptable. Aim for slices no thicker than a millimeter.
- Place the sliced ginger into a ziplock bag. Add the salt.
- Seal the bag and shake well to ensure the ginger is evenly coated with the salt.
- Place the ziplock bag in the refrigerator for at least 3 hours, or preferably overnight. This process helps to draw out excess moisture and tenderize the ginger.
- After the chilling period, remove the ginger from the bag. The ginger will have released some liquid.
- Transfer the ginger to a clean jar with a tight-fitting lid. Make sure the jar is properly sterilized beforehand for better shelf life.
- In a small saucepan, combine the rice vinegar, water, and honey.
- Place the saucepan over medium heat and bring the mixture to a simmer. Stir frequently to ensure the honey dissolves completely.
- Once simmering, continue to simmer for 5 minutes, stirring occasionally.
- Remove the saucepan from the heat and let the vinegar mixture cool for approximately 5 minutes.
- Carefully pour the slightly cooled vinegar mixture into the jar containing the ginger, ensuring that the ginger is completely submerged.
- Close the jar tightly and store it in the refrigerator for at least 3-5 days before using. This allows the ginger to pickle properly and develop its characteristic flavor.
- After 3-5 days, your homemade sushi ginger is ready to enjoy!
Expert Tips & Tricks
- Slice it thin: The thinner the ginger, the better. It should almost melt in your mouth. If you don’t have a mandoline, practice your knife skills. Uneven slices can result in some pieces being too tough, while others are too soft.
- Salt is your friend: Don’t skimp on the salting process. It’s crucial for drawing out moisture and improving the texture of the ginger. The longer you let it sit with the salt, the more tender it will be.
- Adjust the sweetness: Feel free to adjust the amount of honey to your liking. Some people prefer a tangier ginger, while others prefer it sweeter. Start with the recommended amount and adjust to taste after a few days of pickling. You can also use other sweeteners, such as agave nectar or maple syrup, although honey gives the most authentic flavor.
- Pink Perfection: If you want a more intensely pink ginger, look for young ginger (often available in spring). This type of ginger naturally has a pinkish hue. Otherwise, don’t be alarmed if your ginger doesn’t turn bright pink; the flavor will still be excellent.
- Don’t discard the brine: The pickling liquid is flavorful! You can use it in salad dressings or marinades. It adds a lovely sweet and sour note.
Serving & Storage Suggestions
Serve your homemade sushi ginger alongside your favorite sushi, sashimi, or even grilled fish. It’s meant to be eaten in small amounts between different types of sushi to cleanse your palate.
Store the sushi ginger in the refrigerator in its pickling liquid. It will keep for several weeks, and the flavor will actually improve over time. Ensure the ginger remains submerged in the liquid to prevent it from drying out. It is not recommended to freeze sushi ginger, as this can alter its texture.
Nutritional Information
| Nutrient | Amount per Serving | % Daily Value |
|---|---|---|
| Calories | 22 kcal | – |
| Total Fat | 0.1 g | 0% |
| Saturated Fat | 0 g | 0% |
| Cholesterol | 0 mg | 0% |
| Sodium | 350.5 mg | 14% |
| Total Carbohydrate | 5.5 g | 1% |
| Dietary Fiber | 0.2 g | 0% |
| Sugars | 3.7 g | – |
| Protein | 0.2 g | 0% |
Note: Nutritional information is an estimate and may vary based on specific ingredients and preparation methods.
Variations & Substitutions
- Sugar Substitute: Replace the honey with agave nectar or maple syrup for a slightly different flavor profile.
- Spice it Up: Add a small sliver of red chili pepper to the pickling liquid for a touch of heat.
- Citrus Zest: Add a few strips of lemon or lime zest to the pickling liquid for a brighter, more aromatic flavor.
- Ginger Variety: Experiment with different types of ginger, such as galangal, for a unique flavor twist. However, be aware that the flavor will be quite different from traditional sushi ginger.
- No-Honey Option: If you prefer, you can omit the honey entirely. The ginger will be tangier and less sweet. You may need to adjust the amount of water or vinegar to balance the flavors.
FAQs (Frequently Asked Questions)
Q: Why is the ginger salted first?
A: Salting the ginger draws out excess moisture, which helps to tenderize it and improve its texture. It also helps to preserve the ginger.
Q: How long does sushi ginger last in the refrigerator?
A: Properly stored in its pickling liquid, homemade sushi ginger will last for several weeks in the refrigerator.
Q: Can I use regular white vinegar instead of rice vinegar?
A: While you can, the flavor will be significantly different. Rice vinegar has a milder, sweeter flavor that is essential for authentic sushi ginger.
Q: My ginger didn’t turn pink. Is it still okay to eat?
A: Yes, it’s perfectly safe to eat. The pink color comes from the pigments in young ginger. If your ginger doesn’t turn pink, it simply means it’s a different variety or not as young.
Q: Can I use a different sweetener instead of honey?
A: Absolutely! Agave nectar, maple syrup, or even a sugar substitute can be used. Just be aware that the flavor profile will change slightly.
Final Thoughts
Making your own sushi ginger might seem like a small detail, but it elevates the entire sushi experience. It’s a testament to the idea that the best things are often made with love and attention to detail. So, go ahead, give this recipe a try. Impress your friends and family with your newfound culinary skills, and most importantly, enjoy the delightful zing of homemade gari! I guarantee, once you’ve tasted the difference, you’ll never go back to store-bought. Don’t be afraid to experiment with different variations and find your perfect balance of sweet, sour, and spicy. And of course, let me know how it turns out!