
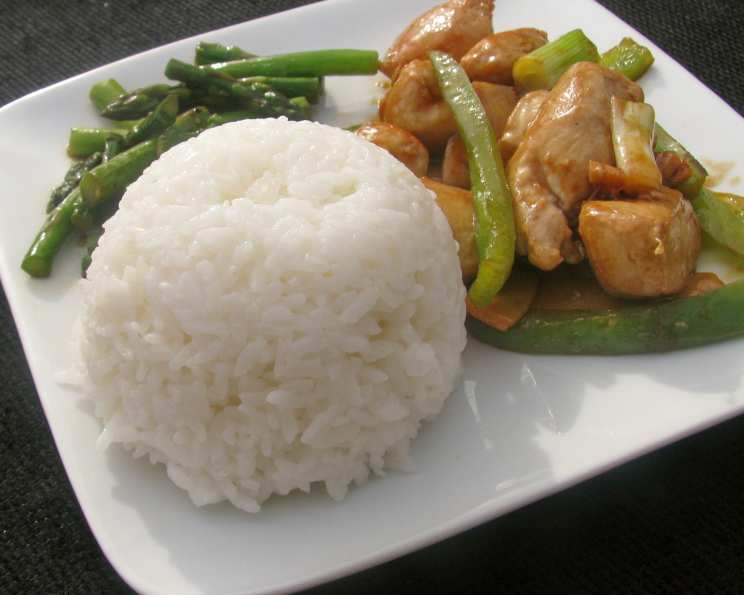
Mastering Thai Sticky Rice: A Foolproof Microwave Method
The aroma of sticky rice always transports me back to the bustling streets of Chiang Mai. I remember navigating through crowded markets, the air thick with the scent of grilling meats and exotic spices. But it was the sweet, nutty fragrance of freshly steamed sticky rice, wrapped in a fragrant banana leaf and paired with juicy mango slices, that truly captured my heart. That simple combination became a staple during my travels, a comforting reminder of the vibrant culture and warm hospitality I experienced in Thailand. Recreating that experience at home can be surprisingly easy, even without a traditional steamer.
Recipe Overview
- Prep Time: 15 minutes
- Cook Time: 20 minutes
- Total Time: 35 minutes
- Servings: 4-6
- Dietary Type: Vegan, Gluten-Free
Ingredients
- 1 1/2 cups glutinous rice
- 5 cups water
Equipment Needed
- Microwave-safe container with lid
Instructions
- Begin by preparing the glutinous rice. Place the rice in a bowl and cover it with cold water. Soak for 15 minutes.
- After soaking, gently rub the rice between your hands. Rinse the rice repeatedly, changing the water each time, until the water runs relatively clear. This step helps to remove excess starch and ensures a better texture.
- Transfer the rinsed rice to a microwave-safe container. Add approximately 2 cups of water, ensuring the rice is fully submerged. If 2 cups isn’t enough to submerge the rice, add a little more. The exact amount can vary depending on the size of your container and the type of rice.
- Cover the container with a microwave-safe lid. If you don’t have a lid, you can use microwave-safe plastic wrap, but be sure to vent it slightly to allow steam to escape.
- Microwave on high power for 20 minutes.
- Carefully remove the container from the microwave. Be cautious, as the container and steam will be very hot.
- Let the rice sit, covered, for about 5-10 minutes. This allows the rice to fully absorb any remaining water and achieve its signature sticky texture. Fluff the rice with a fork before serving. Check to make sure the rice is sticky and cooked thoroughly to your preference. If it is still too hard for your liking add a little more water and cook for a few more minutes.
Expert Tips & Tricks
- Rice Quality Matters: Opt for high-quality glutinous rice for the best results. Different brands may vary slightly in their absorption rate, so you may need to adjust the water level accordingly on your next try.
- Don’t Skip the Rinse: Thoroughly rinsing the rice is crucial for preventing a gummy texture. Continue rinsing until the water is mostly clear.
- Water Adjustment: Keep an eye on the water level after cooking. If the rice appears too dry, add a tablespoon or two of water, cover, and let it sit for a few more minutes. Conversely, if there’s excess water, drain it off before fluffing the rice.
- Microwave Power Variation: Microwave power can vary. If your microwave is particularly powerful, you might need to reduce the cooking time slightly. Start checking the rice after 15 minutes and adjust as needed.
Serving & Storage Suggestions
Thai sticky rice is incredibly versatile. It’s traditionally served with sweet mango (mango sticky rice, or khao niao mamuang), grilled meats, spicy salads like som tum (papaya salad), or as an accompaniment to Thai curries.
To store leftover sticky rice, let it cool completely and then transfer it to an airtight container. It can be stored at room temperature for a few hours, but it’s best to refrigerate it if you plan to keep it longer. Refrigerated sticky rice will last for up to 2-3 days.
To reheat, sprinkle a little water over the rice and microwave it for 1-2 minutes, or steam it gently over a pot of boiling water until heated through. It also works well to stir-fry cooled sticky rice.
Nutritional Information
| Nutrient | Amount per Serving | % Daily Value |
|---|---|---|
| Calories | 257 kcal | 13% |
| Total Fat | 0.4g | 1% |
| Saturated Fat | 0.1g | 0% |
| Cholesterol | 0mg | 0% |
| Sodium | 13.7mg | 1% |
| Total Carbohydrate | 56.7g | 19% |
| Dietary Fiber | 1.9g | 7% |
| Sugars | 0g | 0% |
| Protein | 4.7g | 9% |
Note: Nutritional information is an estimate and may vary based on specific ingredients and portion sizes.
Variations & Substitutions
- Coconut Sticky Rice: For a richer, more flavorful sticky rice, substitute half of the water with coconut milk. This will impart a creamy texture and subtle coconut flavor.
- Colored Sticky Rice: Add natural food coloring (e.g., butterfly pea flower for blue, pandan leaves for green) to the soaking water to create vibrant and visually appealing sticky rice.
- Sweet Sticky Rice: Mix in a tablespoon or two of sugar or palm sugar after cooking for a sweeter treat.
- Savory Sticky Rice: Add a pinch of salt to the water during cooking for a savory sticky rice that pairs well with grilled meats and salads.
FAQs (Frequently Asked Questions)
Q: Can I use regular rice instead of glutinous rice?
A: No, this recipe specifically calls for glutinous rice, also known as sweet rice or sticky rice. Regular rice will not achieve the same sticky texture.
Q: My sticky rice turned out too hard. What did I do wrong?
A: It may not have been cooked long enough, or not enough water was used. Add a little more water, cover, and microwave for a few more minutes.
Q: Can I make this in a rice cooker?
A: Yes, absolutely. Use the same ratio of rice to water as described above and follow your rice cooker’s instructions for cooking glutinous rice.
Q: How do I prevent the rice from sticking to the container?
A: Use a microwave-safe container with a non-stick surface, or lightly grease the container with coconut oil before adding the rice.
Q: Is it necessary to soak the rice beforehand?
A: Soaking the rice helps to soften it and ensures even cooking. While it’s possible to skip the soaking step, the texture of the final product may be slightly different.
Final Thoughts
Making perfect Thai sticky rice in the microwave is truly easier than you might think! This method unlocks a world of culinary possibilities, from classic mango sticky rice to exciting savory pairings. Don’t be afraid to experiment with variations and find your favorite flavor combinations. Once you’ve mastered this technique, you’ll be able to enjoy the authentic taste of Thailand in your own kitchen anytime you like. I encourage you to give this recipe a try and share your creations with friends and family. Pair it with a refreshing Thai iced tea for a truly immersive experience!