
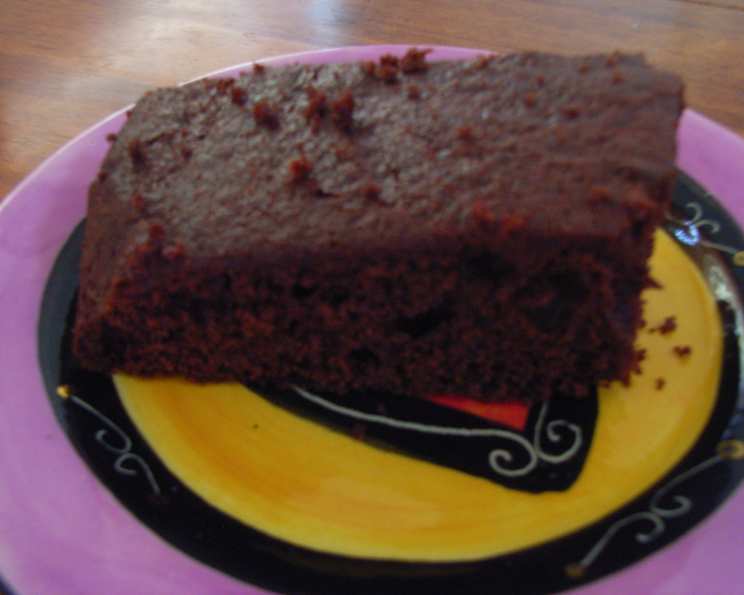
The Cake Doctor’s Red Velvet Delight: A Symphony of Simplicity
There’s something about Red Velvet Cake that evokes a feeling of old-fashioned charm. My grandmother, bless her heart, was a stickler for tradition, and her Red Velvet was legendary – a three-layer masterpiece that seemed to take days to prepare. I remember her kitchen filled with the aroma of cocoa and vanilla, the gentle hum of her stand mixer, and the anticipation that hung in the air. While I cherish those memories, I also appreciate a good shortcut, especially when it delivers amazing results without sacrificing flavor. This recipe captures the essence of that classic cake, but with a modern twist that even my grandmother would approve of.
Recipe Overview
- Prep Time: 20 minutes
- Cook Time: 17-21 minutes
- Total Time: Approximately 41 minutes
- Servings: 16
- Yield: One 3-layer cake
- Dietary Type: Not specified
Ingredients
For the Cake:
- 1 (18 1/2 ounce) package recipe golden cake mix (plain NO butter recipe)
- 2 1/2 tablespoons unsweetened cocoa powder
- 1 1/3 cups buttermilk
- 1 (1 ounce) bottle red food coloring
- 8 tablespoons butter, melted
- 3 large eggs
- 1 teaspoon pure vanilla extract
- 1 teaspoon baking soda
- 1 tablespoon distilled white vinegar
For the Frosting:
- 1 (8 ounce) package cream cheese, softened
- 8 tablespoons (1 stick) butter, room temperature
- 1 teaspoon vanilla extract
- 4 cups powdered sugar, sifted
Equipment Needed
- Three 9-inch round cake pans
- Electric mixer
- Rubber spatula
- Wire racks
- Dinner knife
Instructions
- Position a rack in the center of the oven and preheat to 350°F (175°C).
- Lightly grease the bottoms of three 9-inch round cake pans with shortening, then dust with flour. Shake out any excess flour, and set the pans aside. Alternatively, and perhaps more simply, place the cake pan on a piece of wax paper. Trace the bottom and cut with scissors to fit into the bottom of the pan. Repeat for the remaining cake pans. With this method, there is no need to grease the pan. After baking, I promise the cake will fall out after running a knife around the sides.
- In a large mixing bowl, combine the cake mix, cocoa powder, buttermilk, red food coloring, melted butter, eggs, vanilla extract, baking soda, and distilled white vinegar.
- Using an electric mixer, begin beating the ingredients on low speed until just incorporated, about 1 minute.
- Stop the mixer and use a rubber spatula to scrape down the sides of the bowl, ensuring all ingredients are evenly distributed.
- Increase the mixer speed to medium and beat for 2 minutes longer, scraping the sides of the bowl again if necessary. The batter should appear well-blended and smooth.
- Divide the batter evenly among the three prepared cake pans, approximately 1 ½ cups of batter per pan. Use a rubber spatula to smooth the tops.
- Place the pans in the preheated oven. If your oven is not large enough to hold three pans on the center rack, place two on that rack and one in the center of the rack above.
- Bake the cake layers until they just start to pull away from the sides of the pans and the tops spring back when lightly pressed with a finger, typically between 17 to 21 minutes. If baking with one pan on a higher rack, the top layer may bake faster, so always test for doneness first.
- Once baked, transfer the cake pans to wire racks and allow them to cool for 5 minutes.
- After 5 minutes, run a dinner knife around the edge of each layer to loosen the cakes from the pan.
- Invert each layer onto a wire rack. If you’ve used wax paper, remove the paper and discard it. Invert it again onto another rack so the cakes are right side up. Let the layers cool completely before frosting.
- While the cakes are cooling, prepare the frosting. Place the softened cream cheese and room-temperature butter in a large mixing bowl.
- Using an electric mixer on high speed, beat until light and fluffy, about 1 to 2 minutes.
- Stop the mixer and scrape down the sides of the bowl with a rubber spatula.
- Add the vanilla extract and sifted powdered sugar to the bowl. Beat on medium speed until well combined.
- Increase the mixer speed to high and beat the frosting for 1 minute longer, ensuring a smooth and creamy consistency.
- To assemble the cake, transfer one cake layer, right side up, to a serving platter. Spread the top with a generous amount of the prepared frosting.
- Place a second cake layer, right side up, on top of the first frosted layer, and frost the top.
- Repeat the process with the third cake layer.
- Frost the side of the cake with a thin coat of frosting to “crumb coat,” sealing in any loose crumbs.
- Use the remaining frosting to generously frost the side of the cake, working with smooth, clean strokes for a polished finish.
- For easier slicing, place the uncovered cake in the refrigerator until the frosting sets, about 20 minutes.
Expert Tips & Tricks
- Sifting the powdered sugar is crucial for a smooth, lump-free frosting.
- Don’t overbake the cake! Overbaking will result in a dry cake. The “spring back” test is your best indicator.
- If you find your frosting is too thick, add a tablespoon of milk or cream at a time until you reach your desired consistency.
- For a richer flavor, use European-style butter with a higher fat content.
- To get even layers, use a kitchen scale to measure out the batter for each pan.
- For a more intense red color, you can increase the amount of food coloring slightly, but be cautious as too much can affect the taste and texture.
Serving & Storage Suggestions
Serve the Red Velvet Cake chilled or at room temperature. For an elegant presentation, garnish with fresh berries, a dusting of cocoa powder, or shaved white chocolate.
To store, keep the cake in an airtight container at room temperature for up to 2 days, or in the refrigerator for up to 5 days. For longer storage, freeze the cake (frosted or unfrosted) for up to 3 months. Thaw it in the refrigerator overnight before serving.
Nutritional Information
| Nutrient | Amount per Serving | % Daily Value |
|---|---|---|
| Calories | 433 kcal | N/A |
| Calories from Fat | 190 g | 44% |
| Total Fat | 21.2 g | 32% |
| Saturated Fat | 11.1 g | 55% |
| Cholesterol | 81.8 mg | 27% |
| Sodium | 480.6 mg | 20% |
| Total Carbohydrate | 57.9 g | 19% |
| Dietary Fiber | 0.6 g | 2% |
| Sugars | 48.9 g | 195% |
| Protein | 4.5 g | 8% |
Note: Nutritional information is an estimate and may vary based on specific ingredients and serving sizes.
Variations & Substitutions
- Gluten-Free: Use a gluten-free golden cake mix. You may need to adjust the liquid slightly, so keep an eye on the batter consistency.
- Dairy-Free: Substitute the buttermilk with a plant-based alternative like almond or soy milk mixed with a tablespoon of lemon juice or vinegar. Use a dairy-free butter substitute and cream cheese alternative for the frosting.
- Flavor Boost: Add a teaspoon of almond extract to the cake batter for a unique twist.
- Frosting Alternatives: For a tangier frosting, use a classic cream cheese frosting recipe or experiment with a Swiss meringue buttercream for a silky smooth texture.
FAQs (Frequently Asked Questions)
Q: Why is vinegar added to Red Velvet Cake?
A: Vinegar helps to activate the cocoa and baking soda, creating a light and airy texture and enhancing the red color.
Q: Can I use a different type of cake mix?
A: While a golden cake mix is recommended, you can experiment with a white cake mix, but the color and flavor may be slightly different. Avoid using a butter recipe cake mix, as it can affect the texture.
Q: My cake layers are domed. How can I fix this?
A: You can level the cake layers using a serrated knife to create a flat surface for stacking.
Q: Can I make this cake ahead of time?
A: Absolutely! You can bake the cake layers a day or two in advance and store them tightly wrapped at room temperature or in the refrigerator. Frost the cake just before serving for the best results.
Q: How do I prevent the cake from sticking to the pan?
A: Greasing and flouring the pans thoroughly is essential. Using parchment paper rounds in the bottom of the pans ensures that the cakes release easily.
Final Thoughts
This Cake Doctor’s Red Velvet Cake is a delightful testament to the fact that you don’t have to spend hours in the kitchen to create a truly impressive dessert. With its moist, tender crumb, vibrant color, and luscious cream cheese frosting, it’s a guaranteed crowd-pleaser. So, go ahead and embrace the simplicity, gather your ingredients, and bake up a slice of happiness. I encourage you to share your creations and any personal touches you add. Happy baking!