
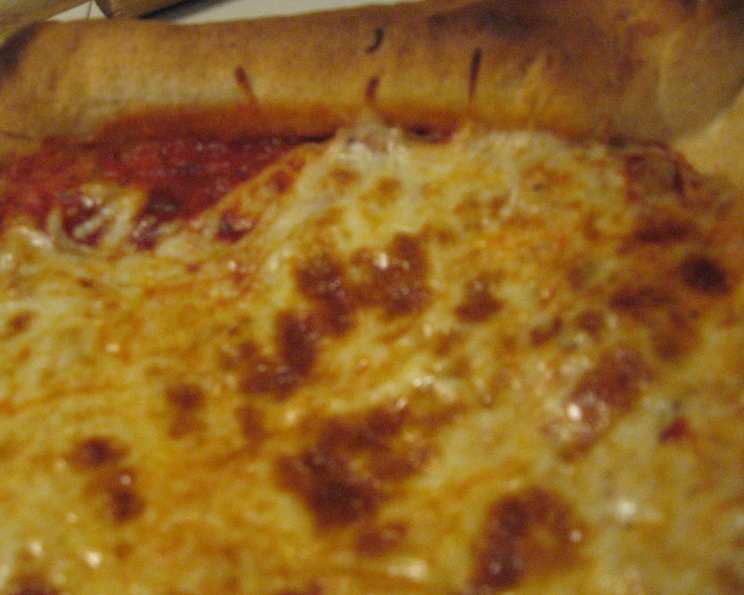
The Ultimate Thin Cracker Crust Pizza: A Culinary Revelation
My earliest memories of pizza involve Friday nights, a checkered tablecloth, and the irresistible aroma wafting from a cardboard box. But it wasn’t until I stumbled upon a forgotten recipe in my grandmother’s cookbook – a recipe promising a crust so thin it practically shatters – that my pizza journey truly began. Countless experiments, flour-dusted countertops, and ecstatic family reviews later, I’m thrilled to share this cracker-crisp masterpiece with you. This isn’t just pizza; it’s an experience.
Recipe Overview
- Prep Time: 30 minutes
- Cook Time: 14-19 minutes (includes optional pre-bake)
- Total Time: 24 hours 30 minutes (includes dough rising)
- Servings: 8
- Yield: 3 pizza crusts
- Dietary Type: Vegetarian (easily adaptable to vegan)
Ingredients
-
For the Crust:
- 3 1/2 cups high-gluten flour
- 3/4 cup warm water
- 1 tablespoon vegetable oil
- 1 1/2 teaspoons active dry yeast
- 1 1/2 teaspoons sugar
- 1 teaspoon salt
-
For the Topping (Adjust to your preference):
- Pizza sauce
- Shredded mozzarella cheese
- Your favorite pizza toppings
Equipment Needed
- Heavy-duty stand mixer (e.g., KitchenAid) with dough hook
- Large bowl
- Plastic wrap
- Oven
- Large surface for rolling dough
- Heavy rolling pin (or dough sheeter)
- Cutter pizza pan (optional, recommended) or pizza stone
- Pizza peel (if using pizza stone)
- Wire cooling rack or cutting board
Instructions
-
Prepare the Dough: In the bowl of a heavy-duty stand mixer fitted with the dough hook, combine the warm water, vegetable oil, active dry yeast, salt, and sugar. Mix thoroughly on low speed until the yeast has fully dissolved.
-
Combine the Dry and Wet Ingredients: Add the high-gluten flour to the mixture. Mix on low speed until all of the flour and water have incorporated and a stiff dough ball forms. This should take approximately 3 to 4 minutes.
-
Important Note on Mixing: Stop mixing as soon as the dough ball forms. Unlike many pizza doughs, this type of dough should not be kneaded extensively. Over-kneading will develop too much gluten and result in a tougher crust.
-
First Rise (Refrigeration): Place the dough ball into a large bowl and cover it tightly with plastic wrap. Let the dough rise in the refrigerator for a full 24 hours before using. This long, slow fermentation is key to developing the complex flavors and unique texture of this cracker crust.
-
Preheat the Oven: About one hour before you plan to bake the pizza, preheat your oven to a scorching 500°F (260°C). This high temperature is essential for achieving that signature cracker-crispiness. Give your oven ample time to reach the correct temperature; an oven thermometer can be helpful.
-
Shape the Crust: Turn the dough out onto a large, lightly floured surface. Using a heavy rolling pin (or a dough sheeter, if you have one), roll the dough out very thinly, aiming for a 24-inch or larger circle. The thinner, the better!
-
Prepare the Pan (or Stone): If you’re using a cutter pizza pan (highly recommended for ease of handling), lightly dust the pan with flour. Carefully place the rolled-out dough in the pan and dock it using a fork. Docking prevents the crust from puffing up too much during baking. Use the rolling pin to trim off any excess dough that droops over the sides of the pan for a clean edge.
-
Alternative: Pizza Stone Method: If you prefer to cook the pizza directly on a pizza stone, dust a pizza peel generously with flour or cornmeal. Place the rolled-out dough on the dusted peel and dock it. Fold the edge of the dough over about 1 inch all the way around, pinching it up to form a slightly raised lip or rim. This helps contain the toppings.
-
Optional Pre-Bake: For an extra-crisp crust, pre-cook the crust for 4 minutes before adding any sauce or toppings.
-
Add Toppings: Remove the crust from the oven (if pre-baking) and pop any large air pockets that may have formed during the pre-bake. Spread your favorite pizza sauce evenly over the crust, leaving a small border if desired. Sprinkle generously with shredded mozzarella cheese, and then add your favorite toppings.
-
Bake to Perfection: Continue baking the pizza on the lowest rack of the oven, rotating the pan halfway through, until the crust is sufficiently browned and crisp and the cheese is melted and bubbly. This should take approximately 10 to 15 minutes. Keep a close eye on it, as ovens can vary.
-
Cooling is Key: Remove the pizza from the oven and carefully slide it out of the cooking pan onto a large wire cooling rack or cutting board. Allow the pizza to cool for at least 5 minutes before transferring it to a serving pan or cutting board. This crucial step allows the crust to stay crisp as it cools; otherwise, trapped steam will soften the bottom.
-
Slice and Serve: Slice the pizza with a sharp pizza cutter or knife and serve immediately. Enjoy the satisfying crunch!
Expert Tips & Tricks
- High-Gluten Flour is Crucial: Using high-gluten flour is essential for achieving the desired cracker-like texture. It provides the necessary structure without requiring extensive kneading.
- Cold Fermentation is Your Friend: Don’t skip the 24-hour refrigeration period. This slow fermentation process develops incredible flavor and contributes to the crust’s unique texture.
- Roll it Thin, Really Thin: Don’t be afraid to roll the dough very thin. This is key to achieving that signature cracker-crispiness.
- Docking is a Must: Docking the dough with a fork prevents it from puffing up too much during baking, ensuring a flat, even crust.
- Pre-Baking for Extra Crispness: For the ultimate crispy crust, try pre-baking the dough for a few minutes before adding toppings. This helps set the crust and prevent it from becoming soggy.
- Don’t Overload the Toppings: While it’s tempting to pile on the toppings, resist the urge! Too many toppings can weigh down the crust and prevent it from crisping properly.
- Baking Stone for Enhanced Crispness: If you have a baking stone, preheat it in the oven for at least 30 minutes before baking the pizza. This will help create an even crispier crust.
- Crisp Rescue: If your crust isn’t crisp enough after baking, place it directly on the oven rack for a minute or two to crisp it up further. Watch it carefully to prevent burning!
Serving & Storage Suggestions
Serve your thin cracker crust pizza immediately for the best flavor and texture. Leftover pizza can be stored in an airtight container in the refrigerator for up to 3 days. To reheat, preheat your oven to 350°F (175°C) and bake the pizza slices for 5-10 minutes, or until heated through and the crust is crisp again. You can also reheat individual slices in a skillet over medium heat for a few minutes per side. Freezing is not recommended, as it can affect the crust’s texture.
Nutritional Information
| Nutrient | Amount per Serving | % Daily Value |
|---|---|---|
| Calories | 250 kcal | 13% |
| Total Fat | 8g | 12% |
| Saturated Fat | 4g | 20% |
| Cholesterol | 20mg | 7% |
| Sodium | 450mg | 19% |
| Total Carbohydrate | 35g | 12% |
| Dietary Fiber | 2g | 8% |
| Sugars | 3g | N/A |
| Protein | 10g | 20% |
| Note: Nutritional information is an estimate and may vary based on specific ingredients and portion sizes. |
Variations & Substitutions
- Gluten-Free: Substitute the high-gluten flour with a gluten-free pizza flour blend. Be sure to follow the package instructions for hydration and baking times.
- Vegan: Omit the mozzarella cheese and use your favorite vegan cheese alternative.
- Whole Wheat: Replace up to half of the high-gluten flour with whole wheat flour for a nuttier flavor and added fiber.
- Herb Infusion: Add a tablespoon of dried herbs (such as oregano, basil, or rosemary) to the dough for a flavorful twist.
- Spicy Kick: Add a pinch of red pepper flakes to the dough for a subtle heat.
- Seasonal Toppings: Adapt the toppings to reflect seasonal produce, such as roasted vegetables in the fall or fresh herbs in the spring.
FAQs (Frequently Asked Questions)
Q: Can I use all-purpose flour instead of high-gluten flour?
A: While you can, the results won’t be the same. High-gluten flour is crucial for the crispy texture. All-purpose flour will yield a softer crust.
Q: Can I let the dough rise at room temperature instead of in the refrigerator?
A: Refrigerating the dough for 24 hours is recommended for the best flavor and texture development. Room temperature fermentation will be faster but may not result in the same complex flavor.
Q: My dough is too sticky to roll out. What should I do?
A: Add a little more flour to your work surface and to the dough itself. Be careful not to add too much, as this can make the crust tough.
Q: How do I prevent the crust from sticking to the pan?
A: Make sure to generously dust your pizza pan or pizza peel with flour or cornmeal before placing the dough on it.
Q: My toppings are burning before the crust is done. What should I do?
A: Lower the oven temperature slightly and continue baking until the crust is crisp. You can also tent the pizza with foil to protect the toppings from burning.
Final Thoughts
So, there you have it – the recipe for the ultimate thin cracker crust pizza. Don’t be intimidated by the 24-hour rising time; it’s mostly hands-off. Trust me, the end result is worth the wait. Gather your ingredients, preheat your oven, and prepare to be amazed. Once you try this recipe, you might never go back to regular pizza again. I encourage you to experiment with different toppings and share your creations with friends and family. And please, let me know how it turns out! Enjoy!