
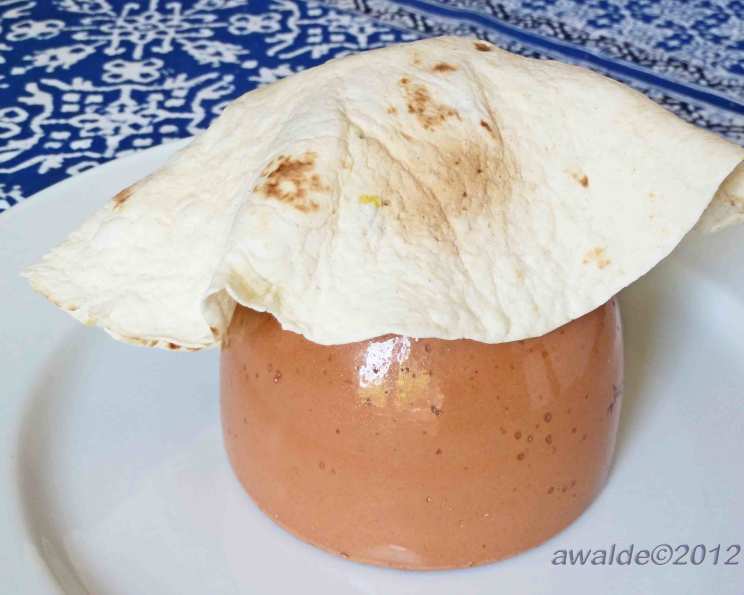
Edible Elegance: Crafting Perfect Tortilla Bowls
My earliest memories of summer are inextricably linked to my grandmother’s vibrant Mexican salads. She always presented them in the most charming way: crispy, golden tortilla bowls, perfectly shaped and filled to the brim with fresh, colorful ingredients. The delightful crunch of the bowl mingled with the savory flavors of the salad, making each bite a little fiesta. Now, decades later, I still use her method, adapted ever so slightly, to bring that same joy to my own table. These edible bowls are not only delicious but also add a touch of rustic elegance to any meal.
Recipe Overview
- Prep Time: 5 minutes
- Cook Time: 1-10 minutes (depending on method)
- Total Time: 6-15 minutes (depending on method)
- Yields: 1 tortilla bowl
- Dietary Type: Vegetarian (easily adaptable to Vegan)
Ingredients
- 1 corn tortilla or 1 flour tortilla
- 1 teaspoon vegetable oil
Equipment Needed
- 2-cup microwave-safe liquid measuring cup OR 2-cup oven-safe liquid measuring cup
- Microwave oven OR Conventional oven
- Baking sheet (for conventional oven method)
- Clean oven mitts
- Cooling rack
Instructions
Here’s how to create beautiful and perfectly shaped tortilla bowls using two different cooking methods: the quick microwave method and the more traditional oven method. Choose the method that best suits your needs and equipment.
Microwave Oven Method:
- Lightly grease the bottom and outside of a 2-cup microwave-safe liquid measuring cup with vegetable oil. This prevents the tortilla from sticking and helps it crisp up nicely.
- Turn the measuring cup upside-down and gently press the tortilla over the bottom and sides. Mold the tortilla to the shape of the cup as closely as possible.
- Microwave on high (100%) for 1 minute. This initial blast of heat starts the crisping process.
- Using clean oven mitts (the cup will be hot!), again press the tortilla firmly around the measuring cup. This ensures even shaping and crisping.
- Microwave on high for another 1 minute until brown spots begin to appear. Watch carefully, as microwave power varies. The brown spots are a sign that the tortilla is starting to get crispy.
- If necessary, continue to press the tortilla against the measuring cup and microwave in additional 30-second increments until desired crispness is achieved. Keep a close eye on it to prevent burning.
- Carefully turn the tortilla bowl out onto a rack to cool completely. As it cools, it will harden and maintain its shape.
Conventional Oven Method:
- Lightly grease the bottom and outside of an oven-safe 2-cup liquid measuring cup with vegetable oil. This is crucial for preventing sticking during baking.
- Turn the measuring cup upside down onto a baking sheet and press the tortilla over the bottom and sides. Ensure the tortilla is evenly distributed around the cup.
- Bake in a preheated 325°F (160°C) oven for 7 to 10 minutes, occasionally pressing the tortilla against the measuring cup. This helps maintain its shape as it bakes.
- Continue baking until brown spots appear, indicating the tortilla is becoming crispy. Keep a close watch to prevent burning.
- Turn the tortilla bowl out onto a rack to cool completely. The cooling process allows the tortilla to fully crisp and harden.
Note:
- For a larger bowl, use a 10-inch flour tortilla over a 4-cup liquid measuring cup. Adjust baking or microwaving time accordingly.
Expert Tips & Tricks
- Even Application of Oil: A light and even coating of oil is key. Too much oil will make the bowl greasy, while too little will cause it to stick. Consider using a spray bottle for a perfectly even application.
- Don’t Overcook: Keep a close eye on the tortilla while it’s cooking, regardless of the method. Overcooking will result in a burnt and brittle bowl.
- Pressing is Key: The occasional pressing during baking or microwaving ensures the tortilla maintains its shape and adheres to the measuring cup.
- Flour vs. Corn: Flour tortillas are more pliable and generally easier to work with, especially for beginners. Corn tortillas can be used, but they tend to be more prone to cracking, so the microwave method is recommended.
- Seasoning: For added flavor, brush the tortilla with seasoned oil (e.g., chili powder, garlic powder, paprika) before baking or microwaving.
- Perfecting the Shape: If your bowl doesn’t come out perfectly shaped the first time, don’t worry! It takes a little practice. The key is to mold the tortilla evenly around the measuring cup.
Serving & Storage Suggestions
Serve your freshly made tortilla bowls immediately for the best crunch. They are perfect for holding salads, chili, soups, or even dips. Garnish with fresh herbs, a dollop of sour cream, or a sprinkle of cheese for a beautiful presentation.
If you’re not serving them immediately, store the cooled tortilla bowls in an airtight container at room temperature for up to 2 days. They may lose some of their crispness over time, but they will still be delicious. Reheating in a low oven (300°F or 150°C) for a few minutes can help restore some of the crispness. I don’t recommend freezing them as they tend to become soggy upon thawing.
Nutritional Information
Here’s an estimate of the nutritional information for one tortilla bowl, based on using a flour tortilla and vegetable oil. This is an approximate value and will vary based on the specific ingredients used.
| Nutrient | Amount per Serving | % Daily Value |
|---|---|---|
| Calories | 92 kcal | 5% |
| Total Fat | 5.2 g | 7% |
| Saturated Fat | 0.7 g | 3% |
| Cholesterol | 0 mg | 0% |
| Sodium | 10.8 mg | 0% |
| Total Carbohydrate | 10.7 g | 3% |
| Dietary Fiber | 1.5 g | 6% |
| Sugars | 0.2 g | 0% |
| Protein | 1.4 g | 2% |
Variations & Substitutions
- Gluten-Free: Use gluten-free tortillas for a gluten-free option. Be mindful that gluten-free tortillas can be more fragile, so handle them with care.
- Whole Wheat: Opt for whole wheat tortillas for added fiber.
- Spiced Tortillas: Before baking or microwaving, brush the tortilla with a mixture of olive oil, chili powder, cumin, and garlic powder for a flavorful twist.
- Sweet Bowls: For a dessert option, brush the tortilla with melted butter and cinnamon sugar before baking. Fill with fruit salad, ice cream, or whipped cream.
- Vegan Option: Ensure your tortillas are vegan (some contain lard). All other ingredients in this recipe are naturally vegan.
FAQs (Frequently Asked Questions)
Q: Can I use any type of tortilla?
A: Yes, you can use either corn or flour tortillas. Flour tortillas are generally more pliable and easier to work with, while corn tortillas tend to be more prone to cracking, especially when using the oven method.
Q: How do I prevent the tortilla from sticking to the measuring cup?
A: Lightly greasing the bottom and outside of the measuring cup with vegetable oil is essential to prevent sticking. Ensure the oil is evenly distributed for best results.
Q: My tortilla bowl is cracking. What am I doing wrong?
A: Cracking can occur if the tortilla is too dry or if it’s not molded properly around the measuring cup. Try using the microwave method with corn tortillas, as they are more prone to cracking in the oven.
Q: Can I make these ahead of time?
A: Yes, you can make tortilla bowls ahead of time. Store them in an airtight container at room temperature for up to 2 days. They may lose some crispness over time, but they’ll still be delicious.
Q: How do I reheat tortilla bowls to make them crispy again?
A: Reheat them in a low oven (300°F or 150°C) for a few minutes to restore some of their crispness. Watch them carefully to prevent burning.
Final Thoughts
Creating these tortilla bowls is a simple way to elevate any meal. They add a touch of fun and elegance, transforming ordinary dishes into something special. Don’t be afraid to experiment with different fillings and flavor combinations to create your own signature dish. I encourage you to try this recipe and share your creations with friends and family. Serve alongside a refreshing agua fresca or a classic margarita for the ultimate fiesta experience. Enjoy the process, and happy cooking!