
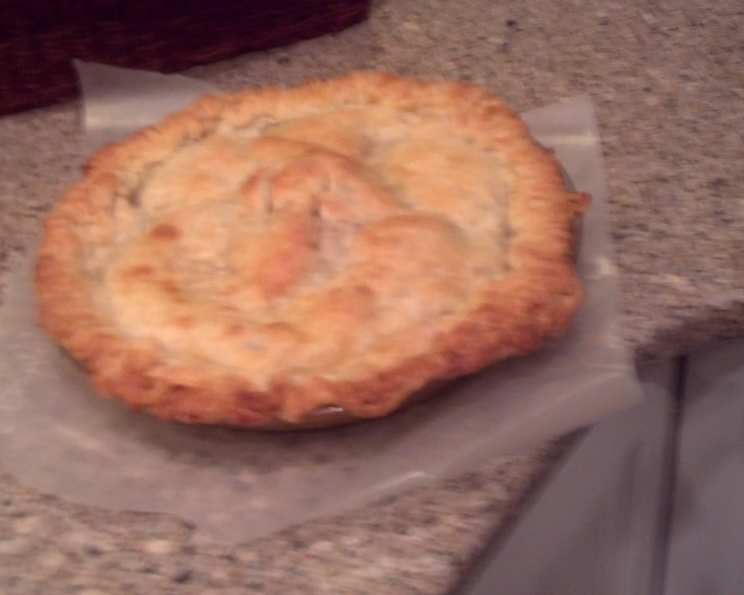
The Quintessential Apple Pie: A Timeless Classic
The aroma of apples, cinnamon, and baking pastry—it’s a scent that instantly transports me back to my grandmother’s kitchen. I remember, as a child, standing on a stool, carefully watching her hands as she transformed simple ingredients into something magical. The warmth from the oven, the bubbling filling, and the anticipation of that first slice—apple pie is more than just a dessert; it’s a cherished memory baked into every bite.
Recipe Overview
- Prep Time: 30 minutes
- Cook Time: 50-60 minutes
- Total Time: 1 hour 20-30 minutes
- Servings: 8
- Yield: 1 pie
- Dietary Type: Vegetarian
Ingredients
- 1/4 cup brown sugar
- 1/4 cup white sugar, plus a little for dusting the top (or more, if you like a sweeter pie)
- 1/2 teaspoon ground cinnamon
- 1/8 teaspoon freshly grated nutmeg
- 1 pinch salt
- 5-6 Cortland, McIntosh, or any other baking apples
- 1 tablespoon freshly squeezed lemon juice
- 1 1/2 tablespoons cornstarch (optional) or 1 1/2 tablespoons dry tapioca (optional)
- 1 recipe pastry for a double-crust 9-inch pie, bottom crust fitted into a 9-inch pie plate and top crust transferred to a rimless baking sheet, bottom crust fitted into a 9 inch pie plate and top crust transferred to a rimless baking sheet
- 2 tablespoons unsalted butter, cut into bits
- Milk, as needed
Equipment Needed
- 9-inch pie plate
- Rimless baking sheet
- Mixing bowls
- Peeler
- Apple corer (optional)
- Paring knife
- Measuring cups and spoons
- Fork
Instructions
- Prepare the Apple Filling: In a large bowl, toss together the brown sugar, white sugar, cinnamon, nutmeg, and salt.
- Prepare the Apples: Peel and core the apples. Cut them into 1/2 to 3/4 inch slices. Don’t make the slices too thin, or they’ll turn to mush during baking.
- Combine the Filling: Toss the apple slices with the lemon juice and the dry ingredients. If you prefer a less runny pie, add the cornstarch or tapioca at this stage. The starch will help to thicken the juices as the pie bakes.
- Assemble the Pie: Pile the apple mixture into the rolled-out bottom crust, mounding it higher in the center than at the edges. This ensures a full pie even after the apples cook down.
- Dot with Butter: Dot the top of the apple filling with the butter, distributing the bits evenly across the surface.
- Top with Crust: Cover the filling with the top crust.
- Seal and Decorate: Decorate the edges of the pie using a fork to crimp the edges or by using your fingers to create a decorative pattern. Get creative!
- Chill: Refrigerate the assembled pie while you preheat the oven to 450°F (232°C). Chilling the pie helps the crust retain its shape during baking.
- Prepare for Baking: Place the pie on a cookie sheet to catch any drips. Brush the top of the crust lightly with milk and sprinkle with sugar for a beautiful golden-brown finish.
- Vent the Crust: Use a sharp paring knife to cut two or three 2-inch long vent holes in the top crust. This will allow steam to escape during baking, preventing the crust from becoming soggy or bursting.
- Bake: Place the pie in the preheated oven and bake for 10 minutes.
- Reduce Temperature: Reduce the oven temperature to 350°F (175°C) and bake for another 40 to 50 minutes, or until the pie is golden brown.
- Check for Doneness: The pie is done when the crust is a rich golden brown and the filling is bubbling. If the crust is browning too quickly, you can tent it with foil to prevent burning.
- Cool: Cool the pie on a rack before serving to room temperature. This allows the filling to set properly, making it easier to slice.
Expert Tips & Tricks
- Apple Variety Matters: Using a mix of apple varieties can create a more complex and interesting flavor. Consider combining tart apples like Granny Smith with sweeter varieties like Honeycrisp.
- Blind Baking: For an extra-crisp bottom crust, consider blind baking the bottom crust before adding the filling. Line the crust with parchment paper, fill with pie weights or dried beans, and bake for 15 minutes at 375°F (190°C). Remove the weights and bake for another 5-10 minutes until lightly golden.
- Egg Wash Alternative: If you don’t have milk on hand, an egg wash (one egg beaten with a tablespoon of water) will also give the crust a beautiful shine.
- Prevent a Soggy Bottom Crust: Besides blind baking, ensure your oven is properly preheated, and bake the pie on the lowest rack.
- Make Ahead: The pie dough can be made ahead of time and stored in the refrigerator for up to 2 days or in the freezer for up to 2 months. The apple filling can also be prepared a day in advance and stored in the refrigerator.
Serving & Storage Suggestions
Serve the apple pie warm or at room temperature. A scoop of vanilla ice cream or a dollop of whipped cream is the perfect complement.
- Room Temperature: Apple pie can be stored at room temperature for up to 2 days.
- Refrigerator: To extend its shelf life, store the pie in the refrigerator for up to 4 days.
- Freezer: For longer storage, wrap the pie tightly in plastic wrap and aluminum foil and freeze for up to 2 months. Thaw overnight in the refrigerator before reheating.
To reheat, preheat your oven to 350°F (175°C) and bake for 15-20 minutes, or until warmed through.
Nutritional Information
| Nutrient | Amount per Serving | % Daily Value |
|---|---|---|
| Calories | 304 kcal | N/A |
| Calories from Fat | N/A | N/A |
| Total Fat | 17.8 g | 27% |
| Saturated Fat | 5.6 g | 27% |
| Cholesterol | 7.6 mg | 2% |
| Sodium | 255.6 mg | 10% |
| Total Carbohydrate | 33.8 g | 11% |
| Dietary Fiber | 1.8 g | 7% |
| Sugars | 13 g | 52% |
| Protein | 2.8 g | 5% |
Note: Nutritional information is an estimate and may vary based on specific ingredients and preparation methods.
Variations & Substitutions
- Gluten-Free: Use a gluten-free pie crust recipe or purchase a pre-made gluten-free crust.
- Dairy-Free: Substitute the butter with a dairy-free butter alternative.
- Spiced Apple Pie: Add a pinch of allspice and/or cloves to the apple filling for a warmer, more complex flavor.
- Caramel Apple Pie: Drizzle caramel sauce over the apples before adding the top crust.
- Cranberry Apple Pie: Add a cup of fresh or frozen cranberries to the apple filling for a tart and festive twist.
- Maple Apple Pie: Substitute the white sugar with maple syrup for a richer, more nuanced sweetness.
FAQs (Frequently Asked Questions)
Q: Why is my apple pie filling runny?
A: A runny filling can be caused by underbaking, using too much liquid, or not using enough thickening agent (cornstarch or tapioca). Ensure the pie is baked until the filling is bubbling and consider adding more cornstarch or tapioca next time.
Q: How do I prevent my pie crust from burning?
A: If the crust is browning too quickly, tent it with foil during the last 15-20 minutes of baking.
Q: Can I use pre-made pie crust?
A: Yes, using pre-made pie crust is a convenient option. Just be sure to thaw it according to the package instructions before using.
Q: Can I freeze an unbaked apple pie?
A: Yes, you can freeze an unbaked apple pie. Wrap it tightly in plastic wrap and aluminum foil and freeze for up to 2 months. Bake from frozen, adding about 15-20 minutes to the baking time.
Q: What kind of apples are best for apple pie?
A: Cortland, McIntosh, Honeycrisp, Granny Smith, and Braeburn apples are all excellent choices for apple pie. A combination of tart and sweet apples will create the best flavor.
Final Thoughts
Apple pie is a timeless classic for a reason. Its comforting flavors and warm aroma evoke feelings of nostalgia and home. Don’t be intimidated by the process; with a little practice, you’ll be baking perfect apple pies in no time. So gather your ingredients, preheat your oven, and let the sweet scent of apples and cinnamon fill your kitchen. And once you’ve perfected this recipe, share it with your loved ones and create your own cherished memories around this delightful dessert. Maybe pair it with a sharp cheddar cheese for a truly delightful experience. Happy baking!