
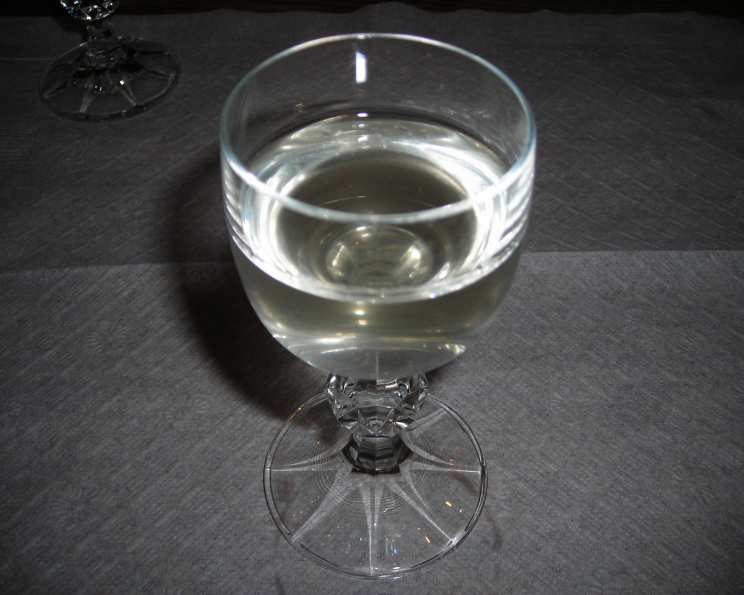
Tropical Fruit Liqueur: A Taste of Sunshine in a Bottle
I’ll never forget my first sip of homemade liqueur. It was during a family trip to the Caribbean, staying with my Aunt Esme on her mango farm. The air was thick with the scent of ripe fruit, and she offered me a tiny glass of something golden and fragrant. The initial sweetness gave way to a surprising warmth, a hint of the sun-drenched mangoes and the subtle kick of the local rum she had infused it with. It was pure island magic, a taste I’ve chased ever since, and this recipe for tropical fruit liqueur comes incredibly close to capturing that very essence.
Recipe Overview
- Prep Time: 15 minutes
- Infusion Time: 2 weeks + 3 months aging
- Total Time: Approximately 3 months, 2 weeks, and 15 minutes
- Yields: 750 ml
- Dietary Type: Vegan (depending on vodka source)
Ingredients
- 1/3 cup pineapple, chopped
- 1/3 cup peach, chopped
- 1/3 cup mango, chopped
- 3 cups vodka (80 proof or higher recommended)
- 2 cups sugar, granulated
- 1/4 cup water, distilled or filtered
- 1 teaspoon glycerin (optional, for smoother texture)
Equipment Needed
- Quart jars (at least 2)
- Cheesecloth, double layered
- Fine-mesh strainer
- Bottles for finished liqueur
- Funnel (optional, for bottling)
Instructions
- Prepare the Fruit & First Infusion: In a clean quart jar, combine the chopped pineapple, peach, and mango. Add 1 cup of granulated sugar, ensuring it’s evenly distributed over the fruit. Pour in the vodka, completely submerging the fruit.
- Seal and Store: Seal the jar tightly with an airtight lid. Place the jar in a cool, dry, and dark place. This is crucial to prevent the liqueur from being exposed to light or drastic temperature changes during infusion.
- Infuse for Two Weeks: Allow the mixture to infuse for approximately two weeks. During this period, gently swirl or shake the jar every couple of days to help the sugar dissolve and encourage the fruit to release its flavors into the vodka.
- Strain the Infusion: After two weeks, prepare a double layer of cheesecloth over a fine-mesh strainer, set over a bowl. Carefully pour the contents of the jar through the cheesecloth, straining out the fruit solids.
- Extract the Juice: Gently squeeze the cheesecloth to extract as much juice as possible from the fruit pulp. The goal is to get every last drop of that precious, flavorful liquid. Discard the strained fruit pulp.
- Prepare the Sugar Syrup: In a fresh, clean quart jar, add the remaining 1 cup of granulated sugar. Pour in the water and the glycerin (if using).
- Combine & Sweeten: Pour the strained fruit-infused vodka into the jar with the sugar, water, and glycerin mixture. Seal the jar tightly.
- Dissolve the Sugar: Store the jar again in a cool, dark place. Over the next few days, periodically shake or swirl the jar to help the sugar dissolve completely. This might take a few days, so be patient. You’ll know it’s ready when no sugar crystals are visible at the bottom of the jar.
- Bottle and Age: Once the sugar is fully dissolved, carefully bottle the resulting liqueur in clean, sterilized bottles. Seal the bottles tightly.
- Age for Three Months: This is the most challenging part, but it’s absolutely essential for the best flavor! Store the bottled liqueur in a cool, dark place for at least three months to allow the flavors to mellow and meld together. Longer aging will result in an even smoother, more complex flavor.
Expert Tips & Tricks
- Fruit Quality Matters: Use the ripest, most flavorful fruits you can find. Frozen fruit can also work well, as the freezing process helps to break down the cell walls, releasing more flavor. Just be sure to thaw them before using.
- Vodka Choice: Opt for a good quality, neutral-tasting vodka. Avoid anything too harsh or strongly flavored, as it will compete with the fruit flavors.
- Sugar Level: Adjust the amount of sugar to your personal preference. If you prefer a less sweet liqueur, start with a slightly smaller amount and add more to taste after the initial infusion.
- Glycerin is Key for Smoothness: The glycerin is optional but highly recommended. It adds a subtle velvety texture to the liqueur, making it smoother and more palatable. You can find food-grade glycerin at most baking supply stores or online.
- Patience is a Virtue: Don’t rush the aging process! The longer you let the liqueur mature, the better it will taste.
Serving & Storage Suggestions
Serve the tropical fruit liqueur chilled, either neat in a small glass or over ice. It’s also delicious mixed into cocktails or drizzled over desserts like ice cream or fruit salad.
To store, keep the bottled liqueur in a cool, dark place away from direct sunlight and heat. Properly stored, it should last for several years, though the flavor may gradually mellow over time. There is no need to refrigerate after bottling.
Nutritional Information
Note: Nutritional information is an estimate and will vary based on specific ingredients and serving size.
| Nutrient | Amount per Serving (1 oz) | % Daily Value |
|---|---|---|
| Calories | 80 kcal | 4% |
| Total Fat | 0g | 0% |
| Saturated Fat | 0g | 0% |
| Cholesterol | 0mg | 0% |
| Sodium | 0mg | 0% |
| Total Carbohydrate | 10g | 4% |
| Dietary Fiber | 0g | 0% |
| Sugars | 10g | – |
| Protein | 0g | 0% |
Variations & Substitutions
- Berry Blast: Substitute the tropical fruits with an equal amount of mixed berries like strawberries, raspberries, and blueberries.
- Citrus Zest: Add the zest of an orange, lemon, or lime during the initial infusion for a bright, citrusy twist.
- Spice It Up: Include a cinnamon stick, a few cloves, or a vanilla bean during the infusion for a warm, spiced flavor.
- Herbal Infusion: Add fresh mint, basil, or rosemary for a unique herbal note.
- Adjust Sweetness: Use honey or agave nectar instead of granulated sugar. Note that these sweeteners may alter the final flavor profile slightly.
FAQs (Frequently Asked Questions)
Q: Can I use other fruits besides pineapple, peach, and mango?
A: Absolutely! Feel free to experiment with other tropical fruits like papaya, passion fruit, or guava. Just be sure to use the same total quantity of fruit (1 cup).
Q: How do I sterilize the bottles?
A: You can sterilize the bottles by boiling them in water for 10 minutes or running them through a hot cycle in the dishwasher. Make sure they are completely dry before filling them with the liqueur.
Q: Can I use a different type of alcohol instead of vodka?
A: While vodka is recommended for its neutral flavor, you can experiment with other clear spirits like white rum or gin. Keep in mind that the flavor of the alcohol will influence the final taste of the liqueur.
Q: What if the sugar doesn’t dissolve completely?
A: If the sugar is taking a long time to dissolve, try gently heating the mixture over low heat, stirring constantly, until the sugar is fully dissolved. Be careful not to overheat the mixture. Let it cool completely before bottling.
Q: How long will the liqueur last?
A: Properly stored in a cool, dark place, the liqueur should last for several years. However, the flavor may gradually mellow over time.
Final Thoughts
Creating your own tropical fruit liqueur is an incredibly rewarding experience. It’s a chance to capture the vibrant flavors of the tropics in a bottle, creating a truly unique and delicious drink. Don’t be afraid to experiment with different fruits and flavor combinations to create your own signature liqueur. Once you’ve mastered this recipe, I encourage you to share it with friends and family, perhaps alongside a homemade batch of tropical salsa and grilled fish. Cheers to a taste of sunshine!