
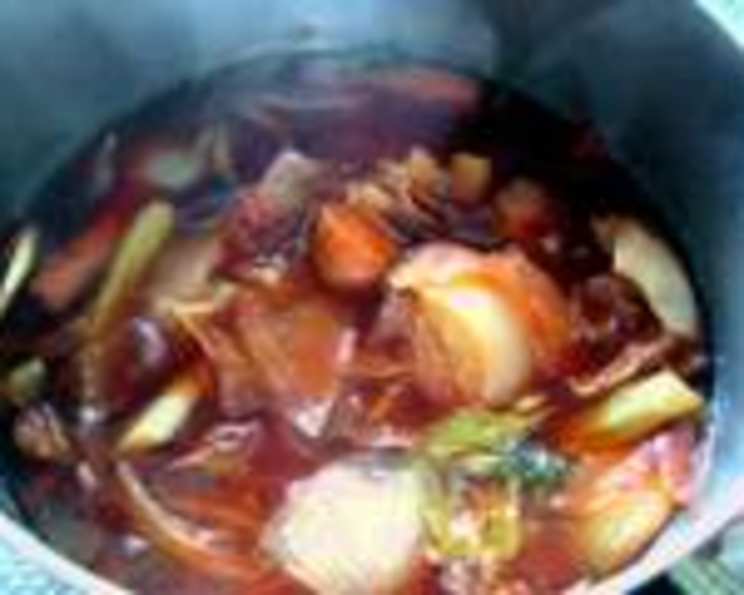
Ultimate Browned Vegetable Stock
The aroma of deeply caramelized vegetables simmering on the stovetop… it’s a scent that instantly transports me back to my grandmother’s kitchen. I remember watching her, mesmerized, as she transformed humble scraps into the most flavorful broths imaginable. She taught me that the secret to a truly exceptional stock lies in coaxing out the natural sweetness of the vegetables through patient browning, a lesson I’ve carried with me throughout my culinary journey. This browned vegetable stock is my attempt to capture that same magic, and I hope it brings a little of that warmth and comfort into your kitchen, too.
Recipe Overview
- Prep Time: 20 minutes
- Cook Time: 1 hour 30 minutes
- Total Time: 1 hour 50 minutes
- Yield: Approximately 4 cups
- Dietary Type: Vegan, Gluten-Free, Dairy-Free
Ingredients
- 3 onions, unpeeled, quartered
- 3 large carrots, unpeeled, halved, stem ends removed
- 8 celery ribs, with leaves, each broken in half
- 3 beets, quartered
- 2 heads garlic, whole heads, papery skin left on, cut in half across the middle to expose each garlic clove
- 3 tablespoons vegetable oil, use a mild flavored one
- 1⁄4 cup tamari soy sauce (low sodium) or 1/4 cup shoyu soy sauce (low sodium)
- 7 cups room temperature water, preferably spring, divided
- 1 -3 cup shiitake mushroom stems (optional)
- 2 bay leaves
- 2 sprigs fresh parsley
- 1 teaspoon peppercorns
Equipment Needed
- 11 x 13-inch baking pan
- Large, heavy soup pot
- Cooking spray
- Spatula
- Strainer
Instructions
-
Preheat your oven to 350°F (175°C). Spray an 11 x 13-inch baking pan generously with cooking spray. This will prevent the vegetables from sticking and ensure proper browning.
-
Place the onions, carrots, celery, beets, and garlic in the prepared baking pan. Drizzle with the vegetable oil and toss to coat the vegetables evenly. This ensures they roast properly and develop a rich flavor.
-
Pour the soy sauce over the vegetables. Toss again to coat. The soy sauce adds umami and depth to the stock, contributing to its complex flavor profile.
-
Bake in the preheated oven until the vegetables are deeply browned, almost burnt-looking, about 1 hour. Don’t be afraid of the browning; this is where the magic happens! The caramelization unlocks the vegetables’ natural sweetness and creates a rich, flavorful base for the stock. Check them halfway through and rotate the pan for even browning.
-
Carefully transfer the deeply browned vegetables to a large, heavy soup pot. A heavy-bottomed pot will help distribute the heat evenly and prevent scorching during simmering.
-
Add 5 cups of the water and the remaining ingredients: shiitake mushroom stems (if using), bay leaves, parsley sprigs, and peppercorns.
-
Pour the remaining 2 cups of water into the now-empty baking pan. Use the blade side of a spatula to scrape up all the wonderful browned, caramelized bits on the bottom of the pan. These are packed with flavor and will add incredible depth to your stock. Deglazing the pan is crucial!
-
Add the scraped-up browned bits and water to the soup pot.
-
Bring the water in the soup pot to a boil over medium-high heat. Once boiling, immediately turn down the heat to low and simmer, partially covered, for 30 minutes. Simmering gently allows the flavors to meld together without becoming bitter.
-
Cool the stock slightly before straining. This makes it easier to handle and prevents burns.
-
Strain the stock through a fine-mesh strainer lined with cheesecloth (if desired) to remove all the solids. Discard the solids.
Expert Tips & Tricks
- Don’t overcrowd the baking pan: If necessary, use two baking pans to ensure the vegetables roast properly and brown evenly. Overcrowding will cause them to steam instead of brown.
- Embrace the browning: The darker the vegetables, the richer the flavor of the stock. Don’t be afraid of a little char; it’s your friend!
- Use high-quality soy sauce: Low-sodium tamari or shoyu soy sauce are recommended to control the saltiness of the stock.
- Add mushroom stems for extra umami: Shiitake mushroom stems add a wonderful depth of flavor to the stock. You can save them from other recipes and freeze them until you’re ready to make stock.
- Adjust the water level: Depending on the size of your pot and the amount of vegetables, you may need to adjust the amount of water to ensure the vegetables are covered during simmering.
- For an even richer stock, roast the garlic first: Cut the top off the garlic heads, drizzle with olive oil, wrap in foil, and roast at 400°F (200°C) for 30-40 minutes, or until soft and caramelized. Squeeze the roasted garlic cloves into the stockpot with the other vegetables.
Serving & Storage Suggestions
This browned vegetable stock is incredibly versatile and can be used as a base for soups, stews, sauces, and risottos. It can also be used to deglaze pans, braise vegetables, or simply sipped as a comforting broth.
- Storage: Allow the stock to cool completely before storing. Store in an airtight container in the refrigerator for up to 5 days.
- Freezing: For longer storage, freeze the stock in freezer-safe containers or ice cube trays for up to 3 months.
- Reheating: Reheat the stock gently in a saucepan over medium heat or in the microwave.
Nutritional Information
| Nutrient | Amount per Serving | % Daily Value |
|---|---|---|
| Calories | 251.7 kcal | N/A |
| Calories from Fat | N/A | 39% |
| Total Fat | 11 g | 16% |
| Saturated Fat | 1.5 g | 7% |
| Cholesterol | 0 mg | 0% |
| Sodium | 1175.5 mg | 48% |
| Total Carbohydrate | 36 g | 11% |
| Dietary Fiber | 7.7 g | 30% |
| Sugars | 11.1 g | N/A |
| Protein | 7.2 g | 14% |
Note: Nutritional information is an estimate and may vary based on specific ingredients and preparation methods.
Variations & Substitutions
- Gluten-Free: Ensure you are using gluten-free tamari soy sauce.
- Herb Variations: Experiment with different herbs, such as thyme, rosemary, or oregano, to create unique flavor profiles.
- Spice Variations: Add a pinch of red pepper flakes for a subtle kick.
- Root Vegetable Variations: Parsnips, turnips, or celeriac can be added to the mix for a different flavor profile.
- Mushroom Boost: Add a variety of dried mushrooms during the simmering process to enhance the umami flavor.
FAQs (Frequently Asked Questions)
Q: Can I use pre-cut vegetables to save time?
A: While you can use pre-cut vegetables, the flavor will be best if you use whole vegetables cut into larger pieces. The larger surface area promotes better browning.
Q: Can I skip the browning step?
A: Technically, yes, but browning is crucial to achieving the rich, complex flavor that sets this stock apart. Skipping it will result in a much less flavorful stock.
Q: Can I add salt to the stock?
A: It’s best to avoid adding salt during the cooking process, as the soy sauce already contributes a significant amount of sodium. You can always adjust the salt to taste when using the stock in your recipes.
Q: How do I know if the stock is done?
A: The stock is done when the vegetables have softened and released their flavor into the water. Simmering for 30 minutes is generally sufficient.
Q: Can I use this stock for chicken noodle soup?
A: Absolutely! While it’s a vegetable stock, its rich flavor complements chicken dishes beautifully. It’s a versatile base for many types of soups.
Final Thoughts
I sincerely hope you’ll give this browned vegetable stock recipe a try. It’s a labor of love, but the results are well worth the effort. Once you taste the difference between this homemade stock and store-bought varieties, you’ll never go back. Don’t hesitate to experiment with different vegetables and herbs to create your own signature blend. And most importantly, share your creations and feedback – I’d love to hear about your culinary adventures! This stock is particularly wonderful as the base for a hearty lentil soup or a delicate vegetable risotto. Bon appétit!