
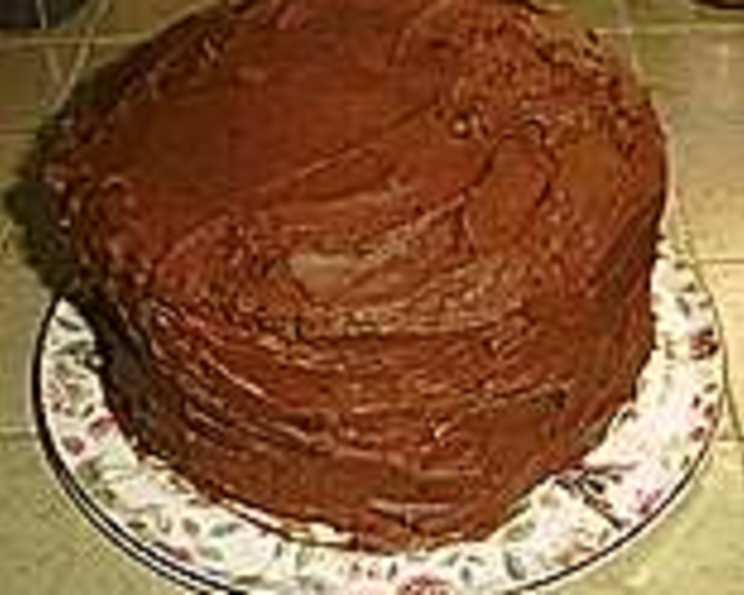
Ultimate Chocolate Cake
The memory is etched in my mind: a towering chocolate behemoth sitting proudly on my grandmother’s kitchen counter. It wasn’t just a cake; it was a symbol of love, celebration, and pure, unadulterated joy. Every forkful was a symphony of rich, decadent flavor, a testament to her unwavering dedication to the perfect chocolate cake. I can still smell the cocoa-infused air and feel the excitement of knowing that each slice was made with a touch of magic.
Recipe Overview
- Prep Time: 45 minutes
- Cook Time: 30 minutes
- Total Time: 1 hour 15 minutes
- Servings: 12
- Yield: One 3-layer cake
- Dietary Type: Not specified
Ingredients
Cake
- 1 cup unsalted butter, softened
- 2 1/2 cups sugar
- 2 cups boiling water
- 1 cup cocoa powder
- 4 eggs
- 1 teaspoon vanilla extract
- 2 3/4 cups all-purpose flour (or cake flour)
- 2 teaspoons baking soda
- 1/2 teaspoon baking powder
- 1/2 teaspoon salt
Filling
- 1 1/2 cups heavy whipping cream
- 1/2 cup confectioners’ sugar
- 2 teaspoons vanilla extract
Frosting
- 4 ounces unsweetened chocolate
- 2 ounces bittersweet chocolate
- 1 cup unsalted butter, softened
- 1/2 cup heavy whipping cream
- 3 1/4 cups confectioners’ sugar
Equipment Needed
- 3 – 9 inch cake pans
- Mixing bowls
- Electric mixer (stand or hand-held)
- Whisk
- Sifter
- Wire rack
- Rubber spatula
Instructions
- Preheat your oven to 350°F (175°C). This is crucial for even baking. Make sure your oven is properly calibrated for the best results.
- Prepare your cake pans: Grease the inside of three 9-inch cake pans thoroughly with shortening or butter. Then, lightly flour the pans, tapping out any excess. This prevents the cake from sticking.
- Prepare the chocolate mixture: In a medium bowl, combine the cocoa powder and boiling water. Stir until the mixture is smooth and the cocoa is completely dissolved. Set aside to cool slightly. This process, known as blooming the cocoa, intensifies the chocolate flavor.
- Sift the dry ingredients: In a separate bowl, sift together the flour, baking soda, baking powder, and salt. Sifting ensures that these ingredients are evenly distributed and prevents clumps, resulting in a lighter, more tender cake.
- Cream butter and sugar: In a large mixing bowl, beat together the softened butter and sugar until light and fluffy. This step is essential for creating a tender crumb. Use an electric mixer for best results, creaming for at least 3-5 minutes.
- Add eggs and vanilla: Beat in the eggs one at a time, followed by the vanilla extract. Make sure each egg is fully incorporated before adding the next.
- Combine wet and dry ingredients: Alternately add the dry ingredients and the chocolate mixture to the butter-sugar mixture, beginning and ending with the dry ingredients. Beat just until blended. Be careful not to overmix the batter; overmixing can lead to a tough cake.
- Bake the cakes: Pour the batter evenly into the prepared cake pans. Bake for approximately 30 minutes, or until a cake tester (toothpick or skewer) inserted into the center comes out clean. Baking times may vary depending on your oven.
- Cool the cakes: Remove the cakes from the oven and let them set in the pans for 3-5 minutes. Then, invert the cakes onto a wire rack to cool completely before frosting. Cooling the cakes completely prevents the frosting from melting.
- Prepare the filling: While the cakes are cooling, prepare the filling. In a mixing bowl, beat together the heavy whipping cream, confectioners’ sugar, and vanilla extract until stiff peaks form. Be careful not to overwhip the cream, or it will turn grainy.
- Prepare the frosting: In a heatproof bowl set over a saucepan of simmering water (or in the microwave in 30-second intervals), melt the unsweetened chocolate and bittersweet chocolate together with the butter. Stir until smooth.
- Add cream: Stir in the heavy whipping cream and mix until the frosting is smooth and glossy.
- Cool the frosting: Remove the pan from the heat and place it in a large bowl filled with ice water. This will help the frosting thicken quickly.
- Beat in confectioners’ sugar: Using an electric mixer or a whisk, beat in the confectioners’ sugar until the frosting holds a stiff shape. Chilling the frosting further will make it easier to work with.
- Assemble the cake: Before assembling, ensure that the cakes, filling, and frosting have cooled completely.
- Layer the filling: Divide the whipped cream filling in two. Spread one portion of the filling evenly over the top of one cake layer. Place another cake layer on top of the filling, and spread with the remaining filling. Top with the final cake layer.
- Frost the cake: Frost the sides and top of the cake with the chocolate icing. Use a spatula or palette knife to create a smooth, even finish.
- Chill: Chill the assembled cake for at least 30 minutes before serving to allow the frosting to set.
Expert Tips & Tricks
- For a deeper chocolate flavor, add a teaspoon of instant espresso powder to the cocoa and boiling water mixture.
- To prevent the cake layers from doming in the center, use baking strips wrapped around the cake pans. These strips help the cakes bake more evenly.
- If the frosting becomes too thick, add a tablespoon of milk or cream at a time until you reach the desired consistency.
- For a more elegant presentation, use a piping bag to create decorative swirls or rosettes on top of the cake.
Serving & Storage Suggestions
Serve the Ultimate Chocolate Cake chilled or at room temperature. For an extra touch of indulgence, serve each slice with a scoop of vanilla ice cream or a dollop of fresh whipped cream.
Store leftover cake in an airtight container in the refrigerator for up to 3 days. You can also freeze the cake for up to 2 months. Wrap individual slices tightly in plastic wrap and then place them in a freezer-safe bag or container. Thaw the cake in the refrigerator before serving.
Nutritional Information
| Nutrient | Amount per Serving | % Daily Value |
|---|---|---|
| Calories | 910.9 kcal | N/A |
| Calories from Fat | 479 g | 53% |
| Total Fat | 53.3 g | 81% |
| Saturated Fat | 32.8 g | 163% |
| Cholesterol | 206.2 mg | 68% |
| Sodium | 370 mg | 15% |
| Total Carbohydrate | 109 g | 36% |
| Dietary Fiber | 4.7 g | 18% |
| Sugars | 79 g | 315% |
| Protein | 8.8 g | 17% |
Note: Nutritional information is an estimate and can vary based on specific ingredients and serving sizes.
Variations & Substitutions
- Gluten-Free: Substitute the all-purpose flour with a gluten-free flour blend. Be sure to choose a blend that contains xanthan gum for structure.
- Dairy-Free: Replace the butter with a dairy-free butter alternative, the heavy whipping cream with coconut cream, and use dairy-free chocolate.
- Mexican Chocolate: Add 1 teaspoon of ground cinnamon and 1/4 teaspoon of cayenne pepper to the dry ingredients for a hint of spice.
- Mocha Cake: Add 2 teaspoons of instant espresso powder to the boiling water when making the cocoa mixture.
FAQs (Frequently Asked Questions)
Q: Can I make the cake layers ahead of time?
A: Yes, you can bake the cake layers a day or two in advance. Wrap them tightly in plastic wrap and store them at room temperature or in the refrigerator.
Q: My frosting is too thin. What can I do?
A: If your frosting is too thin, add more confectioners’ sugar, a tablespoon at a time, until you reach the desired consistency. You can also chill the frosting for 15-20 minutes to help it thicken.
Q: Can I use a different size cake pan?
A: Yes, but keep in mind that the baking time may need to be adjusted. If using smaller pans, the baking time may be shorter; if using larger pans, the baking time may be longer.
Q: Why is my cake dry?
A: Overbaking is the most common cause of dry cake. Be sure to check the cake for doneness using a cake tester and avoid overbaking. You can also try adding a tablespoon of oil or sour cream to the batter for added moisture.
Q: Can I freeze the frosted cake?
A: Yes, you can freeze the frosted cake. Place the cake in the freezer for about an hour to allow the frosting to harden, then wrap it tightly in plastic wrap and foil before freezing.
Final Thoughts
This Ultimate Chocolate Cake isn’t just a recipe; it’s an invitation to create lasting memories. Gather your ingredients, preheat your oven, and prepare to embark on a delightful baking adventure. Whether you’re celebrating a special occasion or simply craving a decadent treat, this cake is sure to impress. Don’t be afraid to experiment with variations and make it your own. And most importantly, savor every delicious bite. Share your creations and experiences with us – happy baking!