
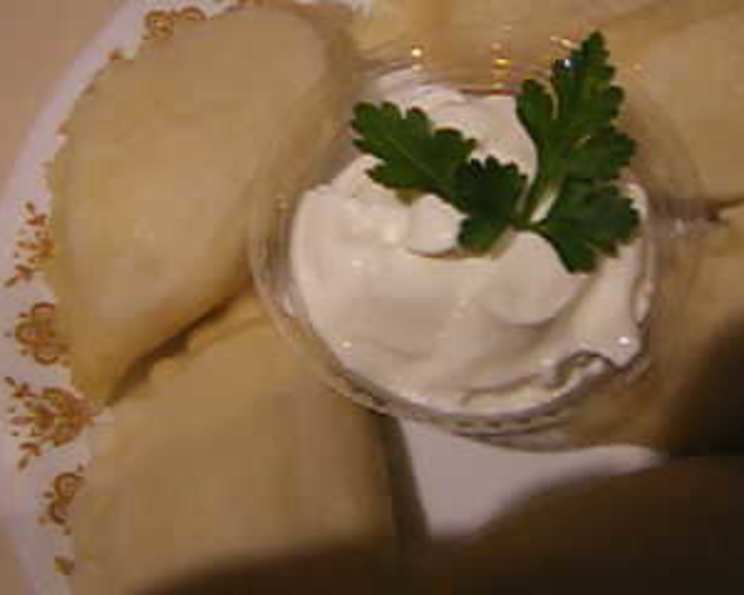
The Perfect Perogie: Mastering Uncle Bill’s Dough
The aroma of simmering potatoes and sautéed onions always transports me back to my grandmother’s kitchen. She spent hours at her wooden table, her hands flour-dusted and nimble, creating mountains of perogies for family gatherings. While her recipe was a closely guarded secret, I’ve spent years chasing that same tender, flavorful dough. It wasn’t until I stumbled upon “Uncle Bill’s” recipe that I finally captured that elusive taste of home – a dough so delicate and forgiving, it practically melts in your mouth.
Recipe Overview
- Prep Time: 45 minutes
- Cook Time: 2-3 minutes per batch
- Total Time: Varies depending on the batch size and speed.
- Servings: 36 (number of perogies)
- Yield: Varies depending on size.
- Dietary Type: Vegetarian
Ingredients
- 3 large eggs
- ¾ cup whole milk, homogenized
- ¼ cup whipping cream
- ¼ cup sour cream (low fat is okay)
- ¾ teaspoon salt
- 1 ½ teaspoons baking powder
- 4 cups all-purpose flour
Equipment Needed
- Large mixing bowl
- Whisk
- Large plastic or wooden spoon
- Lightly floured surface
- Rolling pin (marble is recommended)
- Mini Form (3 1/4″ or 4″ recommended)
- Large cooking pot or pasta pot
- Slotted spoon
- Frying pan (optional)
- Cookie sheet (for freezing)
- Freezer bags or vacuum seal bags (for freezing)
Instructions
-
In a large mixing bowl, combine the eggs, milk, whipping cream, sour cream, and salt. Whisk until everything is thoroughly blended. The goal is to create a homogenous liquid base for your dough.
-
Add the baking powder to the mixture. Blend it in well, ensuring it’s fully incorporated. This step is crucial for achieving a light and tender perogie dough.
-
Begin adding the flour, one cup at a time. For the first two cups, use the whisk to blend the flour into the wet ingredients. This helps to prevent lumps from forming and ensures a smooth consistency.
-
Once you’ve added the third cup of flour, switch from the whisk to a large plastic or wooden spoon. The dough will start to thicken considerably, making it difficult to whisk effectively.
-
Add the fourth cup of flour and continue mixing with the spoon. At this stage, it’s possible that you won’t be able to incorporate all of the flour while it is still in the bowl.
-
Turn the contents of the bowl out onto a lightly floured surface. This provides ample space for kneading and helps prevent the dough from sticking.
-
Knead the dough until it becomes smooth and shiny. This process develops the gluten in the flour, giving the perogies a slightly chewy but tender texture.
-
If the dough is still sticky, gradually add a small amount of flour and continue kneading until it is no longer sticky and does not stick to your hands. Be careful not to add too much flour, as this can make the dough tough.
-
Break the dough into smaller pieces, roughly the size of a golf ball. This makes it easier to work with when rolling out individual perogies.
-
On a lightly floured surface, flatten each dough ball with the palm of your hand to about ½-inch thickness. Then, very lightly coat each side with a bit of flour. This ensures that the dough doesn’t stick to the rolling pin or the surface.
-
Using a heavy rolling pin (a marble rolling pin is recommended), begin to roll out the dough.
-
As you roll, the dough should stick to the rolling pin. When this happens, and the dough is almost entirely wrapped around the rolling pin, carefully peel the dough off. It should come off easily.
-
Place the dough back on the rolling surface, with the side that was against the rolling pin now facing down. Very lightly dust the top surface ONLY with a bit of flour.
-
Start rolling again, moving back and forth and then side to side to maintain a circular shape. The dough should now be sticking to the rolling surface, not the rolling pin.
-
You’ll notice that the dough doesn’t “snap” back to a smaller round. If this happens, simply re-roll the dough.
-
When finished rolling, the dough should be approximately 1/16-inch in thickness. A thin dough ensures tender perogies.
-
Open the Mini Form (3 ¼” or 4″ recommended) and rub the surface with a bit of flour. This will prevent the dough from sticking to the form.
-
Place the rolled dough over the Mini Form, ensuring it extends well beyond the edges of the form.
-
Add about 1 heaping tablespoon of your filling of choice to the center of the dough.
-
Pick up the Mini Form and close it slightly. If needed, gently push the filling down a bit.
-
Fold the Mini Form completely shut and press tightly to seal the edges.
-
While holding the Mini Form closed, remove any excess dough with your thumb or finger. This helps to seal the edges of the dough and creates a clean perogie shape.
-
Use the excess dough to form more dough balls and repeat the process.
-
Open the Mini Form, and the perogie should drop out easily.
-
Set the perogie aside and continue making more until all of the dough is used.
-
Cooking Instructions: In a large cooking pot or pasta pot, fill it ¾ full with water and bring to a boil.
-
Add 1 tablespoon of salt and 2 tablespoons of extra virgin olive oil (or a good vegetable oil) to the boiling water.
-
Gently add about 8 to 10 perogies to the pot. Stir gently with a slotted spoon and bring the water back to a boil.
-
Cook, uncovered, for 2 to 3 minutes, or until the perogies float to the surface. This indicates that they are cooked through.
-
Remove the perogies from the pot with a slotted spoon and transfer them to a bowl.
-
The perogies can be eaten immediately with some butter or margarine, a dollop of sour cream, and a sprinkling of chopped green onions or chives.
-
Optional Frying Instructions: If desired, preheat a frying pan to medium-high heat. Add 3 tablespoons of butter and 1 tablespoon of olive oil or vegetable oil.
-
Add some finely chopped onions to the frying pan and sauté for 2 minutes.
-
Add the boiled perogies to the frying pan, cover, and lightly fry until they are lightly browned on both sides, turning once.
-
Serve immediately with more butter (if desired), a dollop of sour cream, chopped green onions or chives, and even some cooked chopped bacon bits.
-
Freezing Instructions: These perogies freeze well. After boiling the perogies, place them on a cookie sheet (absorb any excess water with paper towels). Place the sheet in the freezer for at least 2 hours, or until the perogies are frozen solid.
-
Transfer the frozen perogies to freezer bags or vacuum seal bags in the quantities that best suit your needs and return them to the freezer. The perogies will last from 6 months to 1 year when frozen.
Expert Tips & Tricks
- Dough Consistency: The key to perfect perogies is achieving the right dough consistency. Don’t be afraid to adjust the amount of flour slightly to get a dough that is smooth, elastic, and not too sticky.
- Rolling Technique: Practice your rolling technique! The thinner you roll the dough, the more tender your perogies will be.
- Filling Temperature: Make sure your filling is cooled before adding it to the perogies. A hot filling can make the dough soggy and difficult to work with.
- Sealing: Proper sealing is essential to prevent the filling from leaking out during cooking. Press the edges of the perogies firmly together, or use a fork to crimp the edges for a decorative and secure seal.
- Don’t Overcrowd the Pot: When boiling the perogies, avoid overcrowding the pot. Cook them in batches to ensure they cook evenly and don’t stick together.
Serving & Storage Suggestions
Perogies are best served hot, straight from the pot or frying pan. They can be served as a main course or a side dish. Leftover perogies can be stored in the refrigerator for up to 3 days. To reheat, pan-fry them with a little butter or oil, or microwave them until heated through. Frozen perogies can be cooked directly from frozen. Simply add them to boiling water and cook until they float to the surface.
Nutritional Information
| Nutrient | Amount per Serving | % Daily Value |
|---|---|---|
| Calories | 69 kcal | N/A |
| Calories from Fat | N/A | 22% |
| Total Fat | 1.7 g | 2% |
| Saturated Fat | 0.8 g | 4% |
| Cholesterol | 21.1 mg | 7% |
| Sodium | 73.2 mg | 3% |
| Total Carbohydrate | 11 g | 3% |
| Dietary Fiber | 0.4 g | 1% |
| Sugars | 0.3 g | 1% |
| Protein | 2.2 g | 4% |
Variations & Substitutions
- Gluten-Free: Substitute all-purpose flour with a gluten-free blend. You may need to add a binder like xanthan gum to improve the dough’s texture.
- Vegan: Replace the eggs with applesauce or flax eggs (1 tablespoon of flaxseed meal mixed with 3 tablespoons of water). Substitute the milk and cream with plant-based alternatives like almond milk or soy cream.
- Savory Fillings: Experiment with different savory fillings like sauerkraut and mushrooms, spinach and feta, or ground meat and onions.
- Sweet Fillings: For a dessert twist, try sweet fillings like fruit preserves, sweetened cheese, or chocolate hazelnut spread.
FAQs (Frequently Asked Questions)
Q: Can I make the dough ahead of time?
A: Yes, you can make the dough ahead of time. Wrap it tightly in plastic wrap and store it in the refrigerator for up to 24 hours. Let it come to room temperature before rolling it out.
Q: What is the best filling for perogies?
A: The most traditional filling is a mixture of mashed potatoes and cheese, but you can use any filling you like. Common choices include sauerkraut, mushrooms, meat, or even fruit.
Q: How do I prevent the perogies from sticking together when boiling?
A: Add enough salt and oil to the boiling water and stir gently as the perogies cook. Don’t overcrowd the pot, and remove the perogies as soon as they float to the surface.
Q: Can I bake the perogies instead of boiling them?
A: While traditionally boiled, you can bake perogies for a different texture. Brush them with melted butter or oil and bake in a preheated oven at 375°F (190°C) for about 20-25 minutes, or until golden brown.
Q: How do I know when the perogies are cooked through?
A: The perogies are cooked through when they float to the surface of the boiling water. At that point, cook for another minute or two to ensure the dough is fully cooked.
Final Thoughts
Don’t be intimidated by the process – making perogies is a labor of love, but the results are well worth the effort. With Uncle Bill’s dough recipe as your foundation, you’re well on your way to creating these delectable dumplings that bring warmth and comfort to any table. Gather your family, put on some music, and enjoy the process of creating something truly special. Share your creations and variations with friends and family, and most importantly, savor every delicious bite!