
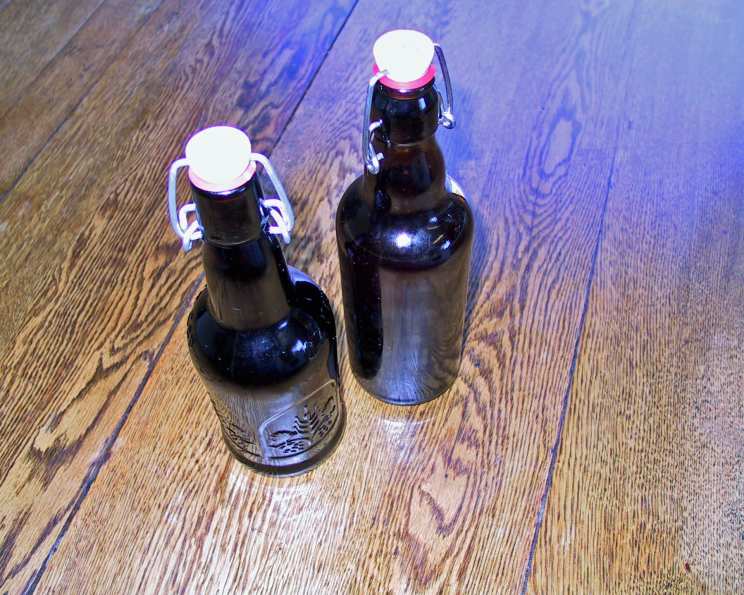
Homemade Vanilla Extract: A Flavorful Journey
The scent of vanilla is one of my earliest culinary memories. I remember standing on a stool next to my grandmother, watching her bake her famous chocolate chip cookies. The small, brown bottle of vanilla extract was a key ingredient, and the aroma that filled the kitchen as she added it was pure magic. It wasn’t just a flavor; it was a promise of warmth, comfort, and something delicious to come. Now, I carry on that tradition, but with my own homemade vanilla extract, a process that feels almost as special as those childhood baking sessions.
Recipe Overview
- Prep Time: 5 minutes
- Steep Time: 2 weeks
- Total Time: 2 weeks, 5 minutes
- Yields: Approximately 1/2 cup
- Dietary Type: Vegan, Gluten-Free, Dairy-Free
Ingredients
- 1/2 cup vodka (80 proof or higher)
- 4 vanilla beans
Equipment Needed
- Sterilized glass container with a tight-fitting lid
- Knife or cutting board (optional)
Instructions
- Begin by preparing your sterilized glass container. This is important to ensure no unwanted bacteria interfere with the flavor of your vanilla extract. You can sterilize a glass jar by boiling it in water for 10 minutes. Let it cool completely before use.
- Carefully pour the vodka into the sterilized glass container. Ensure you are using a good quality vodka; the flavor of the alcohol will subtly impact the final taste of the extract. While you don’t need top-shelf vodka, avoid the cheapest varieties.
- Now, prepare the vanilla beans. Using a sharp knife and cutting board, you can split the vanilla beans lengthwise. This helps to expose more of the flavorful interior to the vodka. Alternatively, you can simply chop the beans into smaller pieces. Either method works, so choose whichever you prefer.
- Drop the prepared vanilla beans into the vodka-filled container. Make sure the beans are fully submerged in the vodka.
- Cover the container with a tight-fitting lid. This prevents evaporation and ensures the flavors meld properly.
- Let the mixture sit on a shelf in a cool, dark place for at least 2 weeks. The longer it sits, the stronger the vanilla flavor will become.
- Shake the container every other day. This helps to distribute the vanilla bean oils and ensures a consistent flavor throughout the extract.
- After two weeks (or longer, depending on your desired strength), the vanilla extract is ready to use. Use a tad bit less than you would with regular, store-bought vanilla extract, as the homemade version is typically more potent.
- When you are getting low on extract, you can simply add more vodka to the container, as long as the vanilla beans still smell good. This allows you to continue using the same beans for multiple batches of extract.
Expert Tips & Tricks
- Bean Quality Matters: The quality of your vanilla beans directly affects the flavor of your extract. Use plump, moist, and fragrant beans for the best results. Madagascar Bourbon beans are a classic choice, but Tahitian and Mexican vanilla beans also offer unique flavor profiles.
- Patience is Key: While 2 weeks is the minimum steeping time, allowing your extract to steep for 2-3 months will result in a significantly richer and more complex flavor.
- Infusion Variations: Experiment with different types of alcohol. Bourbon, rum, or brandy can add interesting nuances to your vanilla extract. Just be sure to use an alcohol with at least 40% alcohol content (80 proof).
- “Vanilla Paste”: After making several batches, you will have vanilla beans that have given off much of their flavor. Remove the beans and let them dry completely. Grind them in a spice grinder for use as a “vanilla paste” or additive in dry baking mixes.
- Troubleshooting Cloudy Extract: If your extract appears cloudy, don’t worry! This is perfectly normal and doesn’t affect the flavor. It’s simply due to the oils from the vanilla beans.
Serving & Storage Suggestions
Your homemade vanilla extract can be used in any recipe that calls for vanilla extract, from baked goods like cookies, cakes, and brownies to desserts like ice cream, puddings, and custards. It’s also delicious in beverages like coffee, smoothies, and cocktails.
Store your vanilla extract in a cool, dark place in an airtight container. It will last indefinitely, although the flavor may mellow slightly over time. There is no need to refrigerate. As long as the beans are submerged in the alcohol, it will remain shelf-stable.
Nutritional Information
Nutritional information is an estimate and will vary depending on the specific ingredients used.
| Nutrient | Amount per Serving | % Daily Value |
|---|---|---|
| Calories | 17 kcal | 1% |
| Total Fat | 0 g | 0% |
| Saturated Fat | 0 g | 0% |
| Cholesterol | 0 mg | 0% |
| Sodium | 0 mg | 0% |
| Total Carbohydrate | 0 g | 0% |
| Dietary Fiber | 0 g | 0% |
| Sugars | 0 g | 0% |
| Protein | 0 g | 0% |
Variations & Substitutions
- Different Vanilla Beans: As mentioned before, try different types of vanilla beans for unique flavor profiles.
- Bourbon Vanilla Extract: Substitute the vodka with bourbon for a richer, more complex flavor.
- Spiced Vanilla Extract: Add a cinnamon stick, a few cloves, or a piece of orange peel to the jar for a warm, spiced flavor. Remove these additions after a week or two to prevent the flavors from becoming too overpowering.
- Citrus Vanilla Extract: Add the zest of an orange, lemon, or lime to the jar for a bright, citrusy twist.
FAQs (Frequently Asked Questions)
Q: Can I use cheap vodka for vanilla extract?
A: While you don’t need top-shelf vodka, avoid the cheapest varieties. The flavor of the vodka will subtly affect the final taste of the extract, so choose a decent quality option.
Q: How long does homemade vanilla extract last?
A: Homemade vanilla extract lasts indefinitely when stored properly in a cool, dark place in an airtight container. The flavor may mellow slightly over time.
Q: Can I reuse the vanilla beans after making extract?
A: Yes, you can add more vodka to the jar when the extract is getting low, as long as the beans still smell good. You can also dry the spent beans and grind them into vanilla powder for use in baking.
Q: My vanilla extract looks cloudy. Is that normal?
A: Yes, it’s perfectly normal for homemade vanilla extract to look cloudy. This is due to the oils from the vanilla beans and doesn’t affect the flavor.
Q: What are the best vanilla beans to use?
A: Madagascar Bourbon vanilla beans are a classic choice, but Tahitian and Mexican vanilla beans also offer unique flavor profiles. Choose plump, moist, and fragrant beans for the best results.
Final Thoughts
Creating your own vanilla extract is surprisingly easy and incredibly rewarding. The flavor is far superior to anything you can buy in the store, and it makes a wonderful gift for fellow bakers and food lovers. So, gather your ingredients, embrace the process, and prepare to elevate your baking with the exquisite taste of homemade vanilla extract. Share your creations with friends and family, and let the aroma of vanilla fill your kitchen with warmth and joy.