
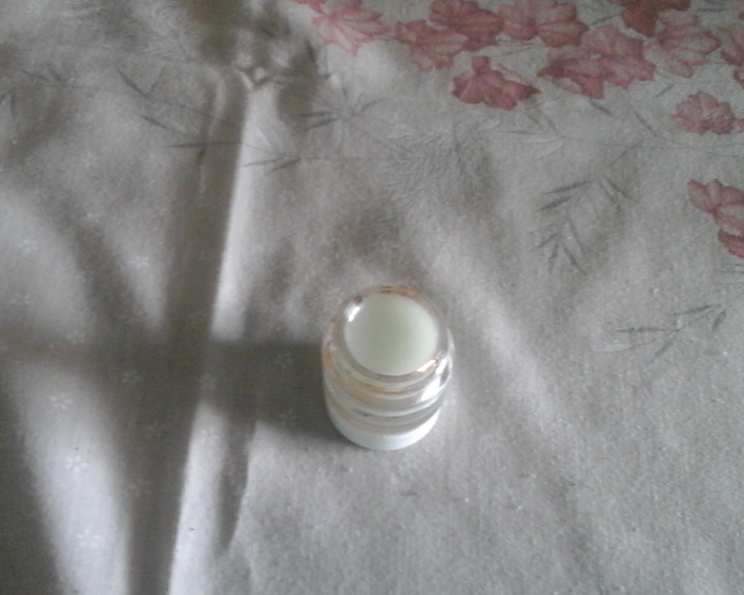
Vanilla Lip Gloss: A Chef’s Secret for Luscious Lips
I remember being a young culinary student, endlessly experimenting with flavor combinations, not just for dishes, but for everything! One particularly memorable afternoon, while trying to infuse vanilla into a simple sugar scrub, I got the crazy idea to create a lip gloss. The result wasn’t exactly edible, but it was surprisingly moisturizing and smelled divine. Years later, I’ve refined that initial spark into this wonderfully simple Vanilla Lip Gloss recipe – a little touch of gourmet for your everyday life.
Recipe Overview
- Prep Time: 5 minutes
- Cook Time: No cook time
- Total Time: 5 minutes
- Servings: Varies
- Yield: About 1 small container
- Dietary Type: Vegetarian (check ingredient labels for vegan suitability)
Ingredients
- 1 tablespoon petroleum jelly
- 1 tablespoon aloe vera gel
- 1 ½ teaspoons coconut oil
- ½ teaspoon vanilla extract (use pure vanilla extract for the best flavor and scent)
Equipment Needed
- Small double boiler or heat-safe bowl and saucepan
- Small jars or lip gloss containers
- Spoon or spatula
Instructions
- Prepare your double boiler: If you don’t have a double boiler, create one by placing a heat-safe bowl over a saucepan filled with about an inch or two of water. Make sure the bottom of the bowl doesn’t touch the water.
- Combine ingredients: Add the petroleum jelly, aloe vera gel, and coconut oil to the double boiler or heat-safe bowl.
- Gently heat: Turn the heat on the stove to medium-low. Allow the ingredients to melt together slowly, stirring occasionally with a spoon or spatula. The goal is to gently melt the ingredients and combine them into a homogenous mixture. Don’t overheat the mixture.
- Incorporate vanilla: Once the mixture is completely melted and smooth, remove it from the heat. Stir in the vanilla extract.
- Pour into containers: Carefully pour the warm lip gloss into your chosen jars or lip gloss containers.
- Cool and seal: Allow the lip gloss to cool completely at room temperature. As it cools, it will solidify slightly. Once cooled, seal the containers tightly.
Expert Tips & Tricks
- Adjust consistency: If you prefer a firmer lip gloss, use slightly more petroleum jelly or coconut oil. For a softer gloss, add a bit more aloe vera gel.
- Infuse the coconut oil: For a deeper vanilla flavor, gently heat the coconut oil with a vanilla bean (split lengthwise) in a saucepan over low heat for about 30 minutes before starting the recipe. Remove the vanilla bean before using the infused oil.
- Avoid overheating: Overheating the mixture can cause the petroleum jelly to separate or become grainy. Heat it gently and slowly for the best results.
- Add shimmer: For a touch of sparkle, add a tiny pinch of cosmetic-grade mica powder to the melted mixture before pouring it into the containers.
- Sanitize your equipment: Ensure your containers and utensils are thoroughly cleaned and sanitized before use to prevent bacterial growth. You can sterilize them by boiling them in water for a few minutes.
- Troubleshooting: If your lip gloss separates after cooling, try gently reheating it in the double boiler and stirring it thoroughly before pouring it back into the containers.
Serving & Storage Suggestions
This Vanilla Lip Gloss is perfect for everyday use. Apply a small amount to your lips as needed to moisturize and protect them.
Store the lip gloss in a cool, dry place away from direct sunlight. It should last for several months. If you notice any changes in smell or texture, discard it. Proper storage is important since this is a homemade product. Ideally, use within 2-3 months for best quality and safety.
Nutritional Information
Since this lip gloss is not intended for consumption, a detailed nutritional breakdown is not relevant. However, it’s important to be aware of the ingredients and potential allergens, especially if you have sensitive skin.
| Nutrient | Amount (Estimated) |
|---|---|
| Calories (per application – trace amount) | Negligible |
| Fat | Trace |
| Sugar | Trace |
Variations & Substitutions
- Peppermint Lip Gloss: Add a drop or two of peppermint essential oil instead of vanilla extract.
- Honey Lip Gloss: Substitute a teaspoon of honey for a portion of the aloe vera gel for added moisture and sweetness. Be mindful that honey isn’t vegan.
- Tinted Lip Gloss: Add a tiny amount of lipstick shavings to the melted mixture for a subtle tint. Choose a natural or organic lipstick for the best results.
- Vitamin E boost: Add a capsule of vitamin E oil to further nourish the lips.
- Different Oils: Instead of coconut oil, experiment with other moisturizing oils like jojoba oil, almond oil, or avocado oil.
FAQs (Frequently Asked Questions)
Q: Is this lip gloss edible?
A: While the ingredients are generally considered safe for skin application, this lip gloss is not intended for consumption.
Q: How long does this lip gloss last?
A: When stored properly in a cool, dry place, this lip gloss should last for several months. Watch for changes in smell or texture, which indicate spoilage.
Q: Can I use a different type of vanilla extract?
A: Pure vanilla extract is recommended for the best flavor and scent. Vanilla essence may contain artificial ingredients.
Q: What if I don’t have aloe vera gel?
A: While aloe vera gel adds a soothing and moisturizing element, you can substitute it with more coconut oil or petroleum jelly, though the texture might change slightly.
Q: Can I use this lip gloss on children?
A: It’s always best to consult with a pediatrician or dermatologist before using homemade products on children, especially if they have sensitive skin or allergies.
Final Thoughts
Creating your own Vanilla Lip Gloss is a wonderfully simple and rewarding experience. It’s a chance to customize a beauty product to your exact liking, using natural ingredients and avoiding harsh chemicals. Experiment with different flavorings, tints, and textures to create your perfect lip gloss. Share your creations with friends and family, and enjoy the satisfaction of knowing you crafted something special and unique! Don’t be afraid to adjust this recipe to suit your preferences. The beauty of DIY is in the personalization!