
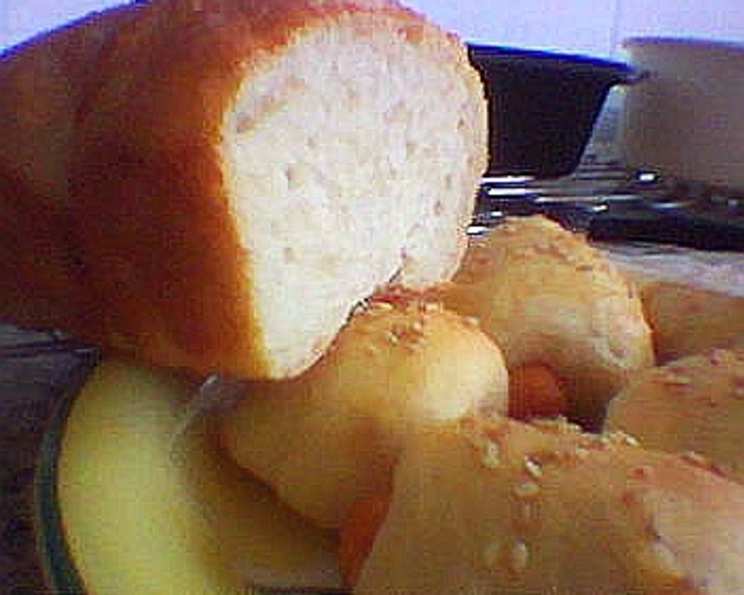
Victorian Milk Bread: A Taste of Nostalgia
The scent alone transports me back. I remember visiting my grandmother’s house as a child, the air thick with the sweet, comforting aroma of baking bread. She always made it from scratch, and her milk bread, in particular, was a revelation. Its tender crumb, slightly sweet flavor, and golden crust were unlike anything I’d ever tasted, a simple yet unforgettable pleasure that whispered of home and hearth.
Recipe Overview
- Prep Time: 2 hours 30 minutes (includes rising time)
- Cook Time: 45 minutes
- Total Time: 3 hours 15 minutes
- Yields: 1 loaf
- Dietary Type: Not suitable for vegans
Ingredients
- 2 teaspoons active dry yeast
- 1 teaspoon sugar
- 300 ml tepid milk
- 500 g bread flour
- 1 1⁄2 teaspoons salt
- 1 large egg
- 1 tablespoon milk
Equipment Needed
- Mixing bowls
- Measuring cups and spoons
- Wooden spoon
- Clean work surface
- Plastic wrap or tea towel
- 1 lb loaf pan
- Wire rack
Instructions
- In a bowl, sprinkle the active dry yeast and sugar into 100 ml of tepid milk.
- Let it sit for 5 minutes, then stir to dissolve the yeast and sugar completely.
- Stir in another 100 ml of milk. The mixture will be slightly foamy, indicating the yeast is active.
- In a separate, large bowl, mix 400 g of the bread flour with the salt. Ensure the salt is evenly distributed throughout the flour.
- Make a well in the center of the flour mixture and pour in the yeasted milk.
- Mix the ingredients with a wooden spoon, gradually incorporating the flour into the milk mixture.
- Stir in the remaining 100 ml of milk to form a sticky dough. This is a crucial step, so don’t rush it!
- If the dough is too sticky to handle, gradually mix in the remaining flour, one tablespoon at a time, until a knead-able dough forms. Be careful not to add too much flour, as this can result in a dry loaf.
- Turn the dough out onto a lightly floured surface.
- Knead the dough until it becomes smooth and elastic. This should take about 10 minutes. The dough should feel soft and pliable, almost like a baby’s bottom. Use the remaining flour (or more, if needed) sparingly to prevent sticking.
- Put the dough in a lightly greased bowl, ensuring all sides of the dough are coated with a thin layer of oil. This prevents the dough from drying out as it rises.
- Turn the dough to coat it with oil.
- Cover the bowl with plastic wrap or a clean tea towel.
- Leave the dough to rise in a warm place for approximately 45 minutes, or until it has almost doubled in size.
- After the first rise, knock back the dough to release the trapped air. Gently punch down the dough in the center.
- Cover the dough again and let it rise a second time until doubled, about 45 minutes. This second rise contributes to the bread’s light and airy texture.
- Grease a 1 lb loaf pan thoroughly with butter or cooking spray.
- Shape the dough to fit in the prepared loaf pan.
- Cover the shaped dough and let it prove until the dough is approximately 1 inch above the top of the pan. This final proofing will take about 1 hour. This is a very important step in the process to ensure the dough rises properly.
- While the dough is proving, preheat your oven to 400°F/200°C (200 degrees Celsius).
- Make an egg glaze by lightly beating the egg with 1 tablespoon of milk.
- Brush the top of the loaf gently with the egg glaze. Be careful not to deflate the dough.
- Bake in the preheated oven for 45 minutes, or until the loaf is golden brown and sounds hollow when tapped underneath.
- Turn the baked loaf out onto a wire rack and let it cool completely before slicing and serving. Cooling completely is essential to prevent a gummy texture.
Expert Tips & Tricks
- Temperature is key: Ensure your milk is tepid, not hot, as hot milk can kill the yeast.
- Kneading is essential: Don’t skimp on the kneading time. A well-kneaded dough develops the gluten, resulting in a light and airy loaf.
- Proofing patience: Allow the dough to fully proof. A properly proofed dough will result in a well-risen loaf.
- Egg wash alternative: For a richer color and shine, use a double egg wash. Let the first layer dry slightly before applying the second.
- Oven consistency: Ovens vary. Keep an eye on your loaf and adjust the baking time as needed to prevent burning. If the top is browning too quickly, tent it with foil.
Serving & Storage Suggestions
Victorian milk bread is delicious served warm with butter and jam. It also makes excellent toast or sandwiches.
To store: Let the loaf cool completely before wrapping it tightly in plastic wrap or placing it in an airtight container. It will keep at room temperature for 2-3 days. For longer storage, freeze the loaf whole or sliced. To reheat frozen bread, thaw it at room temperature or in the microwave, then toast or bake briefly to refresh the crust.
Nutritional Information
| Nutrient | Amount per Serving | % Daily Value |
|---|---|---|
| Calories | 259 kcal | 13% |
| Total Fat | 4.3g | 6% |
| Saturated Fat | 1.2g | 6% |
| Cholesterol | 31mg | 10% |
| Sodium | 723mg | 30% |
| Carbohydrate | 47g | 16% |
| Fiber | 2g | 8% |
| Sugar | 1g | 1% |
| Protein | 8g | 16% |
Nutritional information is an estimate and may vary based on specific ingredients and portion sizes.
Variations & Substitutions
- Enriched Flavor: Add 1/4 cup of melted butter to the dough for a richer, more tender crumb.
- Sweetness Boost: Increase the sugar to 2 tablespoons for a sweeter loaf.
- Whole Wheat Variation: Substitute up to half of the bread flour with whole wheat flour for a nuttier flavor and added fiber.
- Herb Infusion: Add 1-2 tablespoons of chopped fresh herbs, such as rosemary or thyme, to the dough for a savory twist.
- Seed Topping: Sprinkle the top of the loaf with sesame seeds, poppy seeds, or sunflower seeds before baking for added texture and flavor.
- Dairy-Free: While this is “milk bread”, using non-dairy milk like almond or oat milk will work in a pinch, but expect a slightly different texture and flavor.
FAQs (Frequently Asked Questions)
Q: Why is my milk bread dense and not fluffy?
A: This could be due to several factors, including not using enough yeast, not kneading the dough sufficiently, or not allowing it to rise properly in a warm enough environment.
Q: Can I use instant yeast instead of active dry yeast?
A: Yes, you can. Use the same amount, but you don’t need to proof it in milk first. Just add it directly to the dry ingredients.
Q: How do I know when the dough is kneaded enough?
A: The dough should be smooth and elastic, and it should spring back when you poke it. It should also pass the “windowpane test” – you should be able to stretch a small piece of dough thin enough to see light through it without tearing.
Q: Can I freeze milk bread dough after the first rise?
A: Yes, you can. Punch down the dough, wrap it tightly in plastic wrap, and freeze it. When ready to use, thaw it in the refrigerator overnight and then proceed with the second rise and baking.
Q: My loaf is browning too quickly. What should I do?
A: Tent the loaf with aluminum foil to prevent the top from burning while allowing the inside to continue baking.
Final Thoughts
This Victorian Milk Bread recipe is more than just a set of instructions; it’s a journey back in time. Its simple elegance and comforting flavor evoke a sense of nostalgia and warmth that is hard to resist. I encourage you to try your hand at baking this classic bread and experience the joy of creating something truly special. Share your creations, experiment with variations, and most importantly, savor the delicious results. Happy baking!