
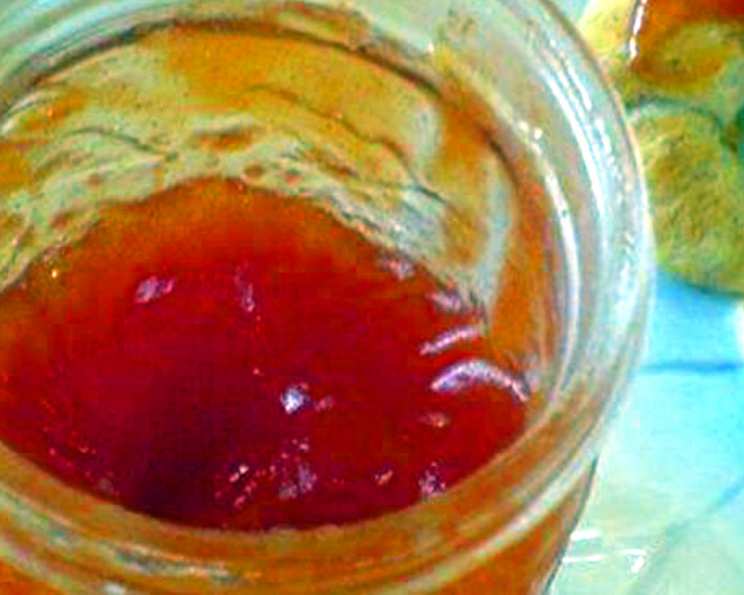
Watermelon Jelly: A Taste of Summer Preserved
The scent of watermelon always takes me back to my grandmother’s porch. We’d sit for hours shelling peas, the sticky juice of watermelon running down our chins. She’d always say, “Waste not, want not,” and that applied to everything, even the sweetest part of the rind. I never understood what she was doing when she was taking the watermelon rinds and making jelly out of them. But the sweet, delicate jelly with the hint of summer has always been a fond memory. This recipe for watermelon jelly isn’t quite that recipe, but it promises to capture that same summery sweetness in a jar, ready to brighten a winter morning.
Recipe Overview
- Prep Time: 20 minutes
- Cook Time: 25 minutes
- Total Time: 45 minutes
- Yield: Varies depending on jar size (approximately 4-6 half-pint jars)
- Dietary Type: Vegan, Gluten-Free, Dairy-Free
Ingredients
- 4 cups bite-size chunks watermelon, seeds removed
- 3 ½ cups sugar
- 2 tablespoons lemon juice
- 3 ounces liquid fruit pectin
Equipment Needed
- Blender
- Large kettle or stockpot
- Canning jars with lids and rings
- Jar lifter
- Boiling water bath canner
- Kitchen towels
- Ladle
Instructions
-
Begin by preparing your watermelon. Carefully remove all seeds and cut the watermelon into bite-sized chunks. This will help your blender work more efficiently.
-
In a blender, process the watermelon chunks for about one minute on medium speed, or until completely liquefied. You should have approximately 4 cups of watermelon puree.
-
Pour the watermelon puree into a large kettle or stockpot. Add the sugar and lemon juice. Stir to combine.
-
Bring the mixture to a full rolling boil over high heat. A full rolling boil is defined as a boil that cannot be stirred down. Stir constantly to prevent scorching.
-
Once the mixture reaches a rolling boil, stir in the liquid fruit pectin. Be sure to add all of the pectin at once to ensure proper gelling.
-
Return the mixture to a full rolling boil and boil hard for fifteen minutes, stirring constantly. Monitor the mixture closely, as it can foam up and splatter. If you are using a thermometer, the mixture should reach approximately 220°F (104°C).
-
Remove the kettle from the heat. Carefully skim off any foam that has formed on the surface of the jelly using a spoon or ladle. This will result in a clearer, more attractive jelly.
-
Ladle the hot jelly into clean, hot canning jars, leaving ¼-inch headspace at the top. Headspace is the space between the top of the jelly and the lid of the jar.
-
Wipe the rims of the jars with a clean, damp cloth to remove any drips or spills. This ensures a good seal.
-
Place the lids on the jars and screw on the bands finger-tight. Finger-tight means tightening the bands until you feel resistance, but not over-tightening them.
-
Process the filled jars in a boiling water bath canner for ten minutes. Ensure the jars are completely submerged in boiling water, with at least 1 inch of water covering the tops of the jars. Start timing when the water returns to a boil.
-
After ten minutes of processing, turn off the heat and carefully remove the jars from the canner using a jar lifter. Place them on a protected surface, such as a towel-lined countertop or cutting board, to cool undisturbed for 12-24 hours.
-
As the jars cool, you should hear a popping sound as the lids seal. This indicates that a vacuum has formed inside the jar, preserving the jelly.
-
After the jars have cooled completely, check the seals by pressing down on the center of each lid. If the lid doesn’t flex or pop, the jar is properly sealed. If a lid flexes, it is not sealed and should be refrigerated and used within a few weeks.
Expert Tips & Tricks
- Pectin is Key: The type and amount of pectin used is crucial for proper gelling. Make sure to use liquid fruit pectin specifically for this recipe.
- Temperature Matters: Using a candy thermometer can help ensure you reach the correct temperature for setting the jelly. Aim for 220°F (104°C).
- Don’t Overcook: Boiling for longer than the specified time can result in a tough, rubbery jelly.
- Sterilize Jars: Ensure your canning jars and lids are sterilized before filling them. You can sterilize them by boiling them in water for 10 minutes or running them through a dishwasher cycle.
- Troubleshooting: If your jelly doesn’t set, it may be due to insufficient pectin or undercooking. You can try re-cooking the jelly with additional pectin, but results may vary.
- Flavor Boost: Add a pinch of ginger or a sprig of mint during the boiling process for a more complex flavor. Remove before pouring into jars.
Serving & Storage Suggestions
Watermelon jelly is delicious spread on toast, biscuits, or scones. It can also be used as a glaze for grilled meats or as a filling for pastries.
Properly sealed jars of watermelon jelly can be stored in a cool, dark place for up to one year. Once opened, refrigerate the jelly and use it within a few weeks. Unsealed jars should also be refrigerated and consumed within a few weeks. Freezing is not recommended, as it can affect the texture of the jelly.
Nutritional Information
(Estimated per tablespoon serving)
| Nutrient | Amount per Serving | % Daily Value |
|---|---|---|
| Calories | 50 kcal | 3% |
| Total Fat | 0g | 0% |
| Saturated Fat | 0g | 0% |
| Cholesterol | 0mg | 0% |
| Sodium | 0mg | 0% |
| Total Carbohydrate | 13g | 5% |
| Dietary Fiber | 0g | 0% |
| Sugars | 13g | N/A |
| Protein | 0g | 0% |
Variations & Substitutions
- Spicy Watermelon Jelly: Add a pinch of red pepper flakes or a small, finely minced jalapeño pepper to the mixture while boiling for a sweet and spicy kick.
- Watermelon-Lime Jelly: Substitute lime juice for the lemon juice for a tangier flavor.
- Herbed Watermelon Jelly: Infuse the jelly with fresh herbs like basil or rosemary during the boiling process. Remove the herbs before pouring into jars.
- Watermelon-Mint Jelly: Add a handful of fresh mint leaves during the last few minutes of boiling. Remove before pouring into jars.
- Reduced Sugar Jelly: Use a sugar substitute that is suitable for canning to reduce the sugar content. However, keep in mind that this may affect the texture and gelling of the jelly.
FAQs (Frequently Asked Questions)
Q: Why is my watermelon jelly not setting?
A: Several factors can prevent jelly from setting, including insufficient pectin, incorrect sugar-to-fruit ratio, undercooking, or improper pH balance. Make sure you are using the correct type of pectin, measuring ingredients accurately, and boiling the mixture to the proper temperature.
Q: Can I use frozen watermelon for this recipe?
A: Yes, you can use frozen watermelon. Thaw it completely before blending and measure the puree to ensure you have the correct amount.
Q: How do I know if my canning jars are properly sealed?
A: After the jars have cooled completely, press down on the center of each lid. If the lid doesn’t flex or pop, it’s properly sealed. You should also hear a popping sound as the jars cool.
Q: Can I double or triple this recipe?
A: It’s generally not recommended to double or triple canning recipes, as it can affect the cooking time and gelling process. It’s better to make multiple smaller batches.
Q: What can I do with watermelon jelly besides spreading it on toast?
A: Watermelon jelly can be used as a glaze for grilled meats, a filling for pastries, or as a unique addition to cheese boards.
Final Thoughts
Watermelon jelly is a delightful way to savor the taste of summer all year round. It’s easier than you might think to transform those juicy chunks of watermelon into a glistening, flavorful preserve. Don’t be intimidated by the canning process; with a little patience and attention to detail, you’ll be rewarded with jars of sunshine to brighten even the dreariest of days. Try this recipe and share your creations with friends and family. I can’t wait to hear how your watermelon jelly turns out!