
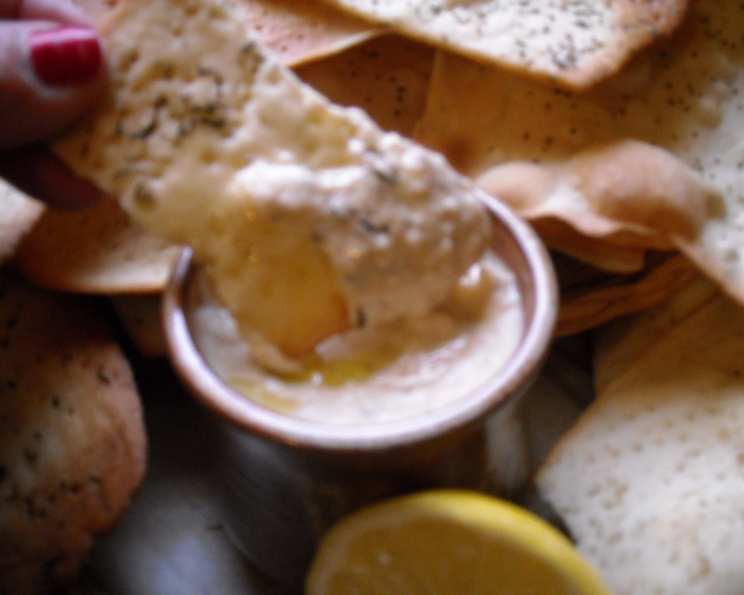
Creamy White Bean Dip with Homemade Pita Chips: An Italian-Inspired Delight
The first time I tasted white bean dip, it was at a small, bustling trattoria tucked away on a side street in Florence. The aroma of garlic, herbs, and warm bread filled the air. It was served with grilled vegetables and crusty bread. The simplicity of the ingredients, the vibrant flavors, and the palpable sense of Italian hospitality left a lasting impression. I’ve been chasing that perfect bite ever since, and this recipe, inspired by classic Italian flavors, comes incredibly close.
Recipe Overview
- Prep Time: 15 minutes
- Cook Time: 16 minutes
- Total Time: 31 minutes
- Servings: 6
- Dietary Type: Vegetarian
Ingredients
- 4 pita breads, split horizontally in half
- 2 tablespoons olive oil (for pita chips)
- 1/3 cup olive oil (for dip)
- 1 teaspoon dried oregano
- 1 1/2 teaspoons salt, plus more to taste
- 1 1/4 teaspoons fresh ground black pepper, plus more to taste
- 15 ounces cannellini beans, drained and rinsed
- 1/4 cup fresh flat leaf parsley
- 2 tablespoons fresh lemon juice (from about 1/2 a lemon)
- 1 garlic clove
Equipment Needed
- Large baking sheet
- Pastry brush or spoon
- Food processor
Instructions
- Preheat your oven to 400 degrees Fahrenheit. This temperature ensures the pita chips become perfectly crisp without burning.
- Cut each pita half into 8 wedges. This is easily done with a sharp knife or pizza cutter.
- Arrange the pita wedges in a single layer over a large baking sheet. Overcrowding the pan will result in steaming, not crisping, so use two baking sheets if necessary.
- Brush the pita wedges with the 2 tablespoons of olive oil. Ensure each wedge is lightly coated for even browning. You can use a pastry brush or simply drizzle the oil and spread it with the back of a spoon.
- Sprinkle the pita wedges evenly with the 1 teaspoon of dried oregano, 1 teaspoon of salt, and 1 teaspoon of fresh ground black pepper.
- Bake for 8 minutes, then carefully turn the wedges over using tongs or a spatula. This ensures both sides get equally crispy.
- Continue baking until the pita chips are crisp and golden brown, about 8 minutes longer. Keep a close eye on them as ovens can vary, and you don’t want them to burn.
- While the pita chips are baking, prepare the white bean dip. In the bowl of a food processor, combine the 15 ounces of drained and rinsed cannellini beans, 1/4 cup of fresh flat leaf parsley, 2 tablespoons of fresh lemon juice, 1 garlic clove, and the remaining 1/2 teaspoon of salt and 1/4 teaspoon of fresh ground black pepper.
- Pulse the mixture on and off until it is coarsely chopped. This initial pulsing helps break down the beans and ensures a smoother final texture.
- With the machine running on the puree setting, slowly stream in the 1/3 cup of olive oil until the mixture is creamy and smooth. Don’t rush this step; a slow, steady stream allows the oil to emulsify properly, resulting in a silky dip.
- Taste the white bean dip and season with more salt and pepper to taste. Remember, a little seasoning can go a long way, so add incrementally and taste as you go.
- Serve the white bean dip immediately with the warm or room-temperature pita crisps.
Expert Tips & Tricks
- For extra flavor: Add a pinch of red pepper flakes to the pita chips before baking for a subtle kick. You can also infuse the olive oil with garlic by gently heating crushed garlic cloves in the oil before brushing it onto the pita bread. Remove the garlic cloves before brushing.
- Make-ahead magic: The white bean dip can be made up to 2 days in advance. Store it in an airtight container in the refrigerator. Let it come to room temperature for about 30 minutes before serving to allow the flavors to meld. The pita chips are best served fresh, but can be made a few hours ahead and stored in an airtight container at room temperature.
- Perfecting the texture: If your dip is too thick, add a tablespoon of water or extra lemon juice to thin it out. If it’s too thin, add a few more cannellini beans and pulse until you reach your desired consistency.
- Level up the presentation: Garnish the dip with a drizzle of olive oil, a sprinkle of chopped parsley, and a few grinds of fresh black pepper before serving. You could also add a few whole cannellini beans for visual appeal.
- Garlic Intensity: If you like a strong garlic flavor, use two cloves. If you prefer a milder flavor, mince the garlic and let it sit for 10 minutes before adding it to the food processor; this mellows the garlic’s intensity.
- Pita Bread Alternative: For a richer chip, use naan bread cut into wedges instead of pita bread. The thicker texture and slightly sweet flavor pairs well with the dip.
Serving & Storage Suggestions
Serve this creamy white bean dip with the homemade pita chips as an appetizer or a light lunch. It’s also a fantastic addition to a mezze platter alongside olives, cheeses, and other Mediterranean-inspired goodies.
Leftover white bean dip should be stored in an airtight container in the refrigerator. It will keep for up to 3 days. While you can technically freeze white bean dip, the texture may change slightly upon thawing. Thaw it in the refrigerator overnight and give it a good stir before serving.
Pita chips are best eaten the same day they are made, but they can be stored in an airtight container at room temperature for up to 2 days. If they lose their crispness, you can refresh them in a 300-degree Fahrenheit oven for a few minutes.
Nutritional Information
| Nutrient | Amount per Serving | % Daily Value |
|---|---|---|
| Calories | 320 kcal | 16% |
| Total Fat | 17g | 26% |
| Saturated Fat | 2.5g | 13% |
| Cholesterol | 0mg | 0% |
| Sodium | 1008mg | 42% |
| Total Carbohydrate | 34g | 11% |
| Dietary Fiber | 5g | 20% |
| Sugars | 2g | 8% |
| Protein | 8g | 16% |
Nutritional information is an estimate and may vary based on specific ingredients and preparation methods.
Variations & Substitutions
- Gluten-Free: Use gluten-free pita bread or serve the dip with gluten-free vegetable sticks like carrots, celery, and cucumber.
- Spicy Dip: Add a pinch of red pepper flakes or a dash of hot sauce to the dip for a fiery kick.
- Herb Variations: Experiment with different herbs like rosemary, thyme, or basil for a unique flavor profile.
- Roasted Garlic: Roast the garlic clove before adding it to the dip for a sweeter, more mellow garlic flavor.
- Lemon Zest: Add the zest of half a lemon to the dip for an extra burst of citrusy flavor.
- Sun-Dried Tomato: Incorporate chopped sun-dried tomatoes (oil-packed, drained) into the dip for a rich, savory twist.
- Different Beans: While cannellini beans are classic, you can also use other white beans like Great Northern or navy beans.
FAQs (Frequently Asked Questions)
Q: Can I use canned garlic instead of fresh garlic?
A: While fresh garlic provides the best flavor, you can use about 1/2 teaspoon of minced canned garlic if necessary. Adjust to taste.
Q: Can I make this dip without a food processor?
A: Yes, but the texture will be different. Mash the beans thoroughly with a fork or potato masher, then finely chop the parsley and garlic. Mix everything together well.
Q: How do I prevent the pita chips from burning?
A: Keep a close eye on them during the last few minutes of baking, as ovens can vary. If they start to brown too quickly, lower the oven temperature slightly or move the baking sheet to a lower rack.
Q: Is this dip vegan?
A: Yes, this recipe is naturally vegan as it contains no animal products.
Q: Can I add other vegetables to the dip?
A: Absolutely! Roasted red peppers, artichoke hearts, or spinach would be delicious additions. Just be sure to adjust the seasoning accordingly.
Final Thoughts
This white bean dip with homemade pita chips is a simple yet elegant dish that’s perfect for any occasion. Whether you’re entertaining guests or simply looking for a delicious and healthy snack, this recipe is sure to please. So gather your ingredients, preheat your oven, and get ready to experience the vibrant flavors of Italy in your own kitchen. Don’t be afraid to experiment with variations and make it your own! I would love to hear about your experience and any creative twists you add to the recipe. Enjoy!