
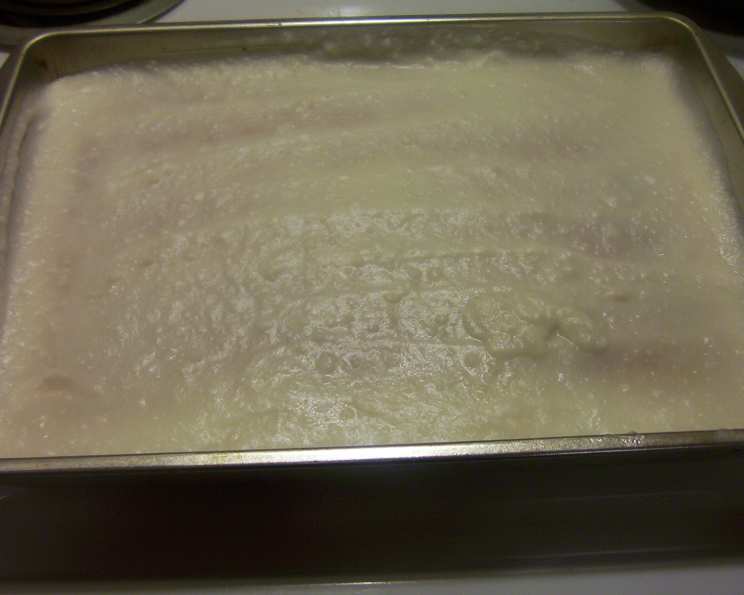
The Art of White Icing: A Baker’s Essential
My grandmother, a woman who could coax magic from flour and sugar, always had a pristine white icing adorning her celebratory cakes. It wasn’t just a topping; it was a canvas for her creativity, a sweet foundation for delicate sugar flowers and shimmering edible pearls. The memory of those beautifully decorated cakes, and the joy they brought, ignited my passion for baking and the pursuit of perfect icing. Today, I’m sharing the secrets to achieving a classic, versatile white icing that will elevate your cakes and cupcakes to the next level.
Recipe Overview
- Prep Time: 10 minutes
- Yields: Enough for two 9-inch cakes
- Dietary Type: Vegetarian
Ingredients
- 1 cup shortening
- 1 teaspoon almond extract (or 1 teaspoon vanilla extract)
- 4 cups icing sugar
- Water
Equipment Needed
- Electric Mixer (stand or hand-held)
- Mixing Bowl
- Measuring Cups and Spoons
- Spatula
Instructions
-
Begin by placing the shortening in a mixing bowl. Using an electric mixer, beat the shortening until it is soft and fluffy. This typically takes about 2-3 minutes on medium speed. Ensure there are no lumps for a smooth icing.
-
Add your chosen flavoring: either 1 teaspoon of almond extract or 1 teaspoon of vanilla extract. Beat the mixture again until the extract is fully incorporated, about 30 seconds. The extract enhances the sweetness and adds depth to the flavor.
-
Gradually add the icing sugar. Start by adding one cup at a time, mixing on low speed after each addition. This prevents the icing sugar from creating a cloud of dust in your kitchen. If the mixture seems too dry or the mixer is struggling, add a teaspoon of water to help incorporate the sugar.
-
Continue adding the icing sugar and small amounts of water (a teaspoon at a time), mixing on low speed until all the icing sugar has been added. The amount of water required will depend on the humidity and the type of shortening used.
-
Once all the icing sugar is incorporated, increase the mixer speed to medium-high and beat the icing for 2-3 minutes until it is light and fluffy. This step is crucial for achieving a smooth and easily spreadable consistency. If the icing is too thick, add a little more water, one teaspoon at a time, until you reach the desired consistency. If it’s too thin, add a tablespoon of icing sugar and beat again.
-
At this stage, the icing is ready to be used. You can add food coloring to create different shades and hues. Use gel food coloring for best results, as liquid food coloring can sometimes alter the consistency of the icing.
-
The icing is now ready for your cakes and cupcakes!
Expert Tips & Tricks
- Achieving the Right Consistency: The key to perfect white icing is achieving the right consistency. It should be smooth, creamy, and easily spreadable, but not too runny. Test the consistency by lifting a spoonful of icing and letting it drizzle back into the bowl. If the ribbon of icing holds its shape for a few seconds before disappearing, it’s perfect.
- Using High-Quality Ingredients: While this recipe is simple, using high-quality ingredients will make a difference. Choose a good-quality shortening and fresh extracts. Sifting the icing sugar before adding it to the mixture can help prevent lumps and ensure a smoother icing.
- Preventing a Crust: If you’re not using the icing immediately, cover the bowl tightly with plastic wrap, pressing the wrap directly onto the surface of the icing. This will prevent a crust from forming.
- Flavor Variations: While this recipe calls for either vanilla or almond extract, you can experiment with other flavorings such as lemon extract, peppermint extract, or even a pinch of salt to enhance the sweetness.
Serving & Storage Suggestions
This white icing is incredibly versatile and can be used to decorate cakes, cupcakes, cookies, and other desserts. For a smooth finish, use an offset spatula to spread the icing evenly. You can also pipe the icing using a piping bag and various tips to create decorative designs.
Leftover icing can be stored in an airtight container in the refrigerator for up to a week. Before using, bring the icing to room temperature and beat it again with an electric mixer to restore its smooth consistency.
The icing can also be frozen for longer storage. Place it in an airtight container and freeze for up to 2 months. Thaw it in the refrigerator overnight and beat it again before using.
Nutritional Information
Please note that this is an estimate and can vary based on specific ingredient brands and measurements.
| Nutrient | Amount per Serving | % Daily Value |
|---|---|---|
| Calories | 922 kcal | 46% |
| Total Fat | 51.3g | 79% |
| Saturated Fat | 12.8g | 64% |
| Cholesterol | 0mg | 0% |
| Sodium | 1.3mg | 0% |
| Total Carbohydrate | 119.7g | 40% |
| Dietary Fiber | 0g | 0% |
| Sugars | 117.6g | 469% |
| Protein | 0g | 0% |
Variations & Substitutions
- Dairy-Free Icing: While this recipe traditionally uses shortening, you can substitute it with a dairy-free shortening to create a vegan version. Be sure to check the label to ensure it doesn’t contain any hidden dairy ingredients.
- Lemon Infusion: Add the zest of one lemon to the icing for a bright and citrusy flavor. You can also add a tablespoon of lemon juice for an extra zing.
- Chocolate Variation: For a quick chocolate frosting, add 1/2 cup of unsweetened cocoa powder to the icing sugar before mixing. You may need to add a little more water to achieve the desired consistency.
- Brown Butter Icing: Melt the shortening until it browns and has a nutty aroma. Let it cool slightly before using it in the icing. This will give the icing a rich, caramel-like flavor.
FAQs (Frequently Asked Questions)
Q: Why is my icing grainy?
A: This is usually caused by undissolved sugar. Make sure to beat the icing for a sufficient amount of time to fully dissolve the sugar crystals. Adding a teaspoon of water can also help.
Q: Can I use butter instead of shortening?
A: Yes, but the icing will have a slightly different texture and color. Butter will give the icing a richer flavor, but it may not be as stable as shortening, especially in warmer temperatures. It will also have a slightly yellow tint.
Q: How do I fix icing that is too runny?
A: Gradually add more icing sugar, one tablespoon at a time, until you reach the desired consistency. Beat the icing well after each addition to ensure the sugar is fully incorporated.
Q: Can I color this icing?
A: Absolutely! Gel food coloring is recommended as it provides vibrant color without altering the consistency of the icing. Add a few drops at a time until you achieve the desired shade.
Q: How do I make sure my icing is perfectly smooth?
A: Sifting the icing sugar before adding it to the mixture is key. Also, beating the icing on medium-high speed for 2-3 minutes after all the ingredients are combined will help create a smooth and creamy texture.
Final Thoughts
This classic white icing recipe is more than just a topping; it’s a blank canvas for your baking artistry. Don’t be afraid to experiment with different flavors, colors, and decorating techniques to create stunning and delicious desserts. Whether you’re a seasoned baker or just starting out, this recipe is sure to become a staple in your kitchen. So, grab your mixer, gather your ingredients, and let your creativity flow. And don’t forget to share your creations and feedback – I can’t wait to see what you bake!