
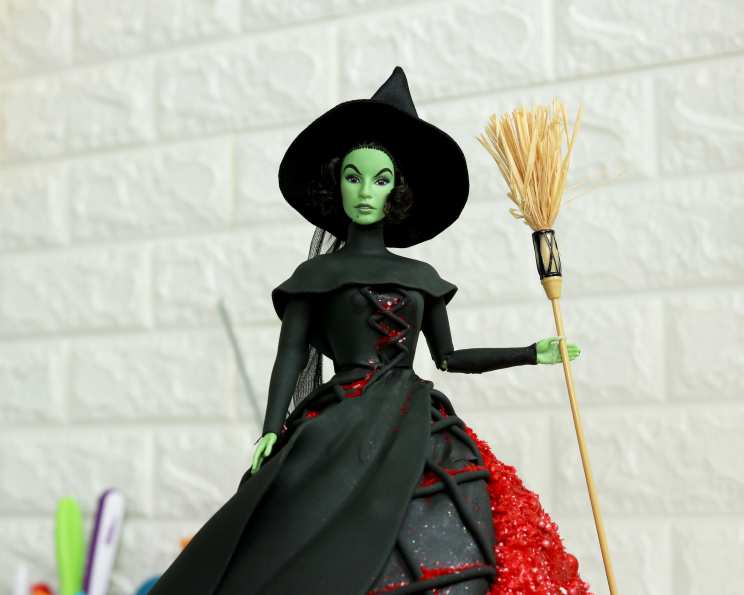
Wicked Witch Doll Cake: A Spellbinding Dessert
I still remember the hushed reverence with which my grandmother presented her doll cakes. They weren’t just desserts; they were edible works of art, each one a miniature fairytale brought to life. The elaborate frosting, the perfectly placed candies, and the doll herself, radiating an otherworldly charm, always filled me with awe. While my grandmother’s were usually princesses or ballerinas, I knew, even then, that I wanted to create a doll cake that embraced the darker side of fantasy – a Wicked Witch, resplendent in black fondant and shimmering with a touch of mischievous red.
Recipe Overview
- Prep Time: 2 hours
- Cook Time: 30-40 minutes (baking time)
- Total Time: 3 hours
- Yields: 1 cake
- Dietary Type: Not specified
Ingredients
- 2 cake mixes (16 ounces each) plus required ingredients (eggs, oil, water, etc. as directed on the box). Any flavor will work, but a dark chocolate or devil’s food cake complements the dark witch theme beautifully.
- 24 ounces black fondant
- 35 ounces classic buttercream frosting, for the icing (store-bought or homemade)
- Red edible shimmer glitter
- Candy-coated chocolates (e.g., M&Ms), for decoration
- One Barbie doll (or similar fashion doll)
Equipment Needed
- Wilton doll cake pan
- Mixing bowls
- Electric mixer
- Serrated knife
- Cake stand or serving plate
- Spatulas (offset and regular)
- Fondant rolling pin
- Fondant smoother
- Fondant sculpting tools (veining tool, knife tool, etc.)
- Fondant crank (for creating thin fondant ropes)
- Small paintbrush (for applying edible glitter)
Instructions
-
Prepare the Cake Batter: Prepare both cake mixes according to the package directions. It’s crucial to follow the box instructions precisely for accurate baking times and textures. Combining the batters can affect the result, so prepare each separately.
-
Bake the Cake: Grease and flour the Wilton doll cake pan thoroughly. Divide the prepared batter evenly between the cavities of the doll cake pan. Bake according to the cake mix directions or until a wooden skewer inserted into the center comes out clean. This typically takes around 30-40 minutes at 350°F (175°C), but oven temperatures vary. Keep a close eye on the cake and adjust the baking time as needed.
-
Cool and Level the Cakes: Once baked, let the cakes cool in the pan for 10-15 minutes before inverting them onto a wire rack to cool completely. Once completely cooled, use a serrated knife to level the tops of the cakes, creating three equal layers. This ensures a stable and even cake.
-
Assemble and Crumb Coat: Place one cake layer on your cake stand or serving plate. Spread a generous layer of buttercream frosting evenly over the top. Place the second layer on top and repeat the frosting process. Top with the final cake layer. Now, apply a thin layer of buttercream frosting over the entire cake. This is your crumb coat, which traps any loose crumbs and prevents them from getting into the final layer of frosting.
-
Chill the Crumb Coat: Place the crumb-coated cake in the refrigerator for at least 30 minutes. This allows the frosting to firm up and makes it easier to apply the final layer of buttercream.
-
Final Buttercream Layer: Remove the cake from the refrigerator and apply a second, thicker layer of buttercream frosting over the entire cake. Smooth the frosting as much as possible, as any imperfections will show through the fondant.
-
Prepare the Doll: While the cake is chilling, clean the Barbie doll and wrap her legs tightly in plastic wrap, stopping just above the waist. This ensures that the portion of the doll inserted into the cake remains sanitary.
-
Create the Doll Hole: Cut a hole into the top layer of the cake, large enough to accommodate the doll’s legs. The hole should be deep enough that the doll sits securely in the cake, with her torso exposed.
-
Cover with Fondant: On a clean, lightly dusted surface, roll out the black fondant into a 14-inch circle. Carefully lift the fondant and drape it over the entire cake. Use a fondant smoother to gently press the fondant against the cake, working from the top down.
-
Enhance the Folds: Use your fingers to enhance the folds and gathers at the bottom of the cake, creating a realistic dress-like effect.
-
Insert the Doll: Carefully insert the prepared Barbie doll into the hole in the top of the cake.
-
Fondant Waist Wrap: Wrap a strip of black fondant around the doll’s waist, where the cake meets the doll. Use a sculpting tool to blend the fondant seamlessly into the rest of the cake, creating a smooth transition.
-
Fondant Lace Detail: Use a fondant crank to create a thin fondant rope. Starting at the doll’s waist, zigzag two fondant ropes at a 45-degree angle to give the doll cake a lace detail.
-
Fondant Fabric Pattern: Cut out a fabric pattern from the black fondant. Place the fondant on the cake next to the lace detail at a 45-degree angle. Fold the back of the fondant over to create a fabric-like fold.
-
Create Fabric Texture: Create fabric texture at the bottom of the dress using a veining sculpting tool.
-
Sleeves: Wrap a rectangle of fondant around the doll’s arm to create sleeves.
-
Chest Covering: Wrap a rectangle of fondant around the doll’s chest.
-
Right Arm Sleeve: Wrap the right arm with fondant to create a sleeve.
-
Zigzag Guide: Use a sculpting tool to create a zigzag guide on the chest.
-
Chest Lace: Using the zigzag as a guide, apply the rope to create lace detail for the chest.
-
Shawl: Wrap a rectangle of black fondant around the doll’s neck to create a shawl.
-
Red Panel: Apply a red triangular shape of fondant to the front of the cake at a 45-degree angle.
-
Shimmer Application: Wet the red fondant with a small amount of vodka (or clear alcohol extract) and sprinkle red edible shimmer onto the panel. The alcohol will evaporate, leaving the shimmer behind.
-
Candy Decorations: Randomly apply candy-coated chocolates onto the red panel.
-
Final Shimmer: Sprinkle the entire dress with red edible shimmer.
-
Finishing Touch: Place the wicked witch’s hat on the doll’s head.
Expert Tips & Tricks
- Flavor Enhancement: Consider adding a teaspoon of espresso powder to your chocolate cake mix for a richer, more intense flavor.
- Fondant Management: Fondant can dry out quickly. Keep it covered with plastic wrap when not in use. If it becomes too stiff, knead in a small amount of vegetable shortening.
- Smoothing Fondant: A fondant smoother is essential for achieving a professional, flawless finish. Use gentle pressure and work in small sections.
- Color Mixing: For a deeper black fondant, consider using black food coloring gel in addition to purchasing pre-colored fondant.
- Cake Stability: If you’re concerned about the cake’s stability, insert wooden skewers into the cake layers before frosting to provide extra support.
- Vodka Substitute: If you don’t want to use vodka, lemon extract works just as well for applying the red shimmer.
Serving & Storage Suggestions
Serve the Wicked Witch Doll Cake at room temperature. To slice, carefully remove the doll. Use a sharp, serrated knife to cut through the cake layers.
Store leftover cake in an airtight container at room temperature for up to 2 days, or in the refrigerator for up to 5 days. The fondant may become slightly sticky in the refrigerator. It is not recommended to freeze the cake, as the fondant’s texture will be significantly altered upon thawing.
Nutritional Information
| Nutrient | Amount per Serving | % Daily Value |
|---|---|---|
| Calories | Approximately 450 kcal | 23% |
| Total Fat | 20g | 31% |
| Saturated Fat | 12g | 60% |
| Cholesterol | 50mg | 17% |
| Sodium | 250mg | 11% |
| Total Carbohydrate | 65g | 22% |
| Dietary Fiber | 2g | 8% |
| Sugars | 40g | N/A |
| Protein | 5g | 10% |
Note: Nutritional information is an estimate and may vary based on specific ingredients and serving sizes.
Variations & Substitutions
- Cake Flavor: Experiment with different cake flavors, such as red velvet or vanilla bean, to complement the black fondant.
- Fondant Color: While black is traditional for a witch cake, you could use a deep purple or dark green for a different look.
- Frosting: Try a chocolate ganache instead of buttercream for a richer, more decadent flavor.
- Candy Decorations: Use different types of candies to customize the look of your witch cake. Consider using licorice whips for her hair or gummy worms for a creepy crawly effect.
- Doll Choice: Feel free to use other dolls besides Barbie, even villain action figures could work.
FAQs (Frequently Asked Questions)
Q: Can I make this cake ahead of time?
A: Yes, you can bake the cake layers and prepare the buttercream frosting a day in advance. Store them separately until ready to assemble. The assembled and decorated cake is best consumed within 1-2 days.
Q: How do I prevent the fondant from tearing?
A: Roll out the fondant on a lightly dusted surface and use a fondant smoother to avoid air bubbles and tears. Ensure the buttercream frosting underneath is smooth and even.
Q: What if my fondant is too sticky?
A: Knead in a small amount of powdered sugar to reduce stickiness. Be careful not to add too much, as this can make the fondant dry and brittle.
Q: Can I use store-bought fondant?
A: Yes, store-bought fondant works perfectly well for this recipe. Just make sure it’s fresh and pliable.
Q: How do I get the red shimmer to stick to the fondant?
A: The vodka (or clear extract) acts as an adhesive. Apply a thin layer to the fondant before sprinkling on the shimmer.
Final Thoughts
Creating this Wicked Witch Doll Cake is more than just baking; it’s about crafting a fantastical centerpiece that sparks imagination and delights the senses. Whether you’re a seasoned baker or a curious beginner, I encourage you to embrace the challenge and unleash your inner artist. Don’t be afraid to experiment with different flavors, colors, and decorations to make this cake truly your own. And most importantly, have fun conjuring up this spellbinding dessert! Share your creations and let me know what wicked twists you added!