
Mastering the Classic Crisco Single Crust: A Baker’s Essential
The scent of a freshly baked pie crust, that subtly sweet and buttery aroma wafting through the kitchen, instantly transports me back to my grandmother’s cozy farmhouse. I remember standing on a small stool, barely tall enough to see over the counter, mesmerized as she transformed simple ingredients into a golden, flaky masterpiece. Her secret? Crisco. It was the key, she always said, to achieving that perfect tender and flaky crust every single time. To this day, whenever I’m baking a pie, I think of her, and that legacy of deliciousness continues.
Recipe Overview
- Prep Time: 20 minutes
- Cook Time: 10-15 minutes (for pre-baked crust)
- Total Time: 35 minutes
- Yields: 1 pie crust
- Dietary Type: Vegetarian
Ingredients
- 1 1⁄3 cups sifted all-purpose flour
- 1⁄2 teaspoon salt
- 1⁄2 cup Crisco shortening
- 3 tablespoons cold water
Equipment Needed
- Medium mixing bowl
- Pastry blender or two knives
- Fork
- Rolling pin
- Rolling surface
- Pie plate (9-inch)
Instructions
- Begin by lightly spooning the flour into a measuring cup and leveling it off with a knife. This ensures an accurate measurement and prevents a dense crust.
- In a medium-sized bowl, thoroughly combine the sifted flour and salt. Sifting is crucial for a light and airy texture, so don’t skip this step!
- Now, add the Crisco shortening to the flour mixture. Using a pastry blender or two knives, cut the shortening into the flour until the mixture resembles coarse crumbs, with pea-sized chunks of shortening distributed throughout. This process is vital for creating those coveted flaky layers.
- Gradually sprinkle in the cold water, one tablespoon at a time. After each addition, gently toss the mixture with a fork. The key here is to add just enough water so that the dough begins to come together.
- Continue adding water and tossing until the dough forms a ball. Be careful not to overwork the dough, as this can develop the gluten and result in a tough crust.
- Gently press the dough between your hands to form a 5- to 6-inch “pancake.” This helps to create a more uniform texture.
- Lightly flour your rolling surface and rolling pin to prevent sticking. Roll the dough into a circle that is slightly larger than your pie plate, about 1 inch wider than the diameter of the upside-down pie plate.
- Carefully remove the trimmed dough. Don’t discard the scraps! These can be re-rolled and used for decorative pastry cutouts to garnish your pie.
- Gently fold the dough into quarters. This makes it easier to transfer to the pie plate without tearing.
- Unfold the dough into the pie plate and gently press it into the bottom and sides, ensuring there are no air pockets.
- Fold the edge of the dough under to create a thicker rim.
- Now it’s time to flute the edge. There are many ways to flute a pie crust – use your fingers to crimp the edge, press with a fork, or get creative with your own designs.
- If your recipe calls for a pre-baked pie crust, preheat your oven to 425°F (220°C).
- Before baking, prick the bottom and sides of the crust thoroughly with a fork (about 50 times). This will prevent the crust from puffing up unevenly and shrinking during baking.
- Bake the crust at 425°F (220°C) for 10 to 15 minutes, or until it is lightly browned. Keep a close eye on it to prevent burning.
- If your recipe calls for an unbaked pie crust, simply follow the directions provided in that recipe.
Expert Tips & Tricks
- Keep everything cold: Cold ingredients are essential for a flaky crust. Chill the Crisco, water, and even the flour before starting.
- Don’t overmix: Overmixing develops the gluten in the flour, resulting in a tough crust. Mix until just combined.
- Rest the dough: After forming the dough into a ball, wrap it in plastic wrap and chill it in the refrigerator for at least 30 minutes. This allows the gluten to relax and makes the dough easier to roll.
- Blind baking: For recipes that require a fully baked crust, use pie weights or dried beans to prevent the crust from puffing up during baking.
- Egg Wash for Shine: For a beautiful golden-brown crust, brush it with an egg wash (1 egg beaten with 1 tablespoon of water) before baking.
- Prevent Soggy Bottoms: To avoid a soggy bottom crust in filled pies, bake the pie on the lowest rack of the oven. You can also lightly brush the bottom crust with melted chocolate after it has pre-baked to act as a moisture barrier.
Serving & Storage Suggestions
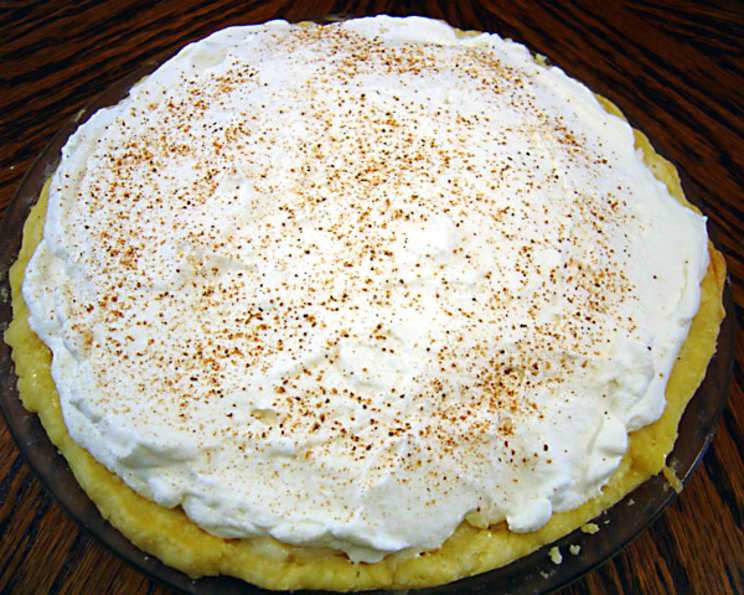
Serve your pie warm or cold, depending on the filling. Fruit pies are often enjoyed slightly warm, while cream pies are best served chilled.
Store leftover pie in the refrigerator, covered tightly with plastic wrap or in an airtight container. It will typically last for 2-3 days. You can also freeze leftover pie for longer storage. Wrap it tightly in plastic wrap and then in aluminum foil. Frozen pie can last for up to 2-3 months.
To reheat, warm individual slices in the microwave for 30-60 seconds, or bake the entire pie in a preheated oven at 350°F (175°C) for 10-15 minutes.
Nutritional Information
| Nutrient | Amount per Serving | % Daily Value |
|---|---|---|
| Calories | 192 kcal | 10% |
| Total Fat | 12.0g | 18% |
| Saturated Fat | 5.5g | 28% |
| Cholesterol | 0mg | 0% |
| Sodium | 146mg | 6% |
| Total Carbohydrate | 17.2g | 6% |
| Dietary Fiber | 0.6g | 2% |
| Sugars | 0.1g | 0% |
| Protein | 1.6g | 3% |
Note: Nutritional information is an estimate and may vary based on specific ingredients and serving sizes.
Variations & Substitutions
- Gluten-Free Crust: Substitute the all-purpose flour with a gluten-free flour blend. You may need to add a binder such as xanthan gum to help hold the crust together.
- Whole Wheat Crust: Use half whole wheat flour and half all-purpose flour for a nuttier flavor and added fiber.
- Vegan Crust: Ensure that your Crisco shortening is vegetable-based. Many brands are naturally vegan, but always double-check the label.
- Savory Crust: Add herbs and spices to the dough for a savory twist. Try adding dried rosemary, thyme, or oregano.
- Sweet Crust: Add a tablespoon or two of sugar to the dough for a sweeter crust, perfect for fruit pies.
FAQs (Frequently Asked Questions)
Q: Why is my pie crust tough?
A: Overmixing the dough develops the gluten in the flour, which can result in a tough crust. Be sure to mix until just combined.
Q: Can I use butter instead of Crisco?
A: Yes, you can use butter, but the texture will be slightly different. Butter contains water, which can make the crust less flaky. Use very cold butter and cut it into the flour quickly.
Q: How do I prevent my pie crust from shrinking?
A: Prick the bottom and sides of the crust thoroughly with a fork before baking. Also, avoid stretching the dough when placing it in the pie plate.
Q: Can I make the dough ahead of time?
A: Yes, you can make the dough ahead of time and store it in the refrigerator for up to 2 days. Wrap it tightly in plastic wrap to prevent it from drying out.
Q: What if my crust is browning too quickly?
A: If your crust is browning too quickly, you can cover the edges with foil or use a pie shield.
Final Thoughts
This classic Crisco single crust recipe is a foundation for countless delicious pies. Don’t be intimidated – with a few simple techniques and a little practice, you’ll be baking perfect pie crusts in no time. I encourage you to try this recipe, experiment with different fillings, and share your creations with friends and family. Nothing brings people together like a homemade pie. And remember, the best pie is the one made with love!