
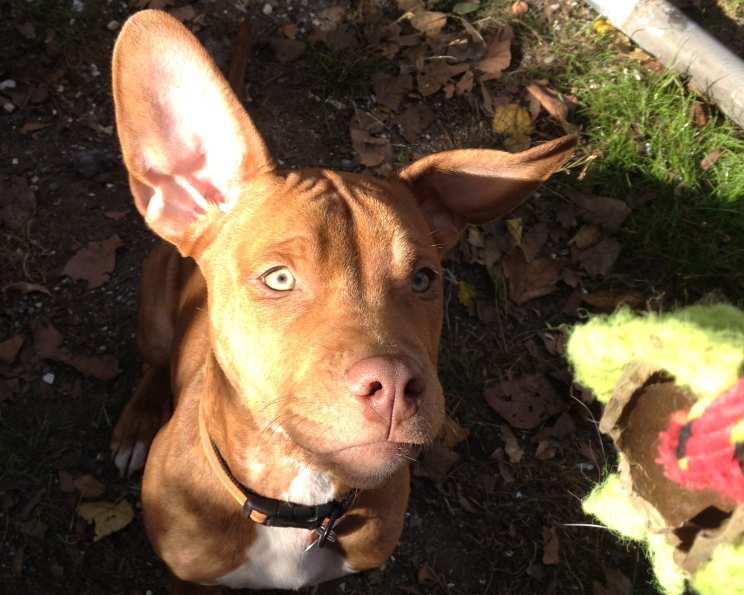
The Kitchen Elixir: A Homemade Dog Ear Cleaner
My grandmother, bless her heart, had a solution for everything. A scraped knee? A soothing poultice of comfrey. A stuffy nose? Steaming eucalyptus. And when our beloved beagle, Barnaby, started shaking his head and scratching at his ears incessantly, Grandma reached for her pantry, not the vet’s office (at least, not initially!). I remember watching her, a curious child perched on a stool, as she mixed up a clear liquid, proclaiming it was Barnaby’s “special ear tonic.” The relief on Barnaby’s face was immediate, and I learned that day that simple, homemade solutions often hold surprising power.
Recipe Overview:
- Prep Time: 5 minutes
- Cook Time: 0 minutes
- Total Time: 5 minutes
- Servings: 1
- Yield: About 1 cup
- Dietary Type: Non-Applicable (Topical Use)
Ingredients:
- ⅓ cup rubbing alcohol (isopropyl alcohol)
- ⅓ cup distilled white vinegar
- ⅓ cup water
Equipment Needed:
- Small mixing bowl or measuring cup
- Empty squirt bottle (a clean, empty hair color applicator bottle is ideal)
- Cotton balls
Instructions:
- In a small mixing bowl or measuring cup, carefully combine the rubbing alcohol, distilled white vinegar, and water. Ensure equal parts of each ingredient are used for optimal effectiveness.
- Thoroughly mix the ingredients. A gentle stir is all that’s needed; vigorous shaking is unnecessary.
- Carefully pour the mixed solution into an empty squirt bottle. A new hair color bottle with a long, narrow tip is highly recommended, as it allows for precise application into the dog’s ear canal. Make sure the bottle is clean and free of any residue from previous contents.
- To apply, gently squirt a small amount of the solution into your dog’s ear canal. Be careful not to insert the tip of the bottle too deeply, as this could cause discomfort or injury.
- After applying the solution, gently hold your dog’s head still for a couple of minutes. This allows the solution to penetrate and work its magic, killing yeast and bacteria and acidifying the ear canal. Speak to your dog in a soothing tone to keep them calm.
- Use cotton balls to absorb as much of the excess solution as possible before allowing your dog to shake its head. This prevents the solution from splattering around the room and minimizes any potential discomfort for your dog. Discard the used cotton balls immediately.
Expert Tips & Tricks:
- Temperature Matters: Ensure the water used is at room temperature or slightly warmed. Cold water can be uncomfortable for your dog.
- Dilution is Key: Never use undiluted vinegar or rubbing alcohol directly in your dog’s ear, as this can cause irritation.
- Observation is Crucial: Always monitor your dog for any signs of discomfort or irritation after using the ear cleaner. If you notice redness, swelling, or excessive scratching, discontinue use and consult your veterinarian.
- Preventative Care: This solution is best used as a preventative measure. If your dog has a severe ear infection, veterinary care is necessary.
- Gentle Touch: Always handle your dog’s ears with care and gentleness. Avoid any rough movements or poking.
Serving & Storage Suggestions:
This solution is for topical use only and is not ingested. Store the ear cleaner in a cool, dark place, away from direct sunlight and heat. The solution is best used within 6 months of preparation. Discard any unused portion after this time. Ensure the bottle is clearly labeled as “Dog Ear Cleaner” to prevent accidental ingestion.
Nutritional Information:
Since this is a topical solution, nutritional information is not applicable.
Variations & Substitutions:
- Witch Hazel Alternative: Some people prefer to substitute the water with witch hazel, which is known for its soothing and anti-inflammatory properties. Ensure it is alcohol-free witch hazel.
- Herbal Infusion: You can infuse the water with herbs like calendula or chamomile for added soothing benefits. To do this, steep dried herbs in hot water for 30 minutes, strain well, and allow to cool before using in the recipe.
- Consult Your Vet: Always check with your veterinarian before trying any home remedy, especially if your dog has a history of ear problems or sensitive skin.
FAQs (Frequently Asked Questions):
Q: How often should I use this ear cleaner on my dog?
A: It depends on your dog’s needs. For preventative maintenance, once or twice a month is usually sufficient. If your dog is prone to ear infections, you may need to clean their ears more frequently, but always consult your veterinarian.
Q: My dog hates having his ears cleaned. How can I make the process easier?
A: Start by associating ear cleaning with positive experiences. Offer treats and praise during and after the process. Keep the sessions short and gentle, and gradually introduce the ear cleaner.
Q: Is it safe to use this ear cleaner on puppies?
A: It’s best to consult with your veterinarian before using any ear cleaner on puppies, as their ear canals are more delicate and sensitive.
Q: Can I use this ear cleaner on my cat?
A: While the ingredients are generally safe, cats have different ear structures and sensitivities than dogs. It’s best to use a veterinarian-approved ear cleaner specifically formulated for cats.
Q: What if my dog’s ear infection doesn’t clear up after using this solution?
A: This solution is not a substitute for veterinary care. If your dog has a persistent ear infection, it’s crucial to consult with your veterinarian for proper diagnosis and treatment. There might be an underlying issue that requires prescription medication.
Final Thoughts:
Creating this simple ear cleaner for your furry friend can be a rewarding experience, harking back to the days when home remedies were a trusted part of animal care. Always remember to proceed with caution, observe your dog’s reaction carefully, and consult with your veterinarian if you have any concerns. Homemade solutions like this, when used responsibly, can be a valuable tool in keeping your beloved companion happy and healthy. Try it out, and let me know how it works for your four-legged friend!