
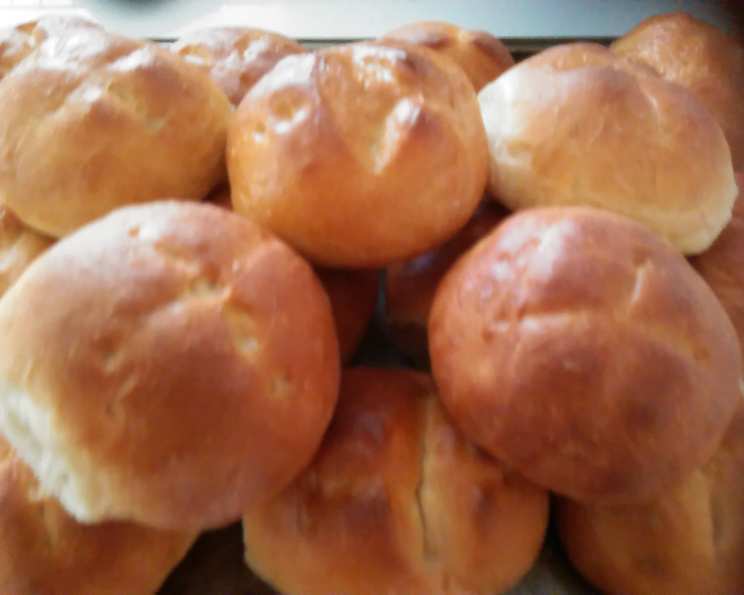
Kaiser Rolls: A Bread Machine Miracle
The scent of freshly baked bread – it’s a memory etched into my childhood. Every Saturday morning, my grandmother would be up before dawn, the rhythmic kneading a comforting soundtrack to the weekend. While she was a purist when it came to her sourdough, her secret weapon for quick weekday sandwich rolls was always her trusty bread machine. And Kaiser rolls? Those were the undisputed champions, their distinct shape and satisfying chewiness making even the most ordinary ham and cheese seem like a gourmet creation. Today, I share her surprisingly simple bread machine recipe, adapted for modern kitchens, so you too can enjoy this classic comfort.
Recipe Overview
- Prep Time: 15 minutes
- Cook Time: 15-20 minutes
- Total Time: 2 hours 15 minutes (includes rising time)
- Servings: 16
- Yields: 16 rolls
- Dietary Type: Vegetarian
Ingredients
- 2 (1/4 ounce) packages active dry yeast
- 2 cups water
- 4 tablespoons sugar
- 1/3 cup vegetable oil
- 2 teaspoons salt
- 6 cups all-purpose flour
Equipment Needed
- Bread Machine
- Measuring cups and spoons
- Greased baking sheets
- Kitchen scissors or sharp knife
- Clean kitchen towel
Instructions
-
Add Ingredients to Bread Machine: Place all ingredients into the bread machine pan in the order listed above. This is crucial for ensuring proper yeast activation and gluten development. Typically, liquids go in first, followed by dry ingredients, with the yeast added last. Check your bread machine manual for specific instructions regarding ingredient order.
-
Run Dough Cycle: Select the Dough cycle on your bread machine. This cycle will mix, knead, and perform the first rise of the dough. The exact duration will vary depending on your machine, but it usually takes around 1.5 to 2 hours.
-
Divide the Dough: Once the dough cycle is complete, gently remove the dough from the bread machine pan and place it on a lightly floured surface. Divide the dough into 16 equal pieces. Using a kitchen scale can help ensure consistent roll sizes.
-
Shape into Balls: Shape each piece of dough into a smooth ball. This is best done by gently pulling the edges of the dough ball towards the center and pinching them together on the bottom. This creates a tight, smooth surface on top.
-
Arrange on Baking Sheets: Place the shaped dough balls on greased baking sheets, leaving about 2 inches of space between each roll. This allows for proper expansion during the second rise.
-
Second Rise: Cover the baking sheets with a clean kitchen towel and let the rolls rise in a warm place until doubled in size, about 30 minutes. The rising time can vary depending on the ambient temperature. A slightly warm oven (turned off!) can create an ideal environment.
-
Create the Kaiser Cut: Preheat your oven to 400°F (200°C). Using kitchen scissors or a sharp knife, carefully cut a ¼-inch-deep cross on the tops of each roll. This classic Kaiser roll cut not only looks beautiful but also helps the rolls expand evenly during baking.
-
Bake: Bake in the preheated oven for 15-20 minutes, or until the rolls are golden brown. Keep a close eye on them, as oven temperatures can vary. The bottoms of the rolls should also be golden brown when done.
-
Cool: Remove the baked Kaiser rolls from the oven and transfer them to a wire rack to cool completely before slicing and serving. This prevents them from becoming soggy.
Expert Tips & Tricks
- Yeast Proofing: To ensure your yeast is active, proof it before adding it to the bread machine. Combine the yeast with a tablespoon of sugar and ¼ cup of warm water. If it foams within 5-10 minutes, it’s good to go.
- Dough Consistency: The dough should be slightly tacky but not sticky. If it’s too sticky, add a tablespoon of flour at a time until it reaches the desired consistency.
- Shiny Crust: For a shinier crust, brush the tops of the rolls with an egg wash (1 egg beaten with 1 tablespoon of water) before baking.
- Crispy Crust: For an extra crispy crust, place a baking sheet filled with hot water on the bottom rack of the oven during baking. The steam will create a wonderfully crisp exterior.
- Even Baking: Rotate the baking sheets halfway through baking to ensure even browning.
- Make Ahead: You can prepare the dough up to the shaping stage and refrigerate it overnight. Allow the dough to come to room temperature before shaping and continuing with the recipe.
Serving & Storage Suggestions
These Kaiser rolls are perfect for sandwiches, burgers, or simply enjoyed with butter and jam. Serve them warm from the oven for the ultimate experience.
- Storage: Store leftover rolls in an airtight container at room temperature for up to 2 days. For longer storage, freeze the rolls in a freezer-safe bag for up to 2 months.
- Reheating: To reheat, wrap the rolls in foil and warm them in a 350°F (175°C) oven for 5-10 minutes. You can also microwave them for a few seconds, but be careful not to overdo it, as they can become tough.
Nutritional Information
Note: Nutritional information is an estimate and may vary based on specific ingredients and portion sizes.
| Nutrient | Amount per Serving | % Daily Value |
|---|---|---|
| Calories | 225.8 kcal | N/A |
| Calories from Fat | 45 g | 20% |
| Total Fat | 5.1 g | 7% |
| Saturated Fat | 0.7 g | 3% |
| Cholesterol | 0 mg | 0% |
| Sodium | 293 mg | 12% |
| Total Carbohydrate | 39.3 g | 13% |
| Dietary Fiber | 1.5 g | 6% |
| Sugars | 3.3 g | N/A |
| Protein | 5.2 g | 10% |
Variations & Substitutions
- Whole Wheat Kaiser Rolls: Substitute 2-3 cups of the all-purpose flour with whole wheat flour for a heartier roll.
- Seeded Kaiser Rolls: Brush the tops of the rolls with egg wash and sprinkle with sesame seeds, poppy seeds, or everything bagel seasoning before baking.
- Herb Kaiser Rolls: Add 1-2 tablespoons of dried herbs, such as rosemary, thyme, or oregano, to the dough for a flavorful twist.
- Sweet Kaiser Rolls: Increase the sugar to 6 tablespoons and add ½ teaspoon of vanilla extract for a sweeter roll, perfect for breakfast sandwiches.
- Gluten-Free Kaiser Rolls: While this recipe is not inherently gluten-free, you can experiment with gluten-free flour blends. Note that the texture will be different and may require adjustments to the liquid.
FAQs (Frequently Asked Questions)
Q: Can I use instant yeast instead of active dry yeast?
A: Yes, you can. Use the same amount of instant yeast and add it directly to the bread machine with the other dry ingredients.
Q: Why are my Kaiser rolls flat?
A: Flat rolls are often caused by using expired yeast, not letting the dough rise enough, or using too much flour. Ensure your yeast is fresh, allow sufficient rising time, and avoid adding excess flour.
Q: Can I make these rolls without a bread machine?
A: Absolutely. You can mix and knead the dough by hand or with a stand mixer. Allow the dough to rise in a warm place until doubled, punch it down, and proceed with the shaping and baking instructions.
Q: How do I prevent the rolls from sticking to the baking sheet?
A: Make sure to grease the baking sheet thoroughly or use parchment paper.
Q: Can I freeze the dough after the first rise?
A: Yes, you can freeze the dough after the first rise. Punch down the dough, wrap it tightly in plastic wrap, and then place it in a freezer bag. Thaw the dough in the refrigerator overnight before shaping and baking.
Final Thoughts
There’s a certain magic in creating something so simple yet so satisfying from scratch. These bread machine Kaiser rolls are a testament to that – a delicious and comforting reminder that even the busiest of days can be brightened by the aroma of homemade bread. I encourage you to give this recipe a try, and don’t be afraid to experiment with different variations to make it your own. Share your creations and feedback – I’d love to hear how they turn out! Pair these rolls with your favorite deli meats, homemade soups, or grilled vegetables for a complete and memorable meal.