
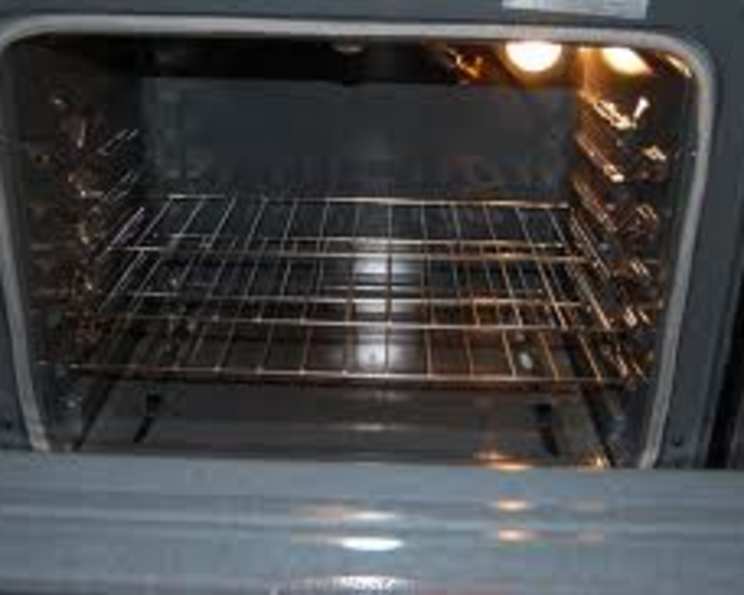
The Sparkling Oven Secret: A Chemical-Free Clean
I’ll never forget the day I tried to bake my grandmother’s famous apple pie in my brand new oven. The aroma filled the kitchen, promising a slice of pure comfort. But when I pulled the pie out, disaster struck! The filling had bubbled over, leaving a sticky, burnt mess on the oven floor. Panic set in – I scrubbed and scrubbed, using every commercial cleaner I could find, but the grime stubbornly clung on, filling my kitchen with harsh chemical fumes. Desperate, I called my grandmother. Her advice? “Baking soda, dear. The secret weapon of every good cook.” I was skeptical, but I gave it a try, and I was amazed!
Recipe Overview
- Prep Time: 10 minutes
- Soak Time: 8-12 hours (overnight)
- Cook Time: 0 minutes
- Total Time: 8-12 hours and 10 minutes
- Servings: Varies depending on oven size
- Yield: 1 clean oven
- Dietary Type: Vegan, Gluten-Free, Dairy-Free, Chemical-Free
Ingredients
- 1 cup baking soda (or more, as needed)
- Water
- 2 tablespoons dish detergent
Equipment Needed
- Spray bottle or bowl
- Sponge or cloth
- Rubber gloves (optional, but recommended)
- Scraper (optional, for stubborn grime)
Instructions
-
Begin by preparing your oven. Remove any racks and set them aside. For heavily soiled racks, you can soak them in a tub of hot, soapy water while the baking soda paste works its magic inside the oven.
-
Next, sprinkle water generously over the bottom of the oven. You want the oven floor to be damp, but not swimming in water. The moisture will help the baking soda adhere and create a paste.
-
Now, for the star of the show: baking soda. Cover the grime with enough baking soda that the surface is totally white. Don’t be shy! You want a thick layer that will really soak up the grease and burnt food. Think of it as a baking soda blanket for your oven.
-
Sprinkle some more water over the top of the baking soda. This will create a thick paste. Aim for a spreadable consistency, similar to a frosting. If it’s too dry, add a little more water. If it’s too runny, add a bit more baking soda.
-
Let the mixture set overnight. This is the most crucial step. The baking soda needs time to react with the grime and loosen it. I recommend letting it sit for at least 8 hours, but longer is fine.
-
The next morning, you should be able to easily wipe up the grease because the grime will have loosened. Use a damp sponge or cloth to remove the baking soda paste. You’ll likely need to rinse the sponge frequently as you go.
-
Once you have cleaned up the worst of the mess, dab a bit of liquid detergent or soap on a sponge, and wash the remaining residue from the oven. This will help remove any lingering baking soda and leave your oven sparkling clean.
-
Finally, wipe down the oven with a clean, damp cloth to remove any soap residue. Replace the oven racks and admire your sparkling clean oven!
Expert Tips & Tricks
- Tackle Tough Spots: For particularly stubborn grime, create a thicker paste of baking soda and water. Apply it directly to the affected area and let it sit for longer, even up to 24 hours.
- The Power of Vinegar: For extra cleaning power, try spraying a light mist of vinegar over the baking soda paste before wiping it away. The vinegar will react with the baking soda, creating a fizzing action that helps to lift the grime. Be cautious, as the fumes of baking soda and vinegar can irritate some people.
- Prevent Future Messes: Line the bottom of your oven with a baking sheet or oven liner to catch drips and spills. This will save you from having to do a deep clean as often.
- Don’t Forget the Door: Pay special attention to the oven door, especially the glass. Use a similar baking soda paste to clean the inside of the glass, letting it sit for a few hours before wiping it clean.
- Self-Cleaning Ovens: Even if you have a self-cleaning oven, this method is a great alternative if you’re sensitive to the fumes produced by the self-cleaning cycle.
Serving & Storage Suggestions
This isn’t a recipe you serve, but rather one that prepares your oven for delicious meals to come! The clean oven should be ready for immediate use once you’ve wiped away all the residue. There’s nothing to store, as the baking soda mixture is used and discarded.
Nutritional Information
As this recipe is for cleaning and not consumption, there are no nutritional values to report.
| Nutrient | Amount per Serving | % Daily Value |
|---|---|---|
| Calories | 0 kcal | 0% |
| Total Fat | 0g | 0% |
| Saturated Fat | 0g | 0% |
| Cholesterol | 0mg | 0% |
| Sodium | Varies | Varies |
| Total Carbohydrate | 0g | 0% |
| Dietary Fiber | 0g | 0% |
| Sugars | 0g | 0% |
| Protein | 0g | 0% |
Variations & Substitutions
- For Sensitive Skin: If you have sensitive skin, wear rubber gloves when handling the baking soda paste.
- Lemon Power: Add a few drops of lemon essential oil to the baking soda paste for a fresh, citrusy scent.
- Borax Boost: For extra cleaning power, add 1/4 cup of Borax to the baking soda paste. Borax is a natural mineral that helps to cut through grease and grime. However, be cautious when using Borax, as it can be irritating to the skin and eyes.
FAQs (Frequently Asked Questions)
Q: Why does this recipe work so well?
A: Baking soda is a mild alkali, which means it can dissolve dirt, grease, and grime. When combined with water, it forms a paste that penetrates and loosens baked-on messes, making them easier to wipe away.
Q: How often should I clean my oven using this method?
A: It depends on how often you use your oven and how messy it gets. A good rule of thumb is to clean it every 3-6 months, or more often if needed.
Q: Can I use this method on a self-cleaning oven?
A: Yes, you can. In fact, it’s a great alternative to the self-cleaning cycle, which can produce harsh fumes and use a lot of energy.
Q: What if the baking soda paste dries out overnight?
A: If the paste dries out, simply spray it with a little more water to rehydrate it before wiping it away.
Q: Can I use this method to clean my microwave?
A: Yes, you can! Simply apply the baking soda paste to the inside of the microwave, let it sit for a few minutes, and then wipe it clean.
Final Thoughts
Don’t let a dirty oven stand between you and culinary creations! This simple, natural method is a game-changer, saving you from harsh chemicals and endless scrubbing. Give it a try and experience the satisfaction of a sparkling clean oven, ready to bake your next masterpiece. Share your results and any helpful tips you discover along the way – happy cleaning!