
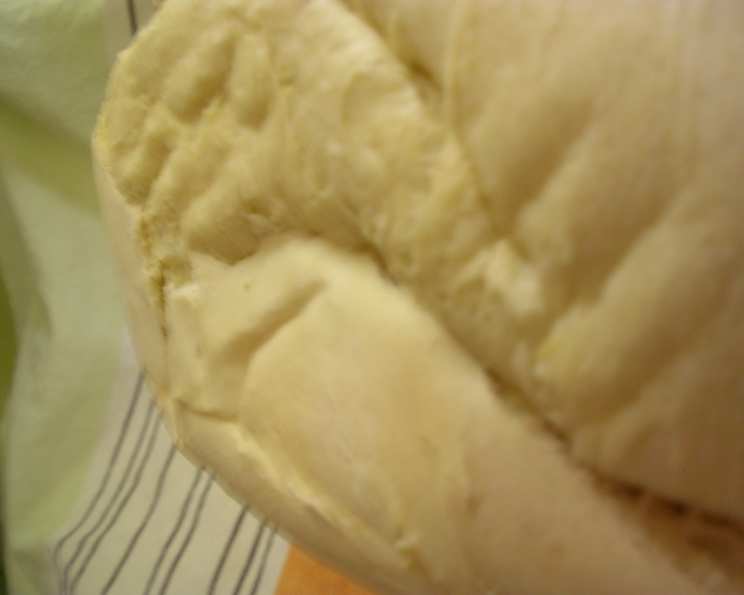
Portuguese Sweet Bread (Bread Machine)
The scent of sweet bread always takes me back to my grandmother’s kitchen. She wasn’t Portuguese, but she had a neighbor who shared the recipe, and it became a staple in our family. I remember the golden, slightly sticky crust, and the soft, almost cake-like crumb. We would devour it warm, slathered with butter, and it was the ultimate comfort food, especially on chilly autumn days. This bread machine version brings back all those cherished memories, with much less effort!
Recipe Overview
- Prep Time: 15 minutes
- Cook Time: 2 hours
- Total Time: 2 hours 15 minutes
- Servings: 12
- Yield: 1 loaf
- Dietary Type: Not specified (Contains dairy and eggs)
Ingredients
- 1 cup evaporated milk
- 3 tablespoons unsalted butter, cut into pieces
- 2 eggs
- 1 1/2 teaspoons lemon rind, finely minced
- 1 teaspoon vanilla extract
- 6 tablespoons sugar
- 1 teaspoon salt
- 1/4 teaspoon ascorbic acid
- 3 cups bread flour
- 2 teaspoons quick-rising yeast
Equipment Needed
- Bread Machine
Instructions
-
Begin by adding the evaporated milk to your bread machine pan.
-
Next, add the unsalted butter, cut into pieces, to the pan. Distributing the butter like this helps it incorporate evenly during the mixing process.
-
Carefully crack in the eggs. Ensure no shell fragments fall into the mixture.
-
Add the finely minced lemon rind to the pan. The lemon adds a bright, subtle citrus note that enhances the overall flavor.
-
Pour in the vanilla extract. Use pure vanilla extract for the best flavor.
-
Sprinkle in the sugar. The sugar not only sweetens the bread but also contributes to its golden-brown crust.
-
Add the salt. Salt is crucial for controlling the yeast and developing the gluten in the flour.
-
Add the ascorbic acid. Although it may seem unusual, ascorbic acid (vitamin C) acts as a dough enhancer, promoting a lighter, more tender crumb. It’s especially useful in bread machine recipes.
-
Measure and add the bread flour to the pan. Make sure the flour is evenly distributed over the liquid ingredients. Bread flour has a higher protein content than all-purpose flour, which results in a better structure.
-
Finally, add the quick-rising yeast. Ensure the yeast is fresh for optimal rising. Place the yeast on top of the flour, away from the wet ingredients, if your bread machine instructions recommend it.
-
Secure the bread machine pan into the bread machine.
-
Select the program for white bread or sweet bread on your machine. If your machine has a crust setting, you can choose your desired crust color.
-
Press start. The bread machine will now handle the mixing, kneading, rising, and baking. This process typically takes around 2 hours, but consult your bread machine’s manual for exact timing.
-
Once the baking cycle is complete, carefully remove the bread pan from the machine using oven mitts.
-
Turn the pan upside down and gently shake to release the bread. If the bread sticks, use a spatula to loosen it.
-
Place the baked loaf on a wire rack to cool completely before slicing. This allows the steam to escape and prevents the bread from becoming soggy.
Expert Tips & Tricks
- Room Temperature Matters: Ensure your evaporated milk and eggs are at room temperature for optimal yeast activity. Cold ingredients can slow down the rising process.
- Yeast Placement: Some bread machine manufacturers recommend placing the yeast in a specific spot, often in a well on top of the flour. Refer to your machine’s manual.
- Dough Consistency: Keep an eye on the dough during the initial mixing. If it seems too dry, add a tablespoon of water at a time until it forms a smooth, slightly sticky ball. If it’s too wet, add a tablespoon of flour at a time.
- Ascorbic Acid Substitute: If you don’t have ascorbic acid, you can use a crushed vitamin C tablet (about 500mg).
- Crust Color Control: If you prefer a darker crust, brush the top of the loaf with melted butter or milk before baking.
- Flavor Infusion: Add a teaspoon of almond extract along with the vanilla for an even richer flavor.
- Pan Size: This recipe is formulated for a standard 1.5 to 2-pound loaf. Adjust the ingredient quantities if your bread machine has a different capacity.
Serving & Storage Suggestions
Portuguese Sweet Bread is best enjoyed warm, sliced, and slathered with butter. It also makes a fantastic base for French toast or bread pudding. For a simple dessert, toast a slice and top it with fresh fruit and a dollop of whipped cream.
To store, let the bread cool completely. Wrap it tightly in plastic wrap or place it in an airtight container. At room temperature, it will stay fresh for 2-3 days. You can also refrigerate it for up to a week, but the texture may become slightly drier.
For longer storage, slice the bread and freeze it in a freezer-safe bag for up to 2 months. Thaw the slices at room temperature or toast them directly from frozen. Reheating in a low oven (300°F/150°C) will help restore its soft texture.
Nutritional Information
| Nutrient | Amount per Serving | % Daily Value |
|---|---|---|
| Calories | 207 kcal | 10% |
| Total Fat | 5.6g | 8% |
| Saturated Fat | 3.1g | 16% |
| Cholesterol | 32.6mg | 11% |
| Sodium | 229mg | 10% |
| Total Carbohydrate | 32.7g | 12% |
| Dietary Fiber | 1g | 4% |
| Sugars | 6.5g | N/A |
| Protein | 4.5g | 9% |
Note: Nutritional information is an estimate and may vary based on specific ingredients and portion sizes.
Variations & Substitutions
- Dairy-Free: Substitute the evaporated milk with a non-dairy alternative like oat milk or soy milk. Use a vegan butter substitute.
- Gluten-Free: While achieving the exact texture can be challenging in a bread machine, you can use a gluten-free bread flour blend designed for bread making. You may need to adjust the liquid content accordingly.
- Orange Zest: Replace the lemon rind with orange zest for a different citrus flavor profile.
- Spices: Add a pinch of cinnamon or nutmeg for a warmer, more comforting taste.
- Raisins or Currants: Stir in 1/2 cup of raisins or currants after the initial mixing for added sweetness and texture. Ensure they are evenly distributed.
FAQs (Frequently Asked Questions)
Q: Why is ascorbic acid included in the recipe?
A: Ascorbic acid (vitamin C) acts as a natural dough enhancer, helping to improve the bread’s volume, texture, and overall quality. It results in a softer, lighter crumb.
Q: Can I use all-purpose flour instead of bread flour?
A: While you can, bread flour is recommended for the best results. It contains more protein, which helps develop gluten and gives the bread a better structure. All-purpose flour may result in a denser loaf.
Q: My bread machine has a “sweet bread” setting. Should I use that?
A: Yes, if your machine has a specific “sweet bread” setting, that is generally the best option. It is programmed to handle the higher sugar content in sweet bread recipes. If not, the “white bread” setting will work fine.
Q: The crust of my bread is too dark. How can I prevent this?
A: If your bread machine has a crust control setting, choose a lighter setting. Alternatively, you can tent the top of the bread machine with foil during the last 15-20 minutes of baking.
Q: Can I double the recipe for a larger loaf?
A: Doubling the recipe is generally not recommended for bread machines, as it may exceed the capacity of the pan and cause overflow. It’s best to make two separate loaves.
Final Thoughts
Now that you have the recipe, I highly encourage you to try your hand at this delightful Portuguese Sweet Bread. It’s a simple recipe that yields a truly special loaf, perfect for sharing with family and friends. The aroma alone is worth the effort! Don’t hesitate to experiment with variations to create your own unique version. I’d love to hear about your experiences and any creative twists you add to this classic recipe. Perhaps pair it with a strong cup of coffee or a glass of port wine for the ultimate Portuguese experience. Enjoy the baking journey!