
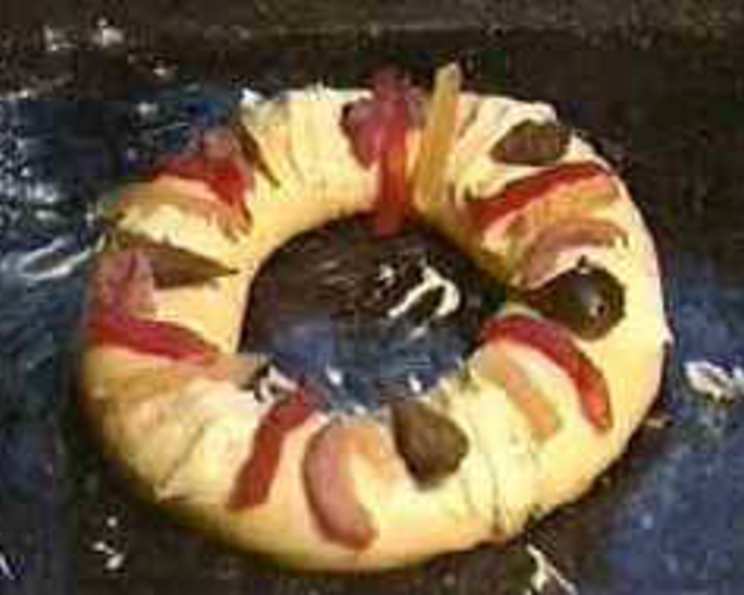
Rosca de Reyes: A Sweet Taste of Tradition
The first time I truly understood the magic of Rosca de Reyes was during a study abroad trip to Oaxaca. It wasn’t just the sweet, yeasty aroma wafting from the panaderia each January, but the palpable excitement as families gathered to share the bread. Each slice held a chance for good fortune, a shared moment of laughter, and a deep connection to generations of tradition. That simple bread, studded with candied fruit and hiding a tiny surprise, became a symbol of warmth, community, and the joy of shared celebration.
Recipe Overview
- Prep Time: 2 hours
- Cook Time: 40 minutes
- Total Time: 3 hours 40 minutes
- Servings: 16
- Yield: 1 large rosca
- Dietary Type: Not specified
Ingredients
- 1 packet yeast
- 1/4 cup lukewarm milk
- 3 1/2 cups all-purpose flour (more may be needed)
- 3/4 cup granulated sugar
- 7 eggs
- 1/3 cup melted butter
- 1 dash salt
- 2 teaspoons ground cinnamon
- 1/4 teaspoon anise seed
- 1/2 cup raisins
- 1 teaspoon vanilla extract
- 1/4 cup chopped candied figs
- 1/4 cup chopped candied orange
- 1/4 cup chopped candied lemon peel
- 1/4 cup chopped candied cherry
- 1/4 cup chopped candied citron peel
- 1 egg, beaten
- Granulated sugar, for sprinkling
- Dried beans (or a small baby figurine)
Equipment Needed
- Large mixing bowl
- Measuring cups and spoons
- Baking sheet
- Pastry brush (optional)
- Clean kitchen towel
- Oven
Instructions
-
Begin by activating the yeast. In a small bowl, dissolve the yeast in 5 tablespoons of lukewarm milk. Let it sit for about 5 minutes, or until it becomes foamy. This step ensures that the yeast is alive and ready to leaven the dough.
-
In a large mixing bowl, combine the flour, sugar, eggs, melted butter, the remaining milk, salt, cinnamon, anise seed, raisins, and vanilla extract.
-
Add the activated yeast mixture to the dry ingredients.
-
Combine all the ingredients and then knead the dough until it is no longer sticky. This may take 5-10 minutes of vigorous kneading. If the dough is too sticky, gradually add a little more flour, a tablespoon at a time, until it reaches a manageable consistency. The dough should be smooth and elastic.
-
Grease the dough with some butter to prevent it from drying out. Place the dough in a clean bowl, cover it with a clean kitchen towel, and let it rise in a warm place until it doubles in size. This may take about 1-2 hours, depending on the ambient temperature. Patience is key here!
-
Grease a baking sheet.
-
Once the dough has doubled, punch it down to release the air.
-
Knead the dough lightly for a minute or two.
-
Form the dough into a ring or “rosca” about 12 inches in diameter. You can do this by rolling the dough into a long rope and then joining the ends to create a ring.
-
Place the dough ring carefully onto the prepared baking sheet.
-
Decorate the top of the ring with the candied fruit. Be generous with the candied fruit, arranging them in a visually appealing pattern. Press them gently into the dough to ensure they adhere during baking.
-
Let the dough rise again, uncovered, until it is nearly doubled in size. This second rise usually takes about 30-45 minutes.
-
Preheat the oven to 350°F (175°C).
-
Just before baking, brush the top of the rosca with the beaten egg to give it a beautiful golden-brown color.
-
Sprinkle the egg-washed surface generously with granulated sugar.
-
Bake for about 40 minutes, or until the rosca is golden brown and cooked through. To check for doneness, insert a wooden skewer into the center of the bread; if it comes out clean, the rosca is ready.
-
Allow the rosca to cool slightly before inserting the baby figurine or bean from the underside. Be discreet so no one sees where you’ve placed it!
Expert Tips & Tricks
- Temperature Matters: Make sure the milk used to activate the yeast is lukewarm, not hot. Hot milk can kill the yeast.
- Kneading is Key: Properly kneading the dough is crucial for developing gluten, which gives the rosca its structure. If you have a stand mixer, use the dough hook attachment for easier kneading.
- Proofing Environment: A warm, humid environment is ideal for proofing the dough. You can create this by placing the dough in a slightly warmed oven (turned off) with a bowl of hot water.
- Candied Fruit Placement: To prevent the candied fruit from burning, consider brushing them with a little melted butter or glazing them with a simple syrup before baking.
- Even Baking: If your oven tends to bake unevenly, rotate the baking sheet halfway through baking to ensure even browning.
- Dough too sticky?:If the dough is too sticky, gradually add a little more flour, a tablespoon at a time, until it reaches a manageable consistency. The dough should be smooth and elastic.
Serving & Storage Suggestions
Serve the Rosca de Reyes slightly warm or at room temperature. It pairs perfectly with a cup of rich, Mexican hot chocolate or a steaming mug of café de olla.
To store leftovers, wrap the rosca tightly in plastic wrap or place it in an airtight container. It will keep at room temperature for 2-3 days. For longer storage, you can freeze the rosca for up to 2 months. Thaw it completely before serving. To refresh a slightly stale rosca, wrap it loosely in foil and warm it in a low oven (300°F/150°C) for about 10-15 minutes.
Nutritional Information
| Nutrient | Amount per Serving | % Daily Value |
|---|---|---|
| Calories | 224.6 kcal | N/A |
| Calories from Fat | 60 g | 27% |
| Total Fat | 6.7 g | 10% |
| Saturated Fat | 3.4 g | 16% |
| Cholesterol | 103.7 mg | 34% |
| Sodium | 82.2 mg | 3% |
| Total Carbohydrate | 34.7 g | 11% |
| Dietary Fiber | 1.2 g | 4% |
| Sugars | 12.2 g | 49% |
| Protein | 6.5 g | 12% |
Variations & Substitutions
- Citrus Zest Boost: Add the zest of an orange or lemon to the dough for an extra burst of citrus flavor.
- Nutty Delight: Incorporate chopped almonds or pecans into the dough for added texture and flavor.
- Gluten-Free Option: Substitute the all-purpose flour with a gluten-free blend suitable for baking. You may need to adjust the liquid content to achieve the right dough consistency.
- Vegan Rosca: Replace the eggs with a flax egg (1 tablespoon of ground flaxseed mixed with 3 tablespoons of water per egg) and use a plant-based butter substitute.
- Flavor Extracts: Enhance the vanilla extract by adding other flavors like almond or coconut to the dough.
FAQs (Frequently Asked Questions)
Q: What does the baby figurine or bean symbolize in the Rosca de Reyes?
A: The baby figurine represents the infant Jesus, hidden from King Herod. The bean is an older tradition representing the same thing.
Q: What happens if I find the baby figurine in my slice?
A: Traditionally, the person who finds the baby is responsible for hosting a tamale party on Día de la Candelaria (Candlemas) on February 2nd.
Q: Can I make the dough ahead of time?
A: Yes, you can make the dough a day in advance. After the first rise, punch it down, wrap it tightly, and refrigerate it. Let it come to room temperature before shaping and baking.
Q: My candied fruit burned while baking. How can I prevent this?
A: Next time, try brushing the fruit with melted butter or glazing them with a simple syrup before baking. This will help to protect them from the heat.
Q: The center of my rosca is still doughy. What did I do wrong?
A: This could be due to several factors, such as the oven temperature being too high or the baking time being insufficient. Use an oven thermometer to ensure your oven is accurate, and bake for a longer period at a slightly lower temperature if needed.
Final Thoughts
The Rosca de Reyes is more than just a sweet bread; it’s a culinary embodiment of tradition, family, and the anticipation of good fortune. Gathering with loved ones to share this delicious bread, each slice holding a potential surprise, is a beautiful way to celebrate the Day of Kings. I encourage you to try this recipe and experience the joy of creating your own Rosca de Reyes. Don’t hesitate to adjust the decorations and flavors to suit your personal taste, and most importantly, share it with those you cherish. Buen provecho!