
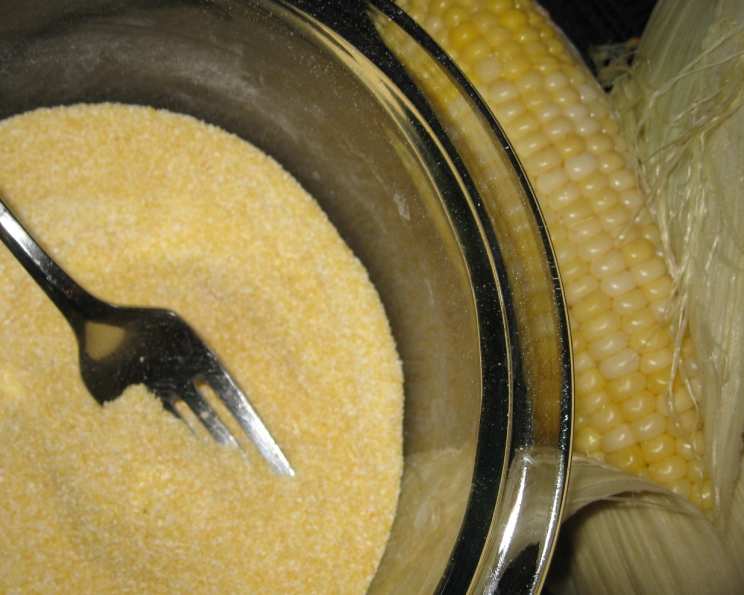
Mastering Self-Rising Cornmeal: A Southern Staple
The scent of freshly baked cornbread always transports me back to my grandmother’s kitchen in rural Mississippi. I remember her standing by the stove, a cloud of cornmeal dust swirling around her, as she prepared her famous skillet cornbread. It was always perfectly golden brown with a slightly crispy crust, the taste a comforting blend of sweet and savory. While she always seemed to have an endless supply of self-rising cornmeal, I later learned that wasn’t the case everywhere! This recipe is for anyone who, like me at one point, has found themselves without this essential ingredient.
Recipe Overview
- Prep Time: 5 minutes
- Cook Time: 0 minutes (until incorporated)
- Total Time: 5 minutes
- Yields: 1 cup
- Dietary Type: Vegetarian (naturally gluten-free if using certified gluten-free cornmeal)
Ingredients
- ¾ cup cornmeal, plus
- 3 tablespoons cornmeal
- 1 tablespoon baking powder
- ½ teaspoon salt
Ingredient Notes:
- For the best flavor and texture, use a medium-grind cornmeal. Stone-ground cornmeal will have a more robust flavor.
- Ensure your baking powder is fresh. Old baking powder will result in a flat or dense cornbread.
Equipment Needed
- Mixing Bowl
- Measuring Cups and Spoons
- Whisk or Spoon
Instructions
- In a medium-sized mixing bowl, combine ¾ cup of cornmeal, 3 tablespoons of cornmeal, baking powder, and salt.
- Use a whisk or spoon to thoroughly mix all ingredients together until they are evenly distributed. Ensure there are no clumps of baking powder or salt.
- Use immediately in your cornbread recipe, or store in an airtight container for later use.
Expert Tips & Tricks
- Whisking is Key: Don’t skip the whisking! This ensures the baking powder and salt are evenly dispersed throughout the cornmeal. Uneven distribution can lead to pockets of salty or overly leavened areas in your final product.
- Test Your Baking Powder: To check if your baking powder is still active, add a teaspoon to a small amount of hot water. If it fizzes vigorously, it’s good to go. If not, it’s time for a fresh container.
- Make a Large Batch: This recipe is easily scalable. Simply multiply all the ingredients to make a larger batch of self-rising cornmeal. Store it in an airtight container in a cool, dry place.
- Cornmeal Texture Matters: Depending on your preference, you can adjust the type of cornmeal you use. A finer grind will result in a smoother cornbread, while a coarser grind will give it a more rustic texture.
- Airtight is Everything: Moisture is the enemy of dry ingredients. Make sure you store your homemade self-rising cornmeal in an airtight container to prevent clumping or spoilage.
Serving & Storage Suggestions
Serve your cornbread warm, straight from the oven. It’s delicious on its own, or paired with chili, soups, stews, or barbecued meats.
- Storage: Store leftover self-rising cornmeal in an airtight container in a cool, dry place for up to 3 months. If you notice any clumping or a change in odor, discard it.
- Baked Cornbread: Store leftover cornbread in an airtight container at room temperature for up to 2 days, or in the refrigerator for up to 5 days. Reheat in a microwave, oven, or skillet.
- Freezing: For longer storage, wrap individual slices of cornbread tightly in plastic wrap and freeze for up to 2 months. Thaw at room temperature or in the refrigerator before reheating.
Nutritional Information
(Estimated, per 1/4 cup serving of self-rising cornmeal mix)
| Nutrient | Amount per Serving | % Daily Value |
|---|---|---|
| Calories | 150 kcal | 8% |
| Total Fat | 1g | 1% |
| Saturated Fat | 0g | 0% |
| Cholesterol | 0mg | 0% |
| Sodium | 290mg | 12% |
| Total Carbohydrate | 32g | 11% |
| Dietary Fiber | 2g | 7% |
| Sugars | 0g | 0% |
| Protein | 3g | 6% |
Note: Nutritional information is an estimate and may vary based on specific ingredients and preparation methods. This table reflects the nutritional information of the self-rising cornmeal mix itself, not the final cornbread.
Variations & Substitutions
- Gluten-Free: Ensure your cornmeal is certified gluten-free if you have a gluten intolerance or allergy.
- Buttermilk Cornmeal: Add 1/4 cup of powdered buttermilk to the recipe for a tangy flavor.
- Spicy Cornmeal: Incorporate 1/2 teaspoon of cayenne pepper or chili powder for a kick.
- Herbaceous Cornmeal: Mix in 1 tablespoon of dried herbs like rosemary, thyme, or oregano for added flavor.
- Sweet Cornmeal: Add 1 tablespoon of sugar for a sweet cornbread.
FAQs (Frequently Asked Questions)
Q: Can I use this self-rising cornmeal mix for other recipes besides cornbread?
A: Yes! You can use it in any recipe that calls for self-rising cornmeal, such as muffins, pancakes, or even as a coating for fried foods.
Q: How do I know if my cornbread is done?
A: Insert a toothpick into the center of the cornbread. If it comes out clean or with a few moist crumbs, it’s done. The top should also be golden brown.
Q: Can I make this recipe ahead of time?
A: Yes, you can mix the dry ingredients ahead of time and store them in an airtight container. Just add the wet ingredients when you’re ready to bake.
Q: Why is my cornbread dry?
A: Overbaking is the most common cause of dry cornbread. Try reducing the baking time or adding a tablespoon or two of melted butter or oil to the batter.
Q: Can I use yellow or white cornmeal for this recipe?
A: Absolutely! Both yellow and white cornmeal work well in this recipe. Yellow cornmeal will give your cornbread a slightly sweeter flavor and a more vibrant color.
Final Thoughts
Making your own self-rising cornmeal is surprisingly simple and allows you to control the quality of ingredients and tailor the flavor to your liking. Don’t be intimidated to try it! Whether you’re craving a classic Southern cornbread or experimenting with new recipes, this homemade mix will become a staple in your kitchen. I encourage you to give this recipe a try and share your own cornbread creations. Pair it with a hearty bowl of chili on a chilly evening, or serve it alongside some pulled pork for a true Southern feast. Enjoy the process and the delicious results!